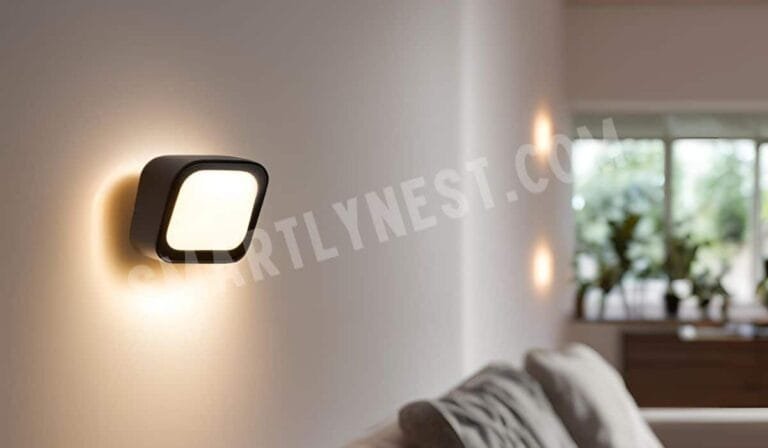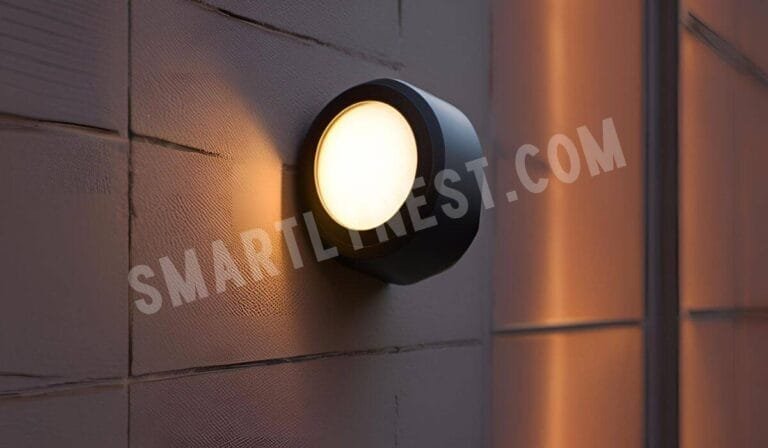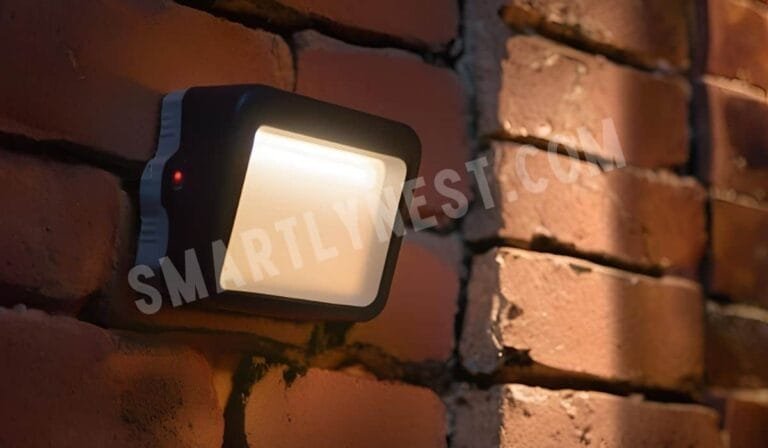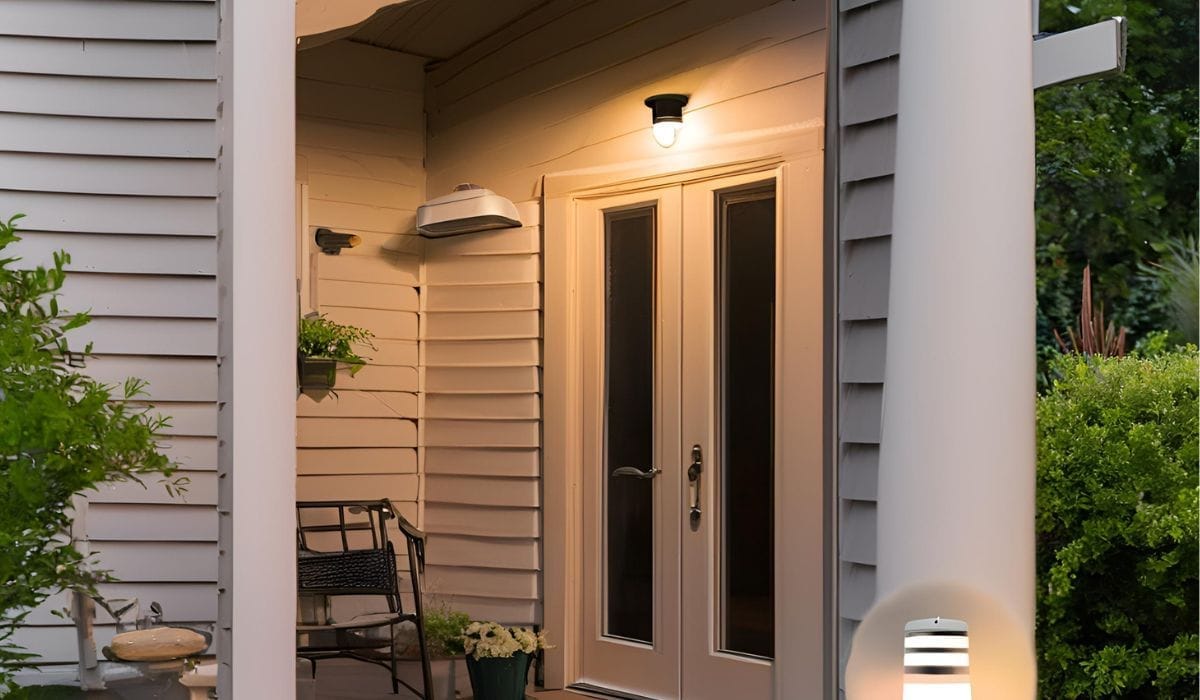
Installing motion sensor lights outdoors is one of the smartest ways to enhance the security and convenience of your property. Whether you’re looking to brighten up dark areas in your garden, deter potential intruders, or simply make it easier to navigate outdoor spaces at night, motion sensor lighting is a perfect solution. In this guide, we’ll walk you through how to install motion sensor light outdoor in a simple, step-by-step process. Not only will this DIY project save you money, but it will also improve the overall safety and appearance of your home. By the end of this article, you’ll have a clear understanding of the tools, materials, and techniques needed for the job, plus some insider tips to ensure your installation goes smoothly. Ready to light up the night?
Why Choose Motion Sensor Lights for Your Outdoors?
Motion sensor lights are popular for a variety of reasons, but the key benefit is convenience and security. These lights only activate when movement is detected, which saves energy and ensures that your outdoor areas are illuminated only when needed. They also act as a deterrent for potential burglars who prefer to work in the dark. Plus, with modern technology, motion sensor lights are now more affordable, efficient, and easy to install than ever before. Whether it’s for your front porch, driveway, or backyard, installing these lights is an essential upgrade.
What You’ll Need for Installation
Before diving into the step-by-step guide on how to install motion sensor light outdoor, it’s important to gather all the necessary tools and materials to ensure a smooth process. Here’s a checklist:
- Motion sensor light fixture
- Ladder (for reaching higher areas)
- Screwdrivers (Phillips and flathead)
- Voltage tester (for safety)
- Drill (for mounting screws)
- Wire nuts
- Electrical tape
- Caulk (for sealing)
- Weather-resistant outdoor electrical box
Now that you have everything in place, let’s move on to the installation process.
Step-by-Step Guide: Installing Motion Sensor Light Outdoors
1. Turn Off the Power
Safety comes first! Start by turning off the electrical power at the breaker box. This ensures you won’t get shocked while handling the wires. Use a voltage tester to confirm that the power is off before proceeding.
2. Choose the Best Location
Selecting the right spot is critical when installing motion sensor lights. Ideally, the light should cover a wide area but avoid triggering false alarms from nearby streets or trees. The most common spots are above entryways, along driveways, and in backyards. Ensure that the sensor is positioned to detect movement within its range, but avoid obstacles like walls or gutters that could block its field of view.
3. Remove the Existing Light Fixture
If you’re replacing an old light, unscrew and remove the existing fixture. Carefully detach the wires connected to the old fixture, remembering to keep track of which wire is which. Typically, there will be a black (hot) wire, white (neutral) wire, and possibly a green or bare (ground) wire.
4. Install the Mounting Bracket
Most motion sensor light fixtures come with a mounting bracket. Attach the bracket to the electrical box using the screws provided. Make sure it’s tightly secured to support the weight of the new light fixture.
5. Connect the Wires
Now it’s time to wire your motion sensor light. Match the wires from your fixture to the corresponding wires in the electrical box. Use wire nuts to twist them together:
- Black to black (hot wire)
- White to white (neutral wire)
- Green or bare to ground
Once the wires are connected, wrap them in electrical tape for extra security.
6. Mount the Light Fixture
With the wiring in place, mount the motion sensor light fixture onto the bracket. Secure it using the provided screws. Make sure the fixture is level and facing the right direction to optimize the sensor’s performance.
7. Adjust the Motion Sensor Settings
Most motion sensor lights allow you to adjust the sensitivity, range, and duration the light stays on after detecting motion. Take a moment to configure these settings according to your preference. You may want a wide detection range for larger areas or a more limited scope for smaller spaces.
8. Seal the Installation
Since the light will be exposed to outdoor conditions, it’s important to seal any gaps between the fixture and the wall with caulk. This prevents water from seeping into the electrical box and causing damage.
9. Turn On the Power
After completing the installation, go back to the breaker box and turn the power back on. Test the light by walking within its range to ensure the sensor activates as expected. If everything is working properly, congratulations—you’ve successfully installed a motion sensor light outdoors!
Special Opinion: Why DIY Installation is Better than Hiring a Professional
Installing motion sensor lights outdoors might seem daunting, but with the right tools and guidance, it’s a straightforward task that you can handle yourself. Doing it yourself not only saves money but also gives you the flexibility to install the lights exactly how you want them. Plus, you’ll gain valuable DIY skills along the way.
Hiring a professional might seem like the safer choice, but in most cases, it’s unnecessary unless you have an exceptionally complex lighting system. By taking on the project yourself, you’ll have the satisfaction of completing a functional and aesthetic upgrade to your home, all while learning something new.
FAQ Section
How do motion sensor lights work?
Motion sensor lights use infrared technology to detect changes in heat and movement within a designated range. When movement is detected, the sensor triggers the light to turn on.
Can I install motion sensor lights by myself?
Yes! As long as you follow the correct safety procedures, installing motion sensor lights outdoors is a relatively simple DIY task.
How high should I mount my motion sensor light?
It’s recommended to mount the light 6 to 10 feet above the ground. This height allows the sensor to detect motion effectively while providing ample illumination.
Can motion sensor lights work during the day?
Most motion sensor lights have a daylight sensor that prevents the light from activating during daylight hours to save energy. However, some models allow you to bypass this feature.
What should I do if my motion sensor light isn’t working?
First, check the power supply and make sure the fixture is properly wired. Then, adjust the sensor settings to see if it detects motion within its range. If issues persist, consult the manufacturer’s troubleshooting guide.
Can motion sensor lights be used with security cameras?
Yes, motion sensor lights and security cameras work great together. The lights provide illumination, making it easier for cameras to capture clear footage.
Are motion sensor lights weatherproof?
Most outdoor motion sensor lights are designed to withstand various weather conditions. However, it’s important to ensure that the fixture is sealed properly to prevent water damage.
Conclusion: Light the Way with Motion Sensor Technology
Installing motion sensor lights outdoors is one of the best upgrades you can make to your home. Not only do they provide a layer of security, but they also add convenience and energy savings to your everyday life. With the step-by-step guide above, you now have the tools and knowledge to confidently install these lights yourself. By choosing the right fixture, following safety protocols, and making the necessary adjustments, you’ll enjoy a brighter, safer outdoor space in no time.
If you’ve been considering how to install motion sensor light outdoor, there’s no better time than now to take the leap. Happy installing!

