Introduction
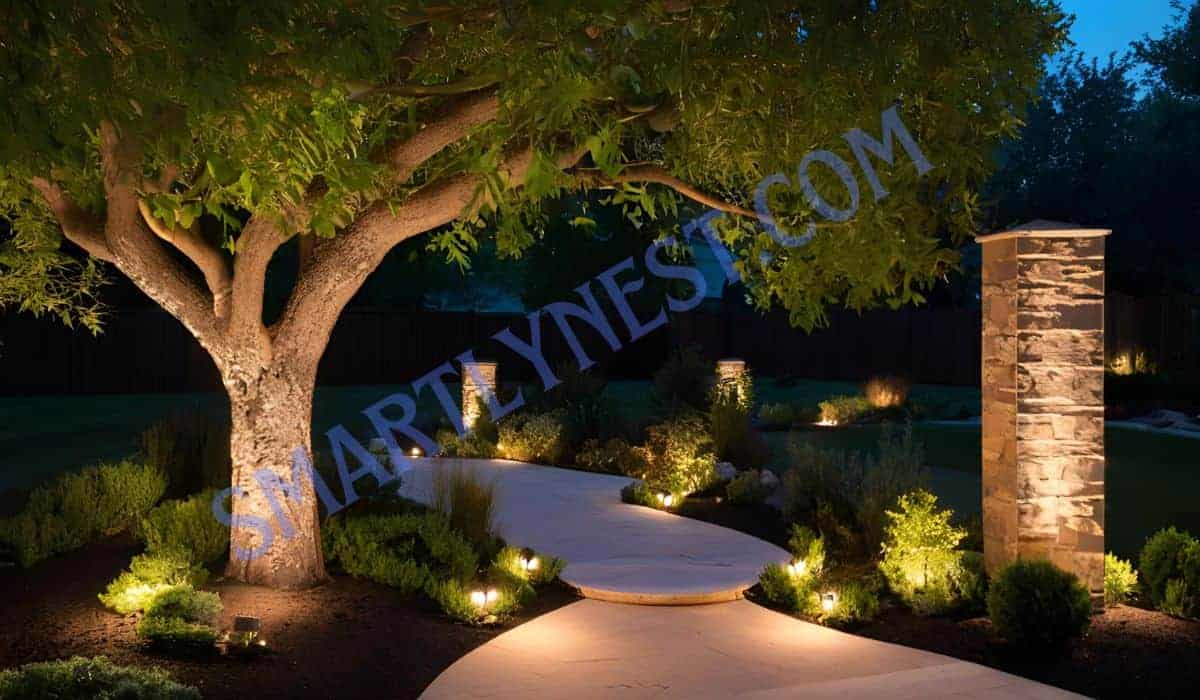
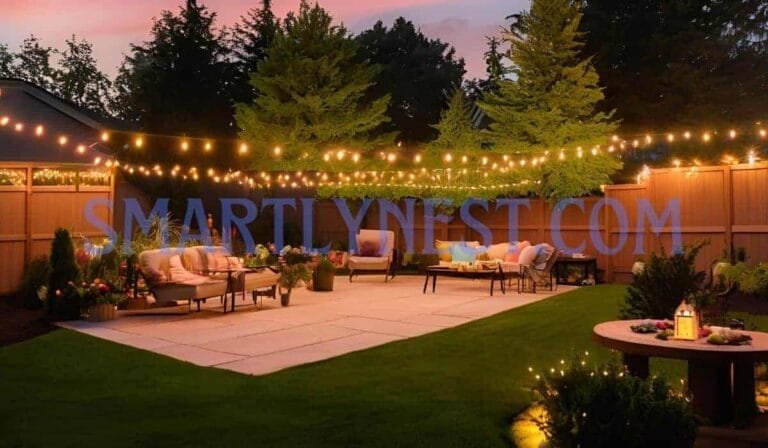
Picture this: a warm evening, a beautifully lit pathway, and your garden glowing in the soft illumination of perfectly placed lights. Sounds magical, doesn’t it? Now, what if I told you that you could achieve this stunning outdoor ambiance easily with low voltage landscape lighting? Yes, it’s possible, and the best part is, you don’t need to be a professional electrician to make it happen.
Low voltage landscape lighting not only enhances the aesthetics of your outdoor space but also increases safety and security. It’s a straightforward DIY project that lets you highlight specific features in your garden or yard, such as trees, pathways, water features, and patios. If you’ve been wondering how to install low voltage landscape lighting, this guide will walk you through the entire process. We’ll cover everything from choosing the right lights, setting up the transformer, running the wire, and more. Let’s brighten up your landscape!
Why Choose Low Voltage Landscape Lighting?
Before diving into the installation process, let’s understand why low voltage landscape lighting is the best option for your outdoor space.
- Energy Efficiency: These systems typically run on 12 volts, significantly reducing power consumption compared to traditional lighting.
- Safety: Low voltage lighting is much safer for homes with pets or children since there is minimal risk of electrical shock.
- Customizable Designs: You can mix and match different styles of lighting fixtures to create a unique landscape design.
- Simple Installation: You don’t need extensive electrical knowledge to install these lights—just follow this guide, and you’ll be all set.
- Cost-Effective: Lower energy usage leads to long-term savings on your electric bills.
Now that you’re aware of the advantages, let’s move on to the exciting part—how to install low voltage landscape lighting!
Step-by-Step Guide to Installing Low Voltage Landscape Lighting
1. Plan Your Layout
Before purchasing any lights, take time to plan where you want to install them. Walk around your yard or garden in the evening and visualize which areas you want to illuminate. Do you want to line a pathway with lights? Highlight a tree or a water feature? Use this time to sketch a layout that maps out your desired lighting positions.
A few tips to keep in mind:
- Avoid over-lighting. Subtle lighting often creates a more dramatic and appealing look.
- Ensure even spacing between lights to avoid dark spots.
- Consider varying light intensities to enhance depth and dimension.
2. Choose the Right Fixtures
There are different types of low voltage lights designed for various functions. Here’s a quick breakdown:
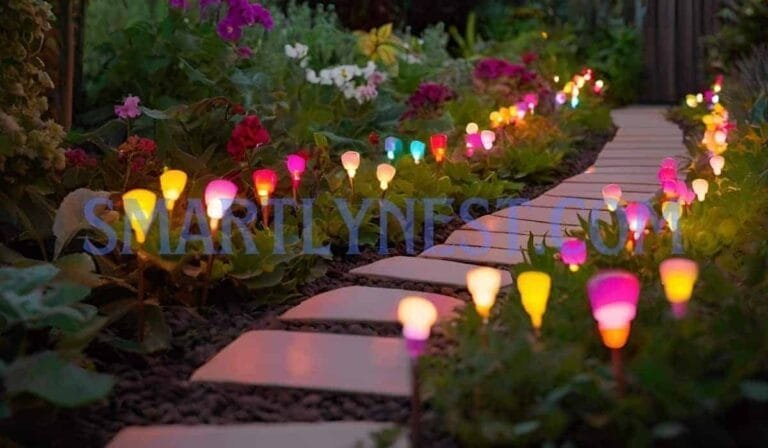
- Pathway lights: These are perfect for illuminating walkways, driveways, or garden paths.
- Spotlights: Use these to highlight specific features such as trees, sculptures, or architectural details.
- Floodlights: If you have a large area or a wall to light up, floodlights will do the trick.
- In-ground lights: These are embedded into the ground and are excellent for lighting up walls or fences.
- Deck or Step Lights: These are great for adding safety and a modern touch to staircases or decks.
Make sure the fixtures you choose are compatible with your outdoor theme and provide the right amount of illumination.
3. Set Up the Transformer
A low voltage landscape lighting system requires a transformer to step down the 120-volt household current to 12 volts. The transformer powers your lighting system and must be placed near an outdoor GFCI (Ground Fault Circuit Interrupter) outlet. When selecting a transformer, consider the total wattage of your lighting system.
Here’s how to calculate the transformer size:
- Add up the wattage of all the light fixtures.
- Multiply that number by 1.5 to allow for future expansion and ensure the transformer doesn’t get overloaded.
- Choose a transformer with a capacity slightly higher than your total wattage.
Once you’ve chosen your transformer, mount it to the wall or on a post near the outlet. Be sure it’s positioned above the ground to avoid water damage.
4. Run the Electrical Cable
Now that your transformer is in place, it’s time to run the electrical cable. Low voltage cables are typically buried just beneath the surface of the soil, but it’s a good idea to place them in protective conduit for extra durability.
Steps:
- Measure the distance between the transformer and your furthest light fixture.
- Start by laying the cable along the ground, following the lighting layout you previously mapped.
- Cut the cable to your desired length, allowing some extra slack at each connection point.
Once your cable is laid out, you can bury it approximately 3 inches deep. If you’re crossing pathways, use PVC pipes to protect the cable.
5. Connect the Lights
With your cable in place, it’s time to connect your lights. This part of the process can vary slightly depending on the manufacturer, but most low voltage lighting systems use simple connectors that snap onto the cable.
Here’s how:
- Strip about ½ inch of insulation from the cable using wire strippers.
- Attach the cable to the lighting fixture using the provided connectors or screws.
- Make sure the connection is secure, and place the light in the desired position.
Repeat this step for each light fixture, ensuring that the wire remains neatly buried.
6. Test the System
Once all the lights are connected, it’s time to power up your system and see the magic! Plug the transformer into the GFCI outlet, and turn on the power. Walk around your yard to check if each light is working as expected. If some lights aren’t turning on, double-check the connections and make sure the wiring is secure.
7. Fine-Tune the Lighting Placement
With the system powered on, make final adjustments to the placement of your lights. Aim spotlights at trees or features, adjust the angle of pathway lights, and ensure everything looks balanced and well-lit. This is your opportunity to make small tweaks for the best visual effect.
8. Set the Timer
Most low voltage transformers come with built-in timers or photocells, which automatically turn your lights on at dusk and off at dawn. Set the timer according to your preferred schedule, ensuring that your lighting system runs efficiently.
Special Tips and Tricks for Perfect Low Voltage Landscape Lighting
- Use LED Bulbs: LED lights consume less energy and last longer than traditional halogen bulbs. They are a bit more expensive upfront, but the savings over time make them a wise investment.
- Layer Your Lighting: To create a balanced look, use a combination of spotlights, path lights, and accent lights. This approach adds dimension and keeps your yard from looking flat.
- Regular Maintenance: Clean the lenses of your fixtures regularly and trim any overgrown plants that might obstruct the light.
- Waterproofing: Use waterproof connectors to prevent moisture from shorting out the system, especially in areas that get a lot of rain or irrigation.
FAQs About Installing Low Voltage Landscape Lighting
How do I choose the right transformer size for my lighting system?
To choose the right transformer, add up the wattage of all your light fixtures and multiply by 1.5. This gives you enough room for future expansion and ensures your transformer doesn’t get overloaded.
Can I install low voltage lighting without professional help?
Yes! Low voltage landscape lighting is a simple DIY project. As long as you follow the installation steps carefully, you don’t need an electrician.
What type of cable should I use for low voltage landscape lighting?
You should use a 12-gauge or 14-gauge low voltage cable. The gauge you need depends on the length of the run and the total wattage of your lights.
How deep should I bury the low voltage cable?
It’s recommended to bury the low voltage cable about 3 inches deep. However, if the cable crosses pathways or driveways, use PVC pipes to protect it.
How long will low voltage landscape lighting last?
With proper maintenance, most low voltage lighting systems can last for many years. LED lights, in particular, have a lifespan of up to 50,000 hours.
Do I need to turn the lights off manually every day?
No. Most low voltage transformers come with timers or photocells that automatically turn the lights on at dusk and off at dawn.
What are the best types of lights for highlighting trees or large features?
Spotlights and floodlights are the best options for highlighting large features like trees. These lights have adjustable heads, allowing you to direct the beam exactly where you want it.
Conclusion
Installing low voltage landscape lighting is an excellent way to enhance the beauty and safety of your outdoor space. The process is straightforward, cost-effective, and doesn’t require advanced electrical skills. With the right planning, fixtures, and a little bit of effort, you can transform your garden into a magical nighttime retreat.
So, what are you waiting for? Grab your tools, set up your lights, and watch as your yard comes to life after dark! Whether you’re looking to illuminate a pathway or highlight a majestic tree, low voltage landscape lighting is the perfect DIY solution for your outdoor needs.
Final Thoughts: The Glow of Success
The satisfaction of walking through a perfectly lit garden, knowing you’ve installed it yourself, is second to none. Low voltage landscape lighting allows you to take control of your outdoor lighting design, offering flexibility, safety, and beauty without breaking the bank. So go ahead, give your landscape the glow it deserves!


