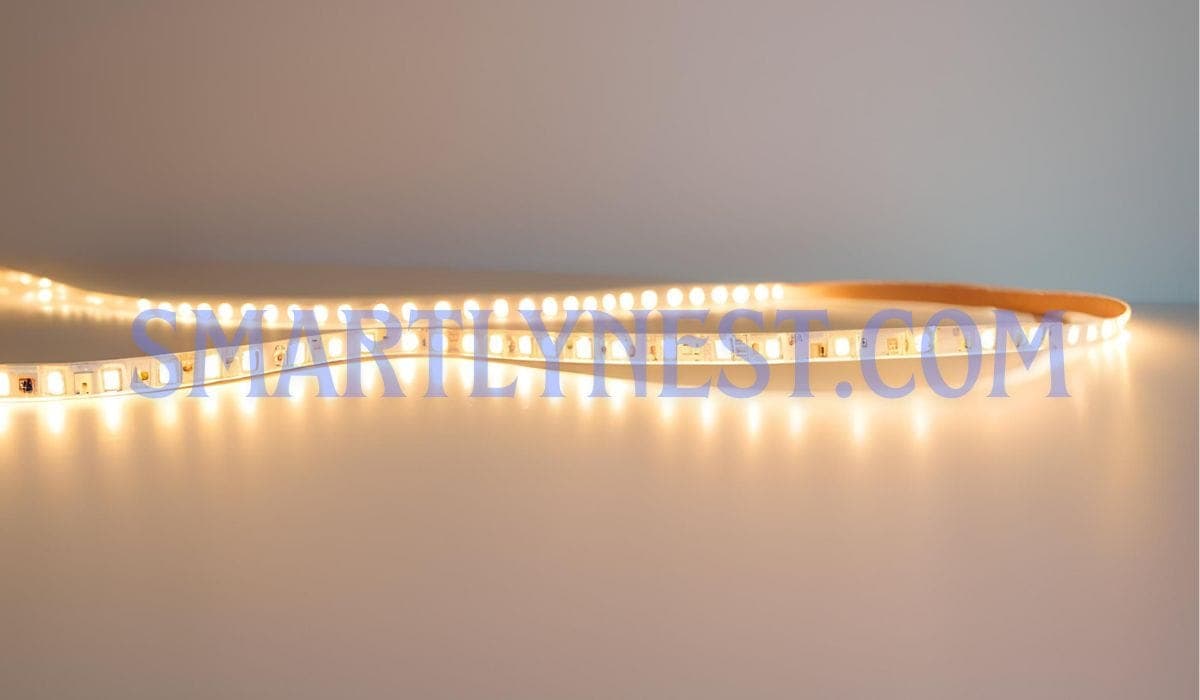
Transforming Spaces with LED Light Strips
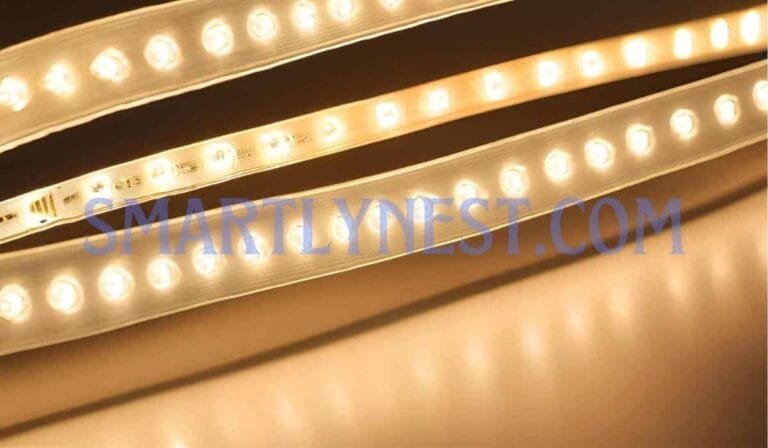
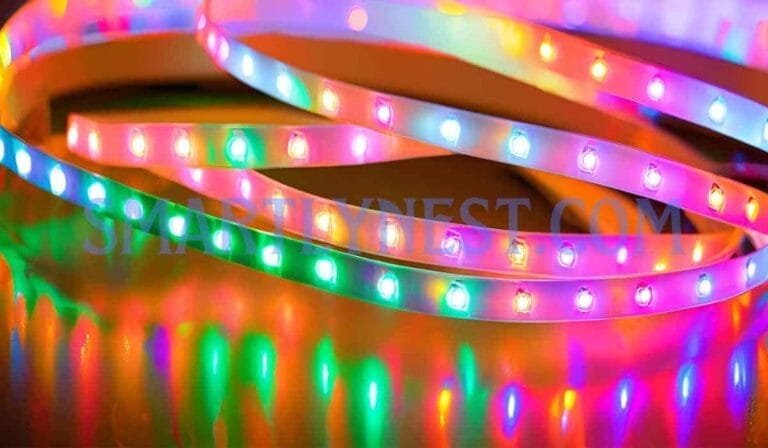
Transforming a space with vibrant LED light strips is like painting a canvas with luminous colors that dance to an unspoken rhythm. These versatile strips can highlight architectural features, create cozy ambiances, or inject energy into party atmospheres.
Their importance in home decor extends beyond mere aesthetics; they weave a tapestry of warmth and functionality in every room. However, nothing disrupts that radiant atmosphere faster than faulty connectors, as flickering lights become the unwelcome guest, leaving landscapes dimmed and spirits dampened.
Understanding LED Connector Challenges
Understanding the common challenges associated with LED connector malfunction is the first step toward reclaiming your home’s brilliance. Like a maestro conducting an orchestra, knowing how to fix these delicate connections empowers you to maintain harmony in your lighting scheme.
Disconnects can manifest as sporadic flickers or complete blackouts—silent cries for attention amidst the glow. Fear not; troubleshooting becomes an art form when armed with the right techniques and tools, ensuring your LED light strip shines brightly once more.
Identifying Connector Issues
Recognizing when your LED light strip connectors require attention is the first step toward restoring their radiant glow. Keep an eye out for flickering lights, signaling a potential disconnect between your power source and the shimmering strips.
To troubleshoot effectively, start with a visual inspection of the connections. Gently tug at each connector, ensuring they’re secure in their sockets, and check the power sources such as adapters or plugs for any faults that could be causing the issue.
Tools You’ll Need
Embarking on the journey to repair LED light strip connectors requires more than just determination; having the right tools transforms a daunting task into an inspiring hands-on project. Start with essentials like wire strippers and a soldering iron for creating strong connections.
Optional tools such as a multimeter can add efficiency by checking voltage and continuity during repairs. With the right equipment, fixing delicate components becomes a smooth and creative DIY endeavor.
Disassembling Your LED Light Strip
Disassembling your LED light strip requires an attentive hand. Begin by ensuring all power sources are disconnected, and gently peel away any adhesive backing holding the strip in place using a flat-edge tool like a plastic spudger.
As you separate each segment, take care when detaching the small connectors to avoid damage. Observing the design and taking photos of the setup before disassembly can help make reassembly smoother.
Repairing Broken Connectors
Fixing broken LED light strip connectors often involves soldering, creating a bond between faulty connections by melting metal alloy. With patience and the right technique, you can form strong, lasting connections.
Alternatively, connector kits provide an accessible solution, eliminating the need for soldering by offering ready-made plugs designed specifically for LED strips. Heat shrink tubing can further protect your newly repaired joints.
Reattaching the Light Strip
Once you’ve repaired the connectors, reattaching your LED light strip should be done with precision. Whether it’s mounted along a wall or under cabinetry, ensure the strip is positioned correctly to maintain aesthetic flow.
If the adhesive has worn out, use mounting clips or double-sided tape for a secure hold. Paying attention to how tightly the strip nestles ensures long-lasting functionality and protection against future mishaps.
Testing Your Repairs
Before reinstallation, it’s crucial to test your repairs. Connect the light strip back to the power source temporarily and observe the lighting for even brightness. Any flickering or dimming might indicate unresolved issues that require further attention.
If problems persist, revisit the soldered connections or fittings to check for tightness or misalignment. Sometimes, addressing minor defects can resolve lingering issues, ensuring flawless functionality.
Maintaining Your LED Connections
To maintain your LED light strips, regular cleaning and checks are essential. Dust off the connections to minimize wear, and protect your setup from extreme temperatures and humidity, which can damage the connectors.
Routine inspections and avoiding prolonged usage can extend the lifespan of your LED strips. Implement these practices diligently to ensure that your lights continue to shine brightly, adding beauty to your home.
FAQs on How to Fix LED Light Strip Connector
Why is my LED light strip flickering?
Flickering in LED light strips usually indicates a loose or faulty connection in the connectors. This can be caused by misaligned wires, worn-out connectors, or power supply issues. Start by inspecting the connectors for any loose wiring and ensure they are securely fitted. If the problem persists, it could be due to a faulty power adapter or insufficient voltage.
How do I troubleshoot a faulty LED connector?
To troubleshoot a faulty LED connector, first, visually inspect the connector and wiring for any signs of damage. Check if the connectors are firmly in place and not loose. Gently wiggle the wires near the connector while observing the lights; flickering may indicate the exact location of the issue. If necessary, use a multimeter to check for voltage consistency.
What tools do I need to repair an LED light strip connector?
The essential tools for repairing an LED light strip connector include a wire stripper, soldering iron, solder, heat shrink tubing, and a small utility knife. Optional tools like a multimeter can help with testing voltage and continuity during repairs. If soldering is not an option, connector kits can be used for a no-solder repair.
Can I fix a broken LED strip connector without soldering?
Yes, you can fix a broken LED strip connector without soldering by using pre-made connector kits. These kits allow you to cut the damaged section of the strip, strip the wires, and insert them into a new connector without the need for hot tools. This method is user-friendly and effective for most repairs.
How do I prevent LED connector problems in the future?
To prevent LED connector problems in the future, regularly clean the connectors and inspect them for any signs of wear. Avoid placing your LED strips in areas with excessive heat or moisture, as this can degrade the connectors over time. Securely fasten all connections and avoid putting strain on the connectors to ensure longevity.

