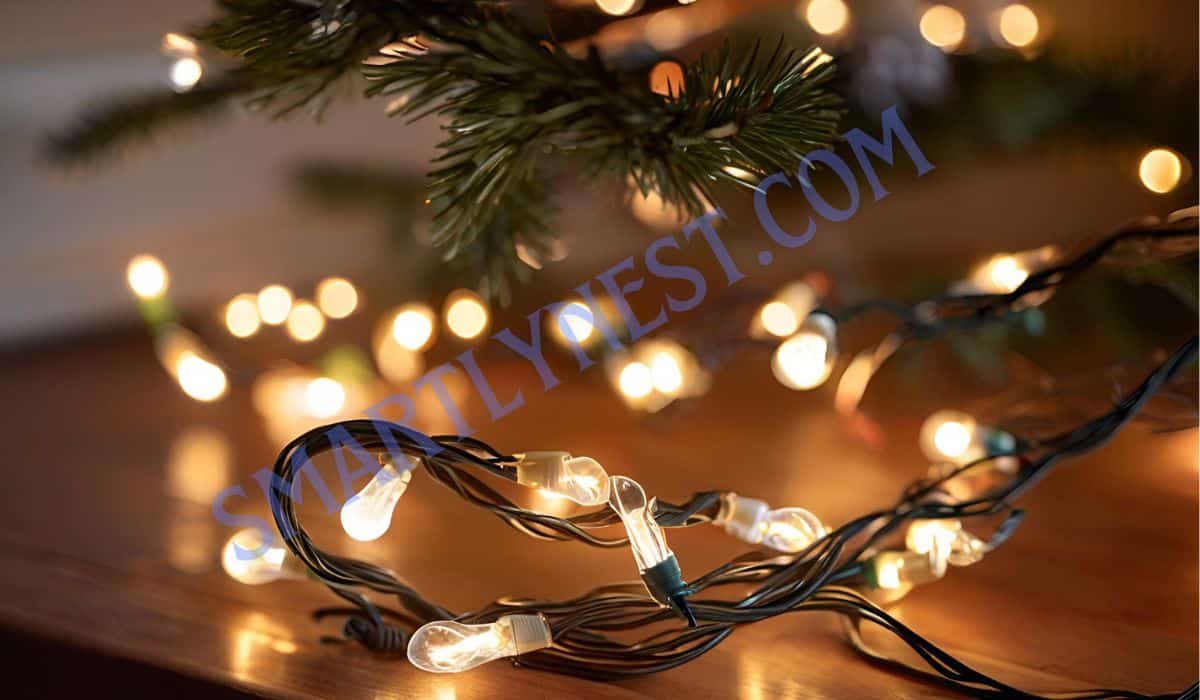
Christmas is right around the corner, and nothing dampens holiday excitement like discovering that half your Christmas lights are out. You’ve spent hours untangling them, wrapping them around the tree, or carefully placing them along your home’s exterior, only to be left in the dark—literally. But don’t worry! If you’re thinking of tossing out those faulty lights and rushing to the store for replacements, take a step back. Fixing Christmas lights when half are out is easier than you think, and you don’t need to be an electrical engineer to do it.
Whether it’s due to a burnt-out bulb, a blown fuse, or some sneaky loose wiring, I’ve got the step-by-step guide to saving your holiday lights and keeping your home glowing this Christmas. Read on, and you’ll learn how to fix your Christmas lights when half are out without breaking a sweat—or breaking the bank.
Why Do Christmas Lights Go Out?
Before jumping into the fixes, it’s helpful to understand why your Christmas lights go dark in the first place. This not only helps you troubleshoot faster but can also save you from future headaches.
Most Christmas lights operate in a series circuit, meaning if one bulb burns out or gets loose, the entire strand can fail. When a light in the series goes out, it can disrupt the flow of electricity to other bulbs. Thankfully, modern Christmas lights often come with shunts (a backup mechanism) that allow the electricity to bypass the broken bulb so that the rest of the strand stays lit. But when this system malfunctions, half (or all) of your lights may go out.
Now, let’s dive into the nitty-gritty of how to fix Christmas lights when half are out.
1. Check for Burnt-Out Bulbs
The number one culprit of Christmas lights going dark is a single burnt-out bulb. When this happens, the circuit is interrupted, which may cause an entire section of lights to turn off.
Here’s what you do:
- Inspect Each Bulb: Look for any bulbs that are visibly burnt out, broken, or dark. Burnt-out bulbs usually have a blackened look inside.
- Test with a Bulb Tester: If you have one, use a bulb tester to see which bulbs aren’t working. It saves time compared to visually checking every single one.
- Replace the Faulty Bulb: Once you’ve identified the problematic bulb, carefully remove it and replace it with a new one.
2. Check for Loose Bulbs
Sometimes, a bulb isn’t fully burned out but may have come loose from its socket, causing half your Christmas lights to go out.
- Gently Wiggle Each Bulb: Ensure each bulb is seated snugly in its socket. If you find one that feels loose, push it in gently until it clicks into place.
- Reposition the Socket: If necessary, adjust the wires in the socket to ensure better contact.
3. Examine the Fuses
Every strand of Christmas lights has a fuse (or two) inside the plug that powers the lights. If the fuse blows, you’ll likely find that half of your lights go out. Luckily, changing the fuse is a simple fix.
- Unplug the Lights: Always unplug your lights before working on them to avoid any potential electric shock.
- Open the Plug: The fuse compartment is usually in the plug itself. Open it using a small flat-head screwdriver.
- Check the Fuses: Remove the fuses and check for any blackening or breakage.
- Replace the Blown Fuse: If the fuses are damaged, replace them with new ones of the same rating (you can usually find spare fuses included with your lights).
4. Inspect for Broken Wires
If fixing bulbs and fuses doesn’t do the trick, you may have a broken wire somewhere in the strand. Even a small break in the wire can stop half your Christmas lights from lighting up.
- Run Your Hand Over the Strand: Check for any kinks, breaks, or exposed wires.
- Use Electrical Tape: If you find a small break in the wire, cover it with electrical tape to ensure the electricity flows properly.
5. Check for Corrosion
Over time, the contacts inside the bulb sockets may corrode, especially if your lights have been exposed to moisture. This corrosion can prevent proper electrical connections.
- Inspect the Socket: If a socket looks dirty or corroded, it might be time to clean it.
- Use a Fine Wire Brush: A small wire brush can help remove corrosion from the socket’s metal parts.
- Apply Electrical Cleaner: You can use electrical contact cleaner to remove stubborn corrosion.
6. Test the Whole Strand
After trying the above steps, plug your lights back in and see if they light up properly. If only half the strand is still out, you may need to replace that portion or consider investing in new lights.
7. Use a Light Repair Tool
If you’re really having trouble figuring out what’s wrong with your Christmas lights, consider using a light repair tool like the LightKeeper Pro. These tools can help detect faulty bulbs and fix issues by sending an electrical pulse through the circuit.
Additional Tips to Keep Your Christmas Lights Working:
- Store Them Properly: After the holiday season, carefully pack your lights to avoid tangling or breaking wires.
- Don’t Overload Circuits: Overloading your circuit with too many strands of lights can cause fuses to blow more frequently.
- Check the Label: Always make sure the lights you’re using are suitable for outdoor or indoor use, depending on where you plan to display them.
FAQs: Fixing Christmas Lights
Why is half of my Christmas lights strand out?
This is usually caused by a burnt-out bulb, a blown fuse, or a broken wire. Check the bulbs, fuses, and wiring to locate the issue.
Can I fix my Christmas lights without replacing the whole strand?
Yes! Most issues can be resolved by replacing a faulty bulb, tightening a loose connection, or changing a blown fuse.
How do I replace a fuse in my Christmas lights?
Unplug your lights, open the plug (where the fuses are located), and replace the blown fuse with one of the same rating. Most lights come with spare fuses.
Is it safe to fix Christmas lights myself?
Yes, as long as you unplug the lights before working on them and follow basic safety precautions like avoiding damaged wires and keeping lights away from water.
What tools do I need to fix Christmas lights when half are out?
You’ll need replacement bulbs, fuses, a bulb tester, electrical tape, and possibly a light repair tool like the LightKeeper Pro.
Can I prevent my Christmas lights from going out?
While you can’t always prevent issues, storing your lights carefully, using surge protectors, and avoiding overloading circuits can help extend their lifespan.
What should I do if my entire strand of lights won’t work?
If the whole strand is out, check the fuse first. If that doesn’t solve the problem, inspect the wiring or consider using a light repair tool.
Conclusion: Let There Be Light!
When half of your Christmas lights go out, it’s easy to feel frustrated, especially during the busiest and most festive time of year. But with a little patience, some basic tools, and the steps I’ve outlined here, you can fix your Christmas lights in no time and get back to decking the halls. Remember, you don’t need to buy a new set every time a few bulbs go dark! By learning how to troubleshoot and repair your lights, you’re not only saving money but also keeping the festive spirit alive.
So, before you throw in the towel (or the strand of lights), follow these simple steps to fix your Christmas lights when half are out. Your home, your tree, and your holiday memories will be all the brighter for it.
Now, go ahead and dazzle your neighbors with those perfectly lit Christmas lights—because no holiday season should be spent in the dark!


