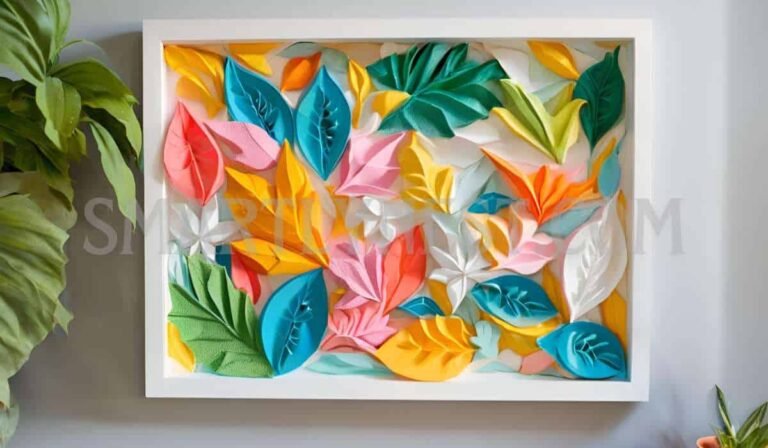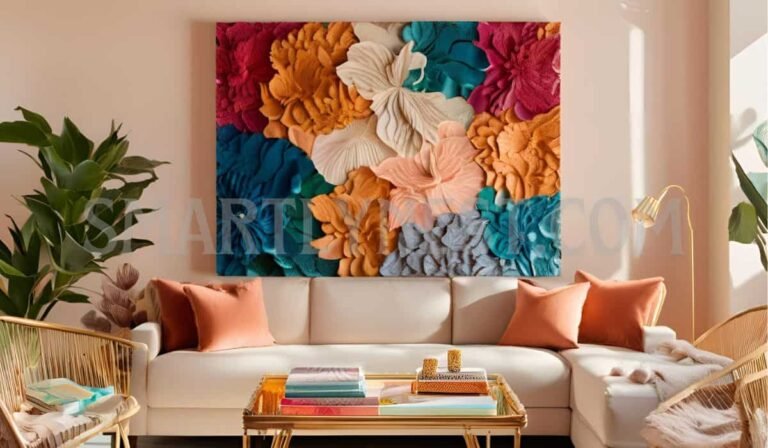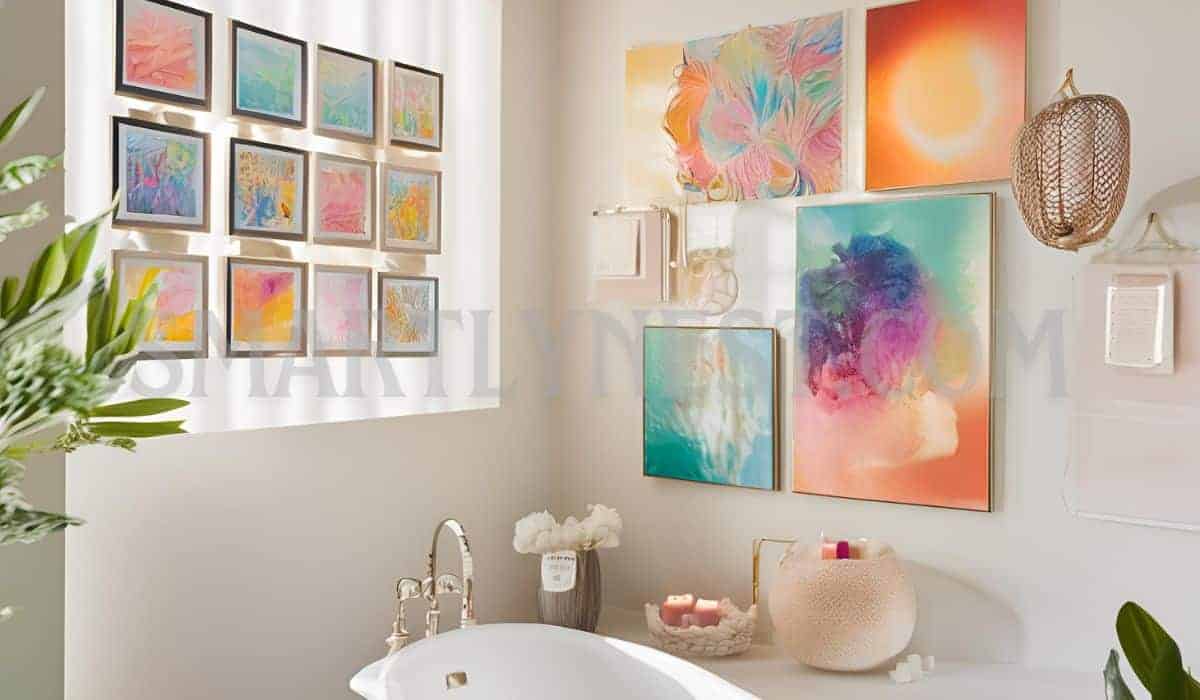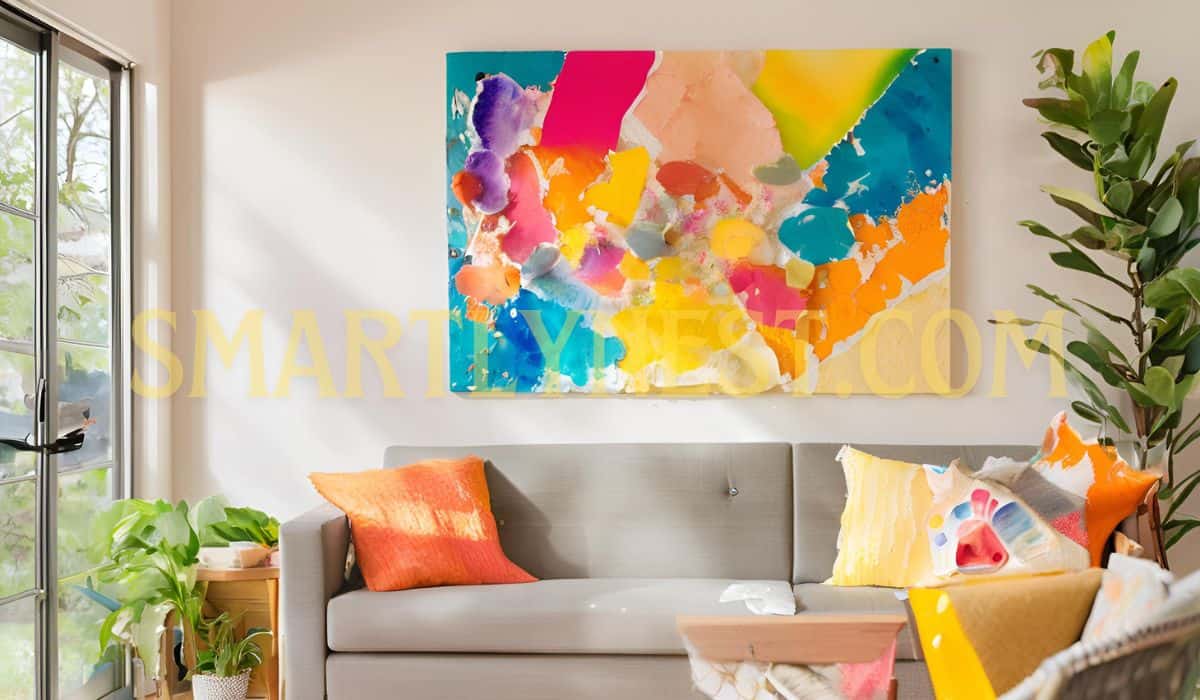
When it comes to home decor, walls often act as a blank canvas brimming with potential. The right artwork can transform a room, making it more vibrant, welcoming, or serene. Yet, store-bought wall art can be costly and impersonal. This is where DIY wall art comes in—a budget-friendly way to craft pieces that truly reflect your style. Below, we’ll explore 19 exciting, affordable DIY wall art projects, plus tips to help you execute them seamlessly.
19 DIY Wall Art Ideas On a Budget
1. Pressed Flower Frames
Overview: Preserve nature’s beauty by pressing vibrant flowers and displaying them in elegant frames.
Materials Needed:
- Fresh flowers
- Heavy books or a flower press
- Acid-free paper
- Picture frames
How to Do It:
- Collect and Prep Flowers: Choose flat flowers like daisies or ferns for easier pressing. Ensure they’re dry and free of dirt.
- Press: Sandwich the flowers between parchment paper and place them inside a heavy book or a flower press. Add additional books for weight.
- Mount: Once dried (after 7–10 days), glue the flowers onto acid-free paper.
- Frame and Display: Secure the paper in a frame and hang it in a room with indirect sunlight to prevent fading.
2. Leaf Stencil Art
Overview: Create bold, nature-inspired art by using leaves as stencils or paint tools.
Materials Needed:
- Fresh leaves or artificial ones
- Acrylic paint
- Canvas
- Sponge brushes
How to Do It:
- Prep the Canvas: Paint a solid background color if desired and let it dry.
- Arrange the Leaves: Place leaves on the canvas in the pattern you want to create.
- Apply Paint: Use a sponge brush to dab paint around the edges or over the leaf to create outlines and textures.
- Remove and Finish: Gently lift the leaves to reveal the designs. Layer multiple colors for depth.
3. Driftwood Wall Hangings
Overview: Transform naturally weathered driftwood into rustic, stylish wall decor.
Materials Needed:
- Driftwood (collected or purchased)
- Twine or wire
- Hot glue gun
How to Do It:
- Clean the Driftwood: Wash and let it dry thoroughly. Sand any rough edges.
- Arrange Your Design: Lay out the driftwood pieces in a shape or pattern, such as a star, heart, or geometric form.
- Bind with Twine or Wire: Use glue to secure the twine, then wrap the pieces together tightly.
- Mount: Attach a hook or loop for hanging on the wall.
4. Wine Cork Bulletin Boards
Overview: Combine art and functionality with this eco-friendly wine cork project.
Materials Needed:
- Wine corks
- A wooden frame or thick cardboard
- Glue gun
How to Do It:
- Plan the Layout: Arrange the corks in rows, chevrons, or spirals to determine your design.
- Glue the Corks: Use a hot glue gun to attach each cork securely to the base.
- Optional Customization: Paint the corks for a splash of color or leave them natural for a rustic vibe.
- Hang It Up: Mount the board in your kitchen, home office, or craft room.
5. Recycled Magazine Collages
Overview: Brighten your walls with a custom collage using old magazines.
Materials Needed:
- Magazines
- Scissors
- Mod Podge or glue stick
- Canvas or cardboard
How to Do It:
- Cut Out Pieces: Select images, patterns, or colors that match your theme and carefully cut them out.
- Plan the Layout: Experiment with arrangements before gluing pieces down.
- Adhere and Seal: Glue the cutouts onto the canvas and apply a thin layer of Mod Podge over the top to protect your design.
- Display: Frame the finished collage for a polished look.
6. Pallet Wood Signs
Overview: Rustic wood signs add warmth and character to any space.
Materials Needed:
- Wooden pallets
- Sandpaper
- Paint or wood stain
- Stencils
How to Do It:
- Prepare the Wood: Sand the pallet to smooth rough edges.
- Paint or Stain: Apply a wood stain for a natural finish or paint a base color.
- Add Designs: Use stencils to paint words, patterns, or images.
- Mount: Attach hanging hardware or lean the sign against a wall.
7. Macramé Wall Hangings
Overview: Create a boho vibe with intricate knotting techniques.
Materials Needed:
- Macramé cord
- Wooden dowel
- Scissors
How to Do It:
- Attach Cords: Cut equal lengths of cord and attach them to the dowel using a lark’s head knot.
- Learn Basic Knots: Follow tutorials for knots like square and half hitch.
- Create a Design: Combine knots to form a pattern or fringe.
- Trim and Hang: Cut excess cord evenly and hang the piece.
8. Framed Fabric Squares
Overview: Fabric wall art offers endless possibilities for pattern and texture.
Materials Needed:
- Fabric scraps
- Picture frames
- Cardboard backing
How to Do It:
- Cut the Fabric: Ensure the fabric is slightly larger than the cardboard.
- Attach Fabric to Backing: Use tape or glue to secure the fabric tightly.
- Frame It: Place the fabric-covered board into the frame.
- Arrange and Hang: Combine several frames for a coordinated gallery look.
9. Yarn String Art
Overview: Yarn string art combines simple materials into complex, eye-catching designs.
Materials Needed:
- Wooden board
- Nails
- Yarn
How to Do It:
- Draw the Outline: Sketch a shape or word on the wood.
- Hammer the Nails: Place nails evenly along the outline.
- Wrap Yarn: Tie yarn to one nail and weave it around the others to fill in the design.
- Secure and Display: Tie off the yarn and hang the art.
10. Geometric Paintings
Overview: Geometric art is an excellent way to add a modern and bold touch to your decor. The clean lines and contrasting colors fit well in contemporary or minimalist settings.
Materials Needed:
- Canvas or wood panel
- Painter’s tape
- Acrylic paint in multiple colors
- Brushes or sponges
How to Do It:
- Prepare the Surface: Start with a blank or painted canvas. If using a base color, let it dry completely.
- Tape the Design: Use painter’s tape to outline geometric shapes like triangles, squares, or diamonds.
- Fill in the Shapes: Paint each section with different colors, blending or keeping them solid based on your design preference.
- Remove Tape: Once the paint dries, peel the tape carefully to reveal crisp lines.
- Seal the Artwork: Use a matte or glossy sealer to preserve your work.
11. Continuous Line Drawings
Overview: Create sophisticated and minimalistic art with simple continuous line drawings. These are ideal for modern and abstract interiors.
Materials Needed:
- Drawing paper or canvas
- Fine-tip marker or pen
- Pencil for outlining
How to Do It:
- Plan Your Design: Practice drawing your subject, such as a face, leaf, or object, in one continuous line on scratch paper.
- Draw Lightly: Lightly sketch your design in pencil on your final canvas or paper.
- Trace with Ink: Go over your pencil lines with a pen or marker in a single, confident stroke.
- Frame or Display: Use a simple black or white frame to accentuate the minimalistic look.
12. Washi Tape Murals
Overview: Washi tape murals are perfect for renters or those who enjoy changing their decor frequently. The tape comes in various colors and patterns and is easy to remove.
Materials Needed:
- Washi tape
- Scissors or craft knife
- Ruler
How to Do It:
- Choose Your Design: Sketch a pattern or image on paper. Popular designs include chevrons, stripes, or abstract shapes.
- Apply the Tape: Start placing the tape directly onto the wall, cutting edges neatly with scissors or a craft knife.
- Layer and Adjust: Add additional layers for intricate designs or overlap colors for depth.
- Refine the Edges: Use a ruler to ensure straight lines and consistent spacing.
13. Photo Collages
Overview: Turn your cherished memories into a stunning focal point with a photo collage.
Materials Needed:
- Printed photos
- Foam board or corkboard
- Double-sided tape or pins
- Fairy lights (optional)
How to Do It:
- Choose a Theme: Use black-and-white photos for a classic look or vibrant ones for a fun and lively aesthetic.
- Arrange Your Photos: Plan the layout on a table before mounting. Common shapes include hearts, grids, or spirals.
- Mount the Photos: Attach them to the foam board or corkboard with tape or pins.
- Add Lighting: Frame the collage with fairy lights for an enchanting touch.
14. Custom Maps
Overview: Highlight meaningful locations like hometowns, favorite vacations, or life milestones with customized map art.
Materials Needed:
- Printed maps
- Frame or corkboard
- Push pins or markers
How to Do It:
- Select and Print Maps: Use online resources to find maps of your desired locations. Print them on high-quality paper.
- Customize: Use push pins or markers to pinpoint significant spots. You can also label them with dates or descriptions.
- Frame or Mount: Frame the map or attach it to a corkboard for an interactive display.
15. Handwritten Quotes
Overview: Add a personal touch to your walls with handwritten quotes or calligraphy. This project is great for inspirational or meaningful messages.
Materials Needed:
- Canvas or wood board
- Paint markers or brushes
- Stencils (optional)
How to Do It:
- Choose a Quote: Pick a phrase that resonates with you.
- Practice Writing: If you’re free-handing, practice on scrap paper first.
- Write or Paint: Use stencils or draw directly onto the surface with paint markers or brushes.
- Finish: Add embellishments like flourishes or borders for extra flair.
16. Floating Crate Shelves
Overview: Combine art and function with floating crate shelves. These are perfect for displaying plants, books, or trinkets.
Materials Needed:
- Wooden crates
- Sandpaper
- Paint or stain
- Wall anchors
How to Do It:
- Prep the Crates: Sand the crates thoroughly and apply paint or stain as desired.
- Mount to the Wall: Attach the crates securely using wall anchors and screws.
- Style the Shelves: Arrange items in an aesthetic manner to complement the overall decor.
17. Chalkboard Wall Art
Overview: Chalkboard walls are a versatile and interactive way to decorate. You can change designs, write quotes, or let kids unleash their creativity.
Materials Needed:
- Chalkboard paint
- Foam roller
- Chalk or chalk markers
How to Do It:
- Prepare the Wall: Choose a smooth wall and clean it thoroughly.
- Apply Chalkboard Paint: Use a foam roller for an even coat. Let it dry and apply additional coats if necessary.
- Create Designs: Use regular chalk for a classic look or chalk markers for precise details.
18. Pegboard Displays
Overview: Pegboards offer a customizable and dynamic way to display lightweight art, plants, or tools.
Materials Needed:
- Pegboard
- Spray paint
- Hooks or shelves
How to Do It:
- Paint the Pegboard: Spray paint the pegboard to match your decor.
- Mount Securely: Use screws and wall anchors to secure it to the wall.
- Arrange Items: Use hooks and shelves to organize or display items creatively.
19. Abstract Mixed Media
Overview: Abstract mixed media art combines paint, fabric, and other materials for a layered, textural piece.
Materials Needed:
- Canvas
- Acrylic paints
- Fabric scraps or paper
- Glue
How to Do It:
- Prepare the Canvas: Paint a solid base layer and let it dry.
- Layer Materials: Attach fabric or paper scraps to the canvas using glue.
- Add Paint Details: Apply additional layers of paint for depth and contrast.
- Seal: Use a clear sealant to preserve the textures and colors.
Writer’s Opinion
Creating DIY wall art is not only an affordable way to express creativity, but it also allows you to imbue your living space with personal meaning. When you opt for handmade decor, you’re transforming a simple room into a reflection of your personality, interests, and style. Whether it’s through the simplicity of pressed flowers or the modern appeal of geometric paintings, each project can be as simple or complex as you desire.
From a practical perspective, DIY wall art can be both cost-effective and eco-friendly. You’re repurposing materials you may already have or using easily sourced items, which is a win for both your budget and the environment. For those of us who love customizing our spaces, DIY art provides an ideal opportunity to make unique designs that can’t be bought from a store. The joy of crafting something with your own hands adds a layer of satisfaction that mass-produced pieces simply can’t match.
However, while DIY wall art is incredibly fun, the process requires patience and planning. It’s important to be realistic about the amount of time you can dedicate to your projects. Some ideas, like intricate string art or large-scale photo collages, can take several hours to complete, and others, such as macramé or driftwood art, require fine motor skills and careful attention to detail.
Ultimately, what makes DIY wall art so appealing is its versatility. Whether you’re adding vibrant colors with a canvas painting or repurposing old materials into a functional piece of art, there’s something rewarding about creating decor that is uniquely yours.
Conclusion
Affordable and creative DIY wall art is a game-changer for any home. It allows individuals to personalize their living spaces, infusing them with personality and style while sticking to a budget. The 19 ideas detailed here span various styles and materials, offering something for everyone—whether you’re looking to make a bold statement with geometric designs or add a soft, organic touch with pressed flowers.
The beauty of DIY wall art lies in its flexibility. You can start small with a simple project like washi tape designs or dive into more intricate works like hand-lettered quotes or abstract mixed media art. No matter your skill level, these projects are designed to inspire creativity and encourage you to experiment with different mediums and techniques.
The process of creating your own wall art can be both relaxing and empowering, giving you a sense of pride as you see the results adorning your walls. So, gather your materials, let your imagination run wild, and turn your walls into a gallery of personal expression. Whether you’re a first-time crafter or a seasoned DIY enthusiast, there’s no better time than now to start a new creative venture.

