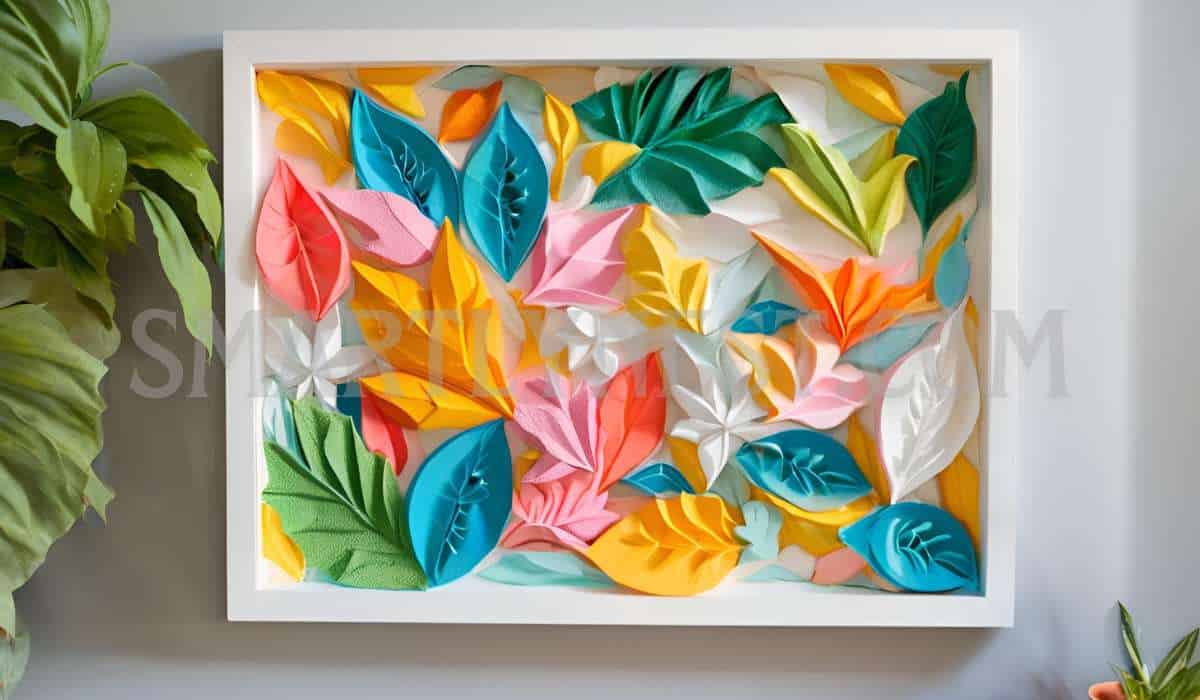
Wall art can make or break a room’s aesthetic, and while there are countless ways to decorate your walls, not all options are cost-effective or easy to work with. One material that often gets overlooked in the world of DIY projects is styrofoam. While it’s typically used for packaging and insulation, styrofoam has fantastic potential as a medium for creating beautiful, custom wall art.
With its lightweight nature and ease of manipulation, styrofoam offers an affordable way to add texture, dimension, and creativity to your home decor. In this post, we’ll explore 20 unique and inspiring styrofoam wall art ideas that will elevate any space. Whether you’re a beginner or an experienced DIYer, these ideas are sure to inspire you to unleash your creativity and start crafting!
Introduction
Styrofoam, typically used for packaging or insulation, is a surprisingly versatile material for creating wall art. It’s inexpensive, easy to work with, and opens up endless possibilities for creativity. Whether you want to enhance a living room with modern geometric designs or add natural, textured elements to a bedroom, styrofoam is a fantastic choice for DIY wall art.
The beauty of using styrofoam lies in its flexibility. It’s lightweight and can be molded, cut, and painted into virtually any shape or style. Its affordability makes it an accessible option for anyone looking to try their hand at DIY art without investing in expensive materials or tools.
In this article, we’ll walk you through 20 unique ideas for creating styrofoam wall art. From geometric patterns to seasonal decorations, you’ll find plenty of inspiration for transforming your space with this humble yet versatile material.
Benefits of Using Styrofoam for Wall Art
Styrofoam is a fantastic choice for crafting wall art, and here’s why:
1. Lightweight and Easy to Handle
Styrofoam’s lightness makes it easy to cut, shape, and mount. Unlike heavy materials such as wood or metal, styrofoam can be manipulated without special tools or extra muscle. Whether you’re hanging large panels or tiny detailed pieces, styrofoam is simple to handle and install.
2. Cost-Effective
Styrofoam is incredibly affordable. You can often repurpose old packaging materials, which means you don’t have to spend much at all to create stunning wall art. Even when purchased in bulk, styrofoam is much cheaper than other artistic materials like canvas, wood, or metal.
3. Versatile Design Options
Styrofoam can be molded into virtually any shape or texture. This versatility allows you to create everything from abstract geometric patterns to intricate 3D floral designs. Styrofoam can be cut into thin sheets or carved into blocks, offering endless possibilities for your artwork.
4. Easy to Paint and Finish
Once your styrofoam art piece is created, you can easily paint it to fit your color scheme. Acrylic paints, spray paints, and other finishes adhere well to styrofoam. You can add layers of texture, metallic paints, or even decoupage to give your artwork depth and dimension.
5. Eco-Friendly Option
Repurposing styrofoam is an eco-friendly choice. Instead of sending packaging foam to a landfill, you can turn it into beautiful art that enhances your home. Additionally, styrofoam can be recycled in some areas, making it an environmentally conscious material for DIY projects.
Essential Tools and Materials
Before diving into your styrofoam wall art projects, it’s important to have the right tools and materials. Here’s a list of essentials:
| Tool/Material | Description |
|---|---|
| Styrofoam Sheets or Blocks | Available at craft stores, or use old packaging. |
| Cutting Tools | A utility knife, hot wire cutter, or even a soldering iron can be used to cut through styrofoam. |
| Adhesives | Use foam-safe glue or hot glue to secure pieces together. |
| Paints & Finishes | Acrylic paints, spray paints, and other finishes for coloring and texturing your styrofoam art. |
| Protective Gear | Wear gloves and a mask to protect yourself from dust and fumes when working with styrofoam. |
| Measuring Tools | A ruler or tape measure will help you create accurate cuts and patterns. |
Safety Precautions
While working with styrofoam, it’s crucial to take safety precautions:
- Ventilation: Styrofoam can release fumes when heated, so ensure your workspace is well-ventilated.
- Protective Gear: Always wear gloves, goggles, and a mask when cutting or painting styrofoam. The material can release fine particles that could irritate your skin or lungs.
- Proper Disposal: Dispose of styrofoam scraps responsibly. Avoid burning it, as it can release harmful gases. Look for recycling options in your area.
- Tool Safety: Cutting tools like utility knives and hot wire cutters can be dangerous if not used properly. Always follow manufacturer instructions for safe use.
20 Styrofoam Wall Art Ideas
1. Geometric Wall Panels
Geometric designs are sleek, modern, and a great way to add structure to your space. Use styrofoam to create individual geometric shapes such as squares, triangles, or hexagons. Paint each piece in a different color or use varying textures to add depth to the design.
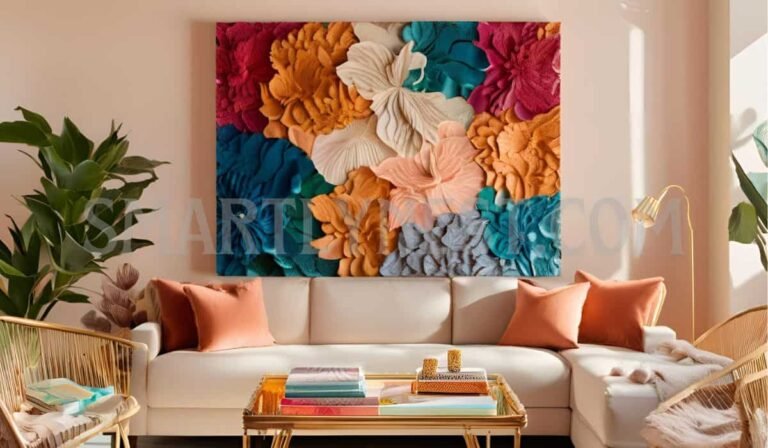
2. 3D Floral Designs
For a more organic feel, create 3D flowers using styrofoam. You can layer foam pieces to build up the petals and center, then paint them to resemble real flowers. This design works well in bedrooms or living rooms where you want to introduce natural elements.
3. Abstract Sculptures
Styrofoam is a fantastic material for creating abstract sculptures. With its malleability, you can carve freeform shapes that resemble waves, spirals, or other organic forms. These sculptures can add dynamic visual interest to any wall.
4. Textured Murals
Create texture-rich murals with styrofoam. By using various cutting techniques, you can create stone-like or brick-like textures. Apply them to large panels or the entire wall for an industrial or rustic look.
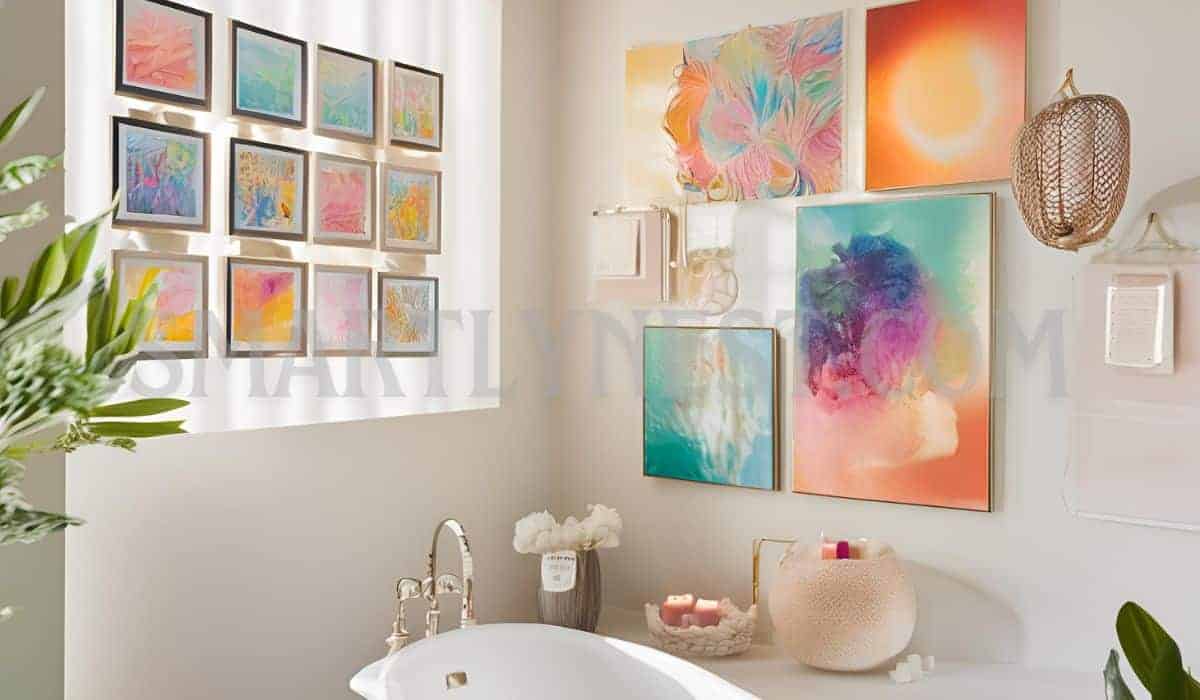
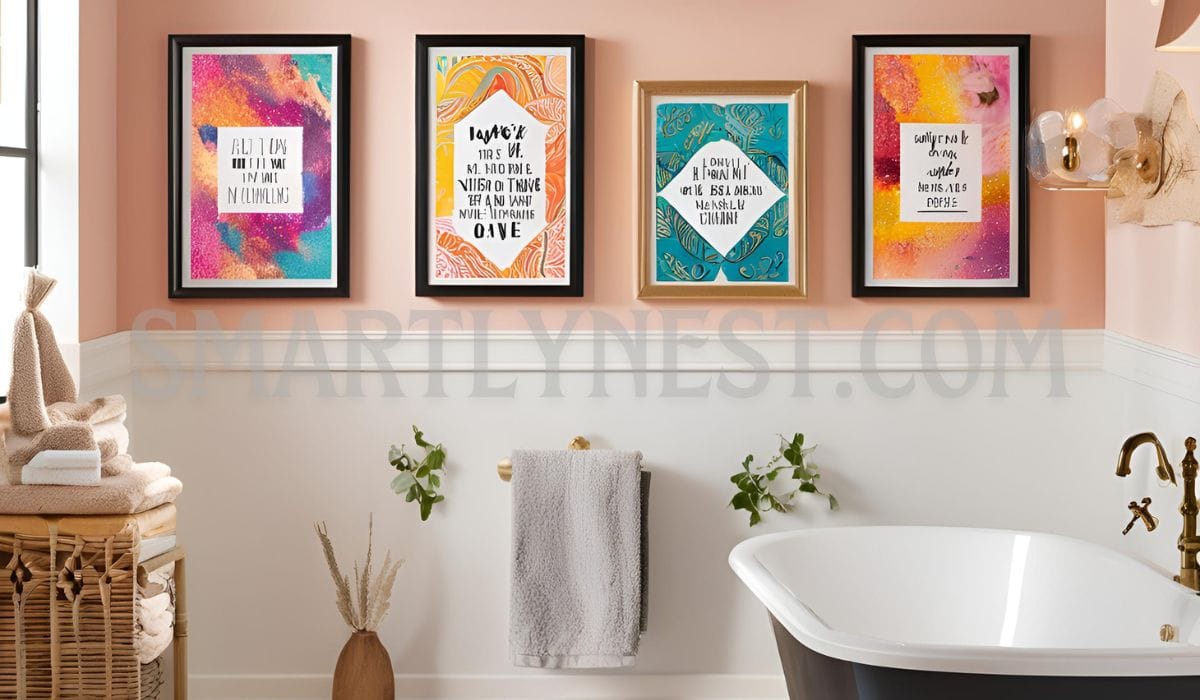
5. Framed Styrofoam Art
If you prefer a more polished look, consider framing your styrofoam art. Whether it’s a geometric pattern or a floral design, framing adds elegance and can make your artwork appear more refined.
6. Styrofoam Wall Clocks
Combine functionality and style by crafting a wall clock from styrofoam. Create a custom shape, such as a star, circle, or abstract form, and incorporate clock hands for a practical, decorative piece.
7. Custom Nameplates
Create custom nameplates or monograms using styrofoam. This can add a personal touch to your front door, office, or bedroom. Paint it in your preferred color and decorate it with additional textures for a unique look.
8. Nature-Inspired Pieces
Styrofoam can be used to craft nature-inspired art. Carve foam into leaf shapes, tree branches, or waves for a calming, earthy aesthetic. You can paint these pieces in natural colors for a lifelike appearance.
9. Modern Art Installations
For larger spaces, consider creating a large-scale modern art installation using styrofoam. Arrange various shapes and textures into a wall-sized installation that becomes the focal point of the room.
10. Upcycled Styrofoam Art
Repurpose old packaging foam into art. Cut the foam into various shapes or layer it to create an entirely new piece. This not only saves money but also helps reduce waste.
11. Styrofoam Wall Decals
If you prefer removable wall art, try creating styrofoam decals. Cut foam into simple shapes or patterns, then apply them to the wall with removable adhesive. This is perfect for renters or anyone who likes to change their decor frequently.
12. Mirror Frames
Create a one-of-a-kind mirror frame by using styrofoam. Whether you prefer a sleek modern design or a vintage-inspired frame, styrofoam is easy to mold into intricate shapes. Paint the frame to match your room’s color scheme.
13. Styrofoam Wall Panels
For an industrial or textured look, create large wall panels from styrofoam. Use foam blocks or sheets and arrange them in a pattern for a striking wall feature. You can even paint or texture the foam for added dimension.
14. Hanging Sculptures
If you want to add movement to your decor, try creating hanging styrofoam sculptures. These can be abstract designs or nature-inspired elements like flowers, birds, or leaves, and they create a dynamic presence in the room.
15. Styrofoam Wall Planters
Add greenery to your space by designing styrofoam planters that attach to the wall. These planters are perfect for small succulents, herbs, or flowers. You can paint the styrofoam to match your interior decor.
16. Mosaic Art
Create stunning mosaic art with small pieces of styrofoam. Arrange the pieces into intricate patterns or designs, then paint them in vibrant colors. This can create a truly unique and colorful piece of wall art.
17. Styrofoam Wall Murals
For a truly dramatic effect, cover an entire wall with a styrofoam mural. Whether it’s a nature scene, abstract design, or geometric pattern, this type of large-scale artwork becomes the room’s focal point.
18. Interactive Art Pieces
Make your wall art interactive by designing pieces that can be moved or rearranged. This could include puzzle-like shapes or removable tiles that allow you to create new designs whenever you wish.
19. Styrofoam Wall Art with LED Lights
Incorporating LED lights into your styrofoam art can add a futuristic or glowing effect to your designs. Whether it’s a geometric pattern or a floral sculpture, lights will highlight the textures and create a stunning ambiance.
20. Seasonal Decorations
Switch out your wall art to match the seasons. Create styrofoam decorations like pumpkins for fall, snowflakes for winter, or flowers for spring. These seasonal pieces are an easy and affordable way to keep your home looking fresh year-round.
Step-by-Step Guide: Creating a Geometric Wall Panel
Materials Needed:
- Styrofoam sheet or blocks
- Utility knife or hot wire cutter
- Paint (acrylic or spray)
- Foam-safe glue or hot glue gun
- Ruler or tape measure
- Pencil for sketching patterns
Instructions:
- Design the Pattern: Sketch a geometric pattern on your styrofoam sheet using a pencil and ruler. Popular geometric shapes include triangles, squares, and hexagons.
- Cut the Shapes: Use your utility knife or hot wire cutter to cut out each shape. Ensure that the cuts are clean and precise for a polished look.
- Paint the Shapes: Once the pieces are cut, paint them using acrylic paints or spray paint. Allow them to dry completely.
- Prepare the Wall: Clean the wall where you plan to mount the panels, ensuring it is smooth and dry.
- Assemble the Panel: Use foam-safe glue or a hot glue gun to attach the painted shapes to the wall, following your sketched pattern. Make sure each piece is securely affixed before proceeding to the next one.
- Add Finishing Touches: Consider adding metallic finishes, glitter, or other design elements to enhance the geometric panel.
Styling Tips for Displaying Styrofoam Art
1. Mix with Other Materials
Combine styrofoam with other materials like wood, metal, or fabric to create contrast. For example, use a wood frame around your styrofoam art for a more refined look.
2. Layering
Layer different styrofoam pieces to create a three-dimensional effect. This technique adds depth to the art and makes it more visually striking.
3. Lighting
Strategically place lights around or behind your styrofoam artwork to highlight its texture and design. LED lights or spotlights can create dramatic effects.
4. Consider the Room’s Theme
Ensure the style and color scheme of your styrofoam art matches the room’s overall aesthetic. Whether it’s modern, rustic, or minimalist, your artwork should complement your space.
Maintenance and Care
Styrofoam art is low-maintenance, but you’ll want to keep it looking fresh:
- Dust Regularly: Use a soft, dry cloth or compressed air to remove dust from your artwork.
- Avoid Moisture: Styrofoam is sensitive to water, so keep it in dry areas to prevent it from degrading over time.
- Repair Damage: Small cracks or dents can be repaired by using foam-safe glue or filler.
Writer’s Opinion
As a creator, I believe that styrofoam is an incredibly underappreciated material. It’s affordable, versatile, and easy to work with, making it ideal for DIY wall art projects. Whether you’re creating a geometric pattern for a modern living room or crafting intricate floral designs for a bedroom, styrofoam offers endless possibilities. It’s not just about saving money; it’s about having fun with your art and embracing creativity.
Frequently Asked Questions (FAQ)
What type of styrofoam is best for wall art?
For wall art, high-density styrofoam sheets or blocks are the best options. They are more durable and easier to work with than lightweight packing foam.
Can I use hot glue for styrofoam art?
Yes, you can use hot glue for styrofoam, but ensure it’s foam-safe glue to avoid any damage.
How do I safely cut styrofoam?
Use a sharp utility knife or hot wire cutter for precise cuts. Be sure to follow safety instructions for each tool.
How long does styrofoam wall art last?
With proper care, styrofoam art can last for many years. Keep it in a dry environment and handle it gently to ensure longevity.
Can I paint styrofoam?
Yes, styrofoam can be painted with acrylic or spray paints. It’s recommended to apply a primer first to ensure the paint adheres properly.
Conclusion
Styrofoam wall art is a fantastic, cost-effective way to enhance your home decor. Its versatility, ease of use, and endless creative possibilities make it a great medium for DIYers. Whether you’re looking to create intricate designs or large-scale installations, styrofoam provides the perfect canvas for bringing your artistic vision to life. Start experimenting today, and you’ll soon have stunning, personalized wall art that will impress anyone who sees it.

