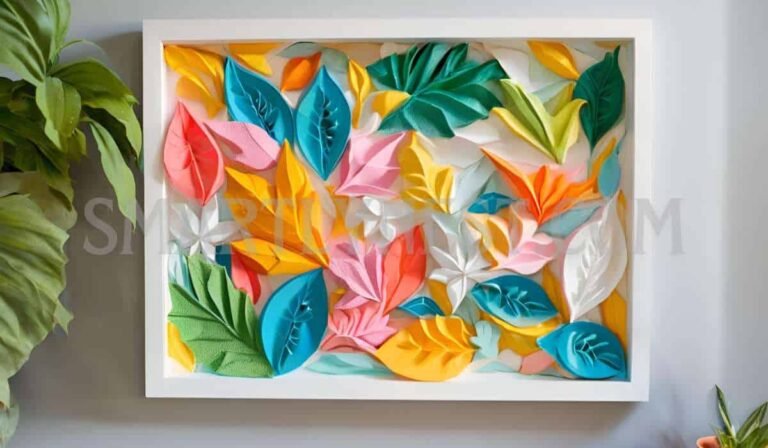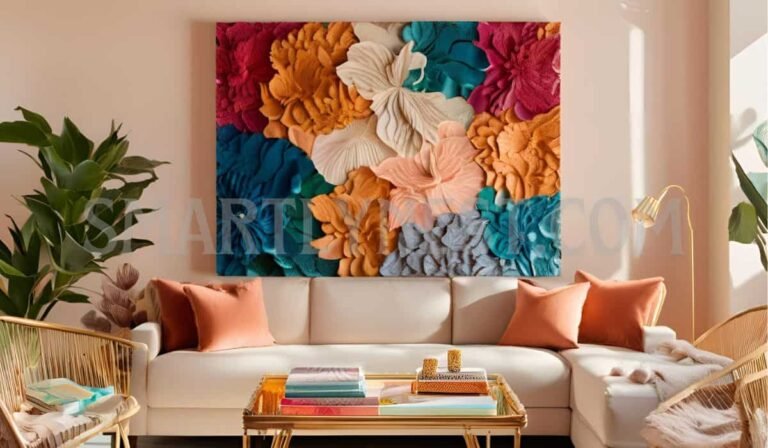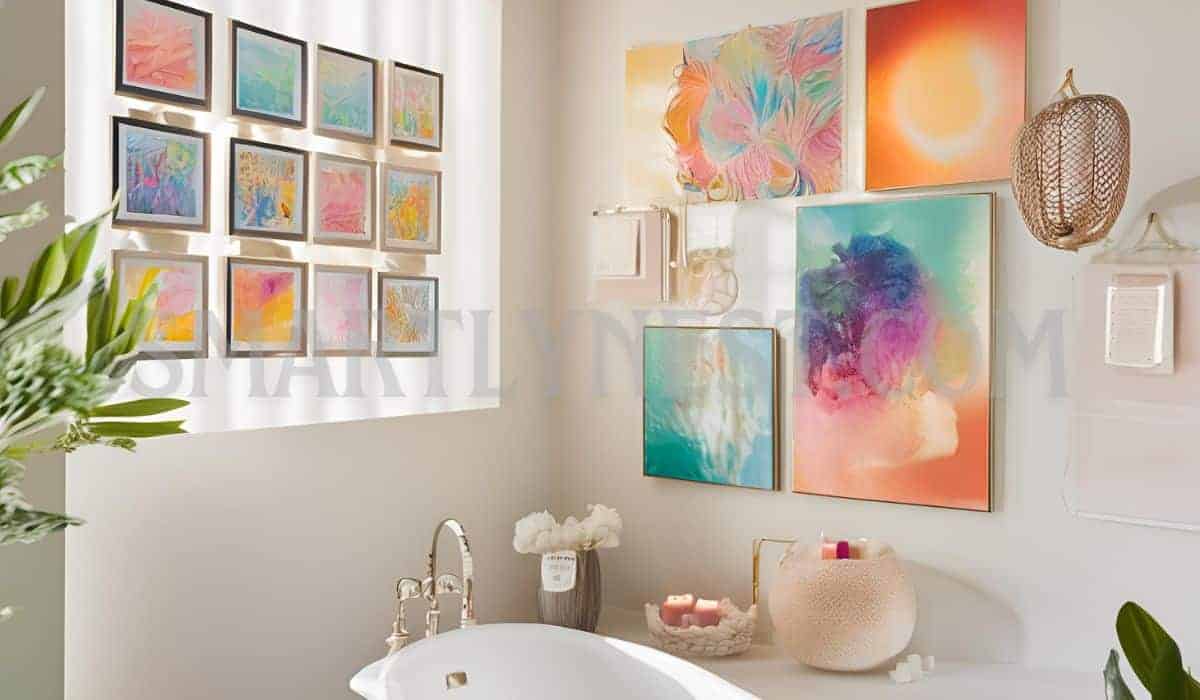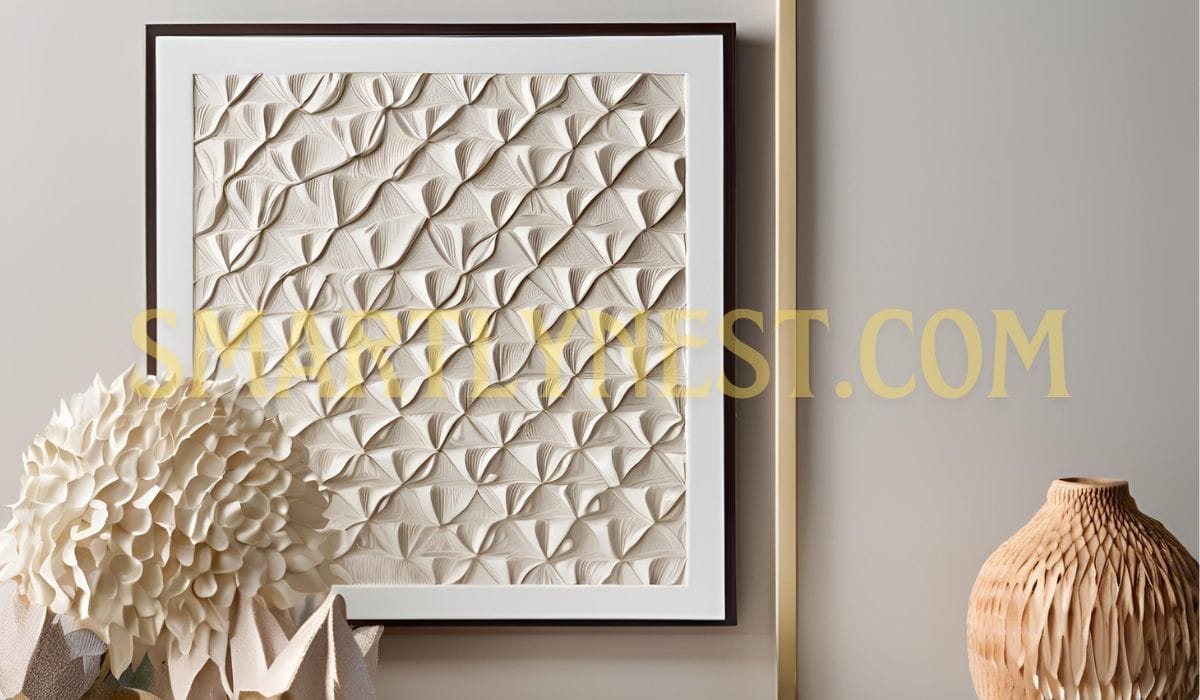
Transforming your walls with DIY textured wall art is an affordable way to add depth, style, and personality to your home. Whether you’re aiming for a minimalist look, a rustic vibe, or a burst of color, textured art offers endless creative possibilities. This guide walks you through seven unique techniques, from materials and preparation to crafting and displaying your masterpieces.
Why Textured Wall Art?
Textured wall art is more than just a decoration—it’s a statement. Here’s why it’s worth the effort:
- Visual Interest: Textures create a focal point and add depth to otherwise flat walls.
- Personal Touch: DIY art reflects your taste and personality, making your space feel truly yours.
- Budget-Friendly: With basic materials, you can craft professional-looking art for a fraction of store-bought prices.
- Eco-Friendly: Many projects can upcycle old materials, reducing waste while beautifying your space.
Materials and Tools You’ll Need
Here’s a handy table summarizing the essentials and optional tools for these projects:
| Category | Materials | Tools |
|---|---|---|
| Essentials | Canvas, drywall mud, joint compound | Palette knives, sponges, paintbrushes |
| Optional | Yarn, fabric, foam boards, sand | Trowels, stencils, hot glue gun |
| Budget Tips | Repurposed canvas, clearance decor | DIY framing tools |
Pro Tip: Scour thrift stores for old art pieces or canvases to repurpose.
Preparation Before You Start
1. Choose the Right Canvas or Base
- Canvas Options: Large blank canvases, wood panels, or even old, unwanted framed art.
- Alternative Bases: Sturdy MDF boards or foam boards for lightweight projects.
2. Set Up Your Workspace
- Cover surfaces with a tarp or old newspapers.
- Wear gloves and protect your clothing.
3. Prime Your Canvas
- Apply a coat of paint primer to ensure better adhesion of materials like drywall mud.
4. Pick a Color Scheme
- Stick to neutrals for a timeless look, or experiment with gradients and metallics for more drama.
The 7 DIY Textured Wall Art Techniques
1. Minimalist Plaster Art
Minimalist plaster art is perfect for creating sleek, monochrome designs that complement modern decor.
Steps:
- Apply drywall mud evenly across the canvas.
- Use a trowel to create subtle waves or geometric lines.
- Let dry completely (24–48 hours).
- Paint over with white or neutral tones and seal with a clear matte finish.
Best For: Scandinavian, minimalist, or contemporary interiors.
2. Palette Knife Abstracts
Palette knives allow you to create dynamic and dramatic textures with ease.
Steps:
- Load your palette knife with drywall mud or thick acrylic paint.
- Sweep it across the canvas in bold strokes or overlapping patterns.
- Add layers in different directions for a dimensional effect.
Color Ideas: Combine metallic accents with deep jewel tones for a bold statement.
3. Fabric-Enhanced 3D Art
Incorporate textiles like burlap, muslin, or old T-shirts to create a sculptural effect.
Steps:
- Attach fabric to the canvas using glue or staples.
- Layer drywall mud over the fabric for a cohesive look.
- Once dried, paint with your chosen colors or leave it natural for a rustic aesthetic.
Bonus Tip: Experiment with draping techniques to create folds or pleats.
4. Nature-Inspired Textures
Bring the outdoors in by using natural elements such as sand, wood chips, or leaves.
Steps:
- Mix sand into your drywall mud for a gritty texture.
- Press leaves or other textured items into the wet surface, then remove to reveal imprints.
- Paint in earthy tones for an organic look.
Perfect For: Farmhouse or bohemian decor.
5. Paper Mâché Spheres
Paper mâché is an excellent way to add 3D shapes to your wall art.
Steps:
- Create hollow spheres using balloons and paper mâché.
- Pop the balloons once dry and paint the spheres.
- Arrange them on a canvas or directly on your wall for a bold installation.
Pro Tip: Combine multiple sizes for a layered effect.
6. Foam and Stencil Art
Foam boards and stencils can help you achieve intricate shapes and designs.
Steps:
- Cut foam boards into desired shapes.
- Arrange and glue them onto a canvas.
- Paint the entire piece in a single color for a uniform look.
Best For: Modern, geometric themes.
7. Gradient and Sponge Techniques
Gradient effects add depth and softness to textured pieces.
Steps:
- Use a sponge to dab paint in layers, blending from one shade to another.
- Combine with textured mud for a multidimensional look.
Color Ideas: Transition from light to dark shades of the same color for a harmonious effect.
Tips for Perfect Results
- Avoid Cracking: Let each layer dry thoroughly before adding another.
- Test Techniques First: Practice on small scraps to refine your methods.
- Seal Your Art: Use a matte or gloss finish to protect your piece.
Framing and Displaying Your Art
- DIY Floating Frames: Use wooden dowels and brackets for a polished finish.
- Hanging Tips: Place at eye level for optimal viewing.
- Gallery Walls: Combine multiple pieces of various sizes for a cohesive display.
Writer’s Opinion: Why DIY Wall Art is Worth the Effort
Creating your own textured wall art isn’t just about aesthetics—it’s a deeply satisfying process. Each piece tells a story, reflects your personality, and enhances your space in ways store-bought art cannot. Embrace imperfections; they add character and uniqueness.
FAQs
How long does textured wall art take to make?
Most projects take 2–3 days, including drying time.
Can I use household items to create textures?
Yes, items like combs, forks, or even bubble wrap can be excellent tools.
How do I clean textured wall art?
Use a soft brush or duster to gently clean the surface without damaging the texture.
Can textured art be customized to fit specific themes?
Absolutely! Tailor your materials and colors to match your decor style.
Is DIY wall art suitable for beginners?
Yes! Start with simple techniques like sponge painting and gradually explore more complex methods.
Last Word
With these seven techniques and practical tips, you’re ready to create stunning textured wall art that transforms your space. Let your creativity flow and enjoy the process of turning your walls into a personalized art gallery!

