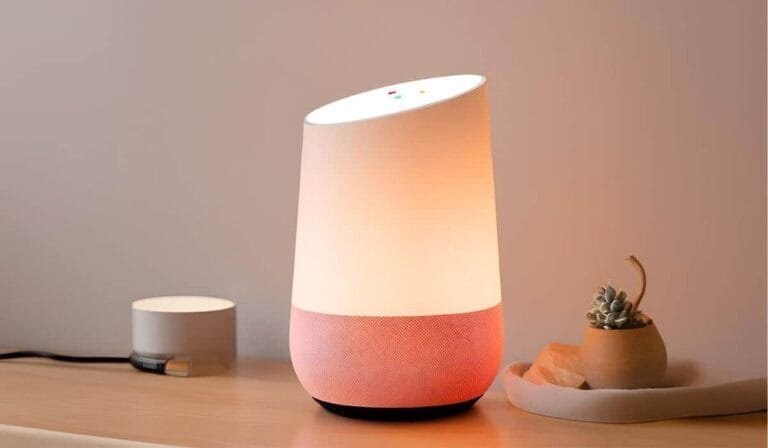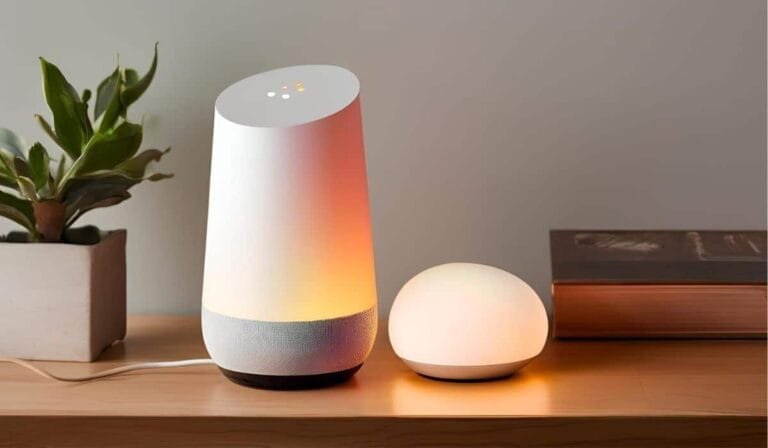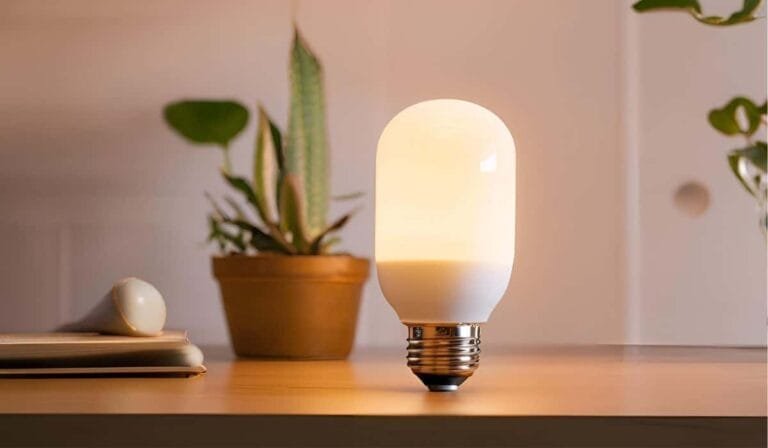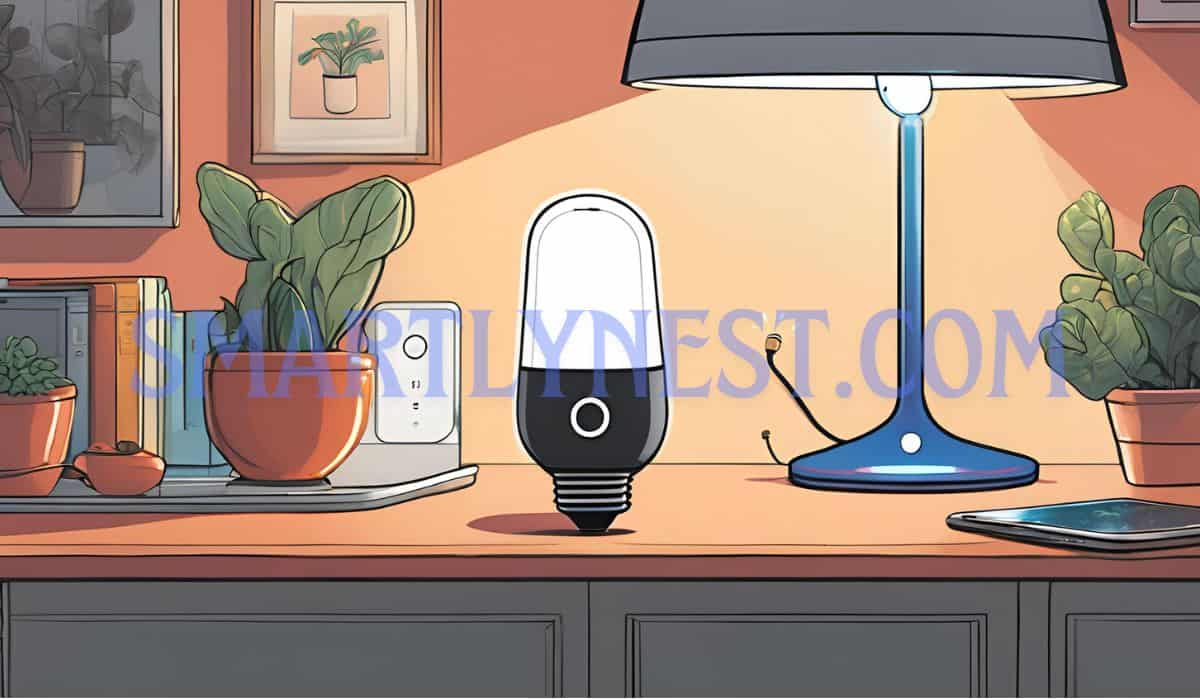
Smart home devices are transforming how we live, and smart bulbs are at the forefront of this revolution. They offer a blend of convenience, energy savings, and a touch of modernity. Integrating your smart bulbs with Google Home takes this a step further by enabling hands-free voice control and personalized automation.
In this guide, we’ll walk you through everything you need to know about connecting your smart bulb to Google Home. Let’s dive in!
Introduction
Smart bulbs, when paired with Google Home, bring about the convenience of controlling your lighting through voice commands or with a tap on your smartphone. They can help you cut down on energy consumption, enhance security with scheduled routines, and create personalized lighting experiences.
Why You Should Integrate Smart Bulbs with Google Home
Here’s why integrating your smart bulbs with Google Home can be a game-changer:
- Energy Efficiency: Scheduled lighting reduces unnecessary energy usage.
- Enhanced Security: Lights can be automated to give an impression of an occupied house when you’re away.
- Convenience: You can control the entire lighting system with just your voice or a single app.
Now, let’s move on to the step-by-step process of integrating smart bulbs with Google Home.
Step-by-Step Guide to Connect Your Smart Bulb to Google Home
Step 1: Initial Setup of Your Smart Bulb
Before integrating your smart bulb with Google Home, make sure the bulb is set up correctly.
1. Unbox and Install the Smart Bulb
- Unboxing: Verify that all components are intact. Typically, the box includes the bulb and setup documentation.
- Installation: Select a lighting fixture to install the bulb. Before doing so, ensure the power to the fixture is turned off to avoid any electrical mishaps. Screw in the bulb securely.
2. Download and Install the Smart Bulb App
Most smart bulbs come with their dedicated app for the initial setup and control. For example, Philips Hue has its own app called “Philips Hue”, while other brands like LIFX and TP-Link have their respective apps.
Pro Tip: Always refer to the manufacturer’s guide for any specific installation steps.
3. Power On the Smart Bulb and Connect to Wi-Fi
- Turn on the Power: Once you have installed the smart bulb, restore the power to the fixture.
- Connect to Wi-Fi: Launch the smart bulb’s app and follow the instructions to connect the bulb to your home’s Wi-Fi network. Most bulbs connect to a 2.4GHz network, so check your router settings if the bulb has trouble connecting.
4. Test the Bulb’s Functionality
After connecting the bulb to the app, test its basic features like turning it on or off, adjusting the brightness, or changing the color (if applicable).
Key Point: A successful connection to the smart bulb app is crucial before linking the bulb to Google Home.
Step 2: Prepare Google Home for Integration
1. Ensure Compatibility and Connectivity
To avoid issues during integration, ensure that your smart bulb is compatible with Google Home. Most reputable brands support Google Home, but some generic ones may need special steps or an alternative app.
- Wi-Fi Network: Make sure your smartphone, Google Home device, and smart bulb are all on the same Wi-Fi network. Smart bulbs often require a 2.4GHz network for optimal performance.
2. Update the Google Home App
Ensure that you are using the latest version of the Google Home app to avoid compatibility issues.
Step 3: Connect Smart Bulb to Google Home Using the App
1. Open the Google Home App
Launch the Google Home app on your mobile device. This app is available on both Android and iOS devices.
2. Navigate to the Menu
Tap the hamburger icon (three horizontal lines) in the top-left corner of the screen and select Home Control from the menu.
3. Add a Device
- Tap on Add or the + sign to add a new device. Here, you’ll find two options: “Set up device” or “Works with Google”.
- Select Works with Google if you are connecting a bulb that has been set up through its dedicated app.
4. Select Your Smart Bulb Brand
Scroll through the list of supported devices and find your smart bulb’s brand. If it isn’t listed, refer to the bulb’s user guide or consult the brand’s support page for further guidance.
5. Authenticate the Connection
You will be prompted to log in to your smart bulb account to authorize access from Google Home. Once done, your bulb will be linked to your Google Home system.
6. Assign the Smart Bulb to a Room
After linking, Google Home will ask you to assign the bulb to a specific room. This makes voice commands more intuitive. For example, “Hey Google, turn on the living room light”.
Customizing and Controlling Your Smart Bulb
With the connection complete, it’s time to explore customization options.
1. Assigning Bulbs to Rooms
- In the Google Home app, navigate to Rooms under Home Control.
- Tap the pencil icon next to the smart bulb’s name and assign it to a room of your choice.
- This setup allows you to use room-specific commands like “Turn off the bedroom lights”.
2. Voice Commands and App Controls
Here are some basic and advanced voice commands to try once your bulb is connected:
Basic Voice Commands
- “Hey Google, turn on the kitchen lights.”
- “Hey Google, dim the bedroom lights to 30%.”
- “Hey Google, turn off all lights.”
Advanced Voice Commands
- “Hey Google, set the living room light to blue.”
- “Hey Google, brighten the office light by 50%.”
- “Hey Google, make the dining room lights warm white.”
Pro Tip: Use the Google Home app to create routines for morning, evening, or bedtime. For example, you can set a routine that turns on all the lights in the living room at 7 PM every day.
Troubleshooting Common Issues
Not everything goes smoothly all the time. Here are common issues and solutions:
1. Wi-Fi Connectivity Problems
If your smart bulb fails to connect:
- Switch to a 2.4GHz Network: Ensure the smart bulb and your Google Home device are connected to the same 2.4GHz Wi-Fi network.
- Reboot the Router: Restarting your router can fix minor connectivity glitches.
2. Unresponsive Bulbs
If the smart bulb becomes unresponsive:
- Power Cycle: Turn the bulb off for 10 seconds and then turn it back on.
- Factory Reset: If the above steps don’t work, perform a factory reset. Refer to the bulb’s user manual for instructions.
3. Compatibility Issues
If your smart bulb’s brand isn’t listed in the Google Home app:
- Check Compatibility: Verify if the smart bulb is officially supported by Google Home. You can find this information on the product’s official website.
- Alternative Apps: Some bulbs can be added using third-party apps like Smart Life or Tuya.
Tips and Best Practices for Seamless Integration
1. Regular Updates
Keep your Google Home and smart bulb apps up-to-date. This ensures you have the latest features and bug fixes.
2. Optimal Network Setup
For dual-band routers, keep the bulb and Google Home on the same frequency. If issues persist, create separate SSIDs for the 2.4GHz and 5GHz networks.
3. Using Smart Hubs for Enhanced Control
If you have multiple smart devices, consider adding a smart hub like Samsung SmartThings to manage all devices centrally.
Writer’s Opinion
Having used smart home devices for a few years now, I can confidently say that smart bulbs are one of the most practical upgrades you can make to your home. Not only do they add convenience and comfort, but they also save energy and create a more secure living environment.
However, one of the common pain points is connectivity. I’ve personally faced issues with bulbs connecting to the wrong frequency or experiencing random disconnections. Investing in a good-quality router and smart bulbs from reputable brands has made a significant difference in reliability.
If I could improve anything, it would be simplifying the setup process for users unfamiliar with smart home technology. Some brands have made strides in this, but there’s still room for more intuitive solutions.
Frequently Asked Questions (FAQs)
Which Smart Bulbs Are Compatible with Google Home?
Most popular brands like Philips Hue, LIFX, TP-Link, and GE smart bulbs are compatible with Google Home. Always check the packaging or the manufacturer’s website to confirm.
What Should I Do If Google Home Can’t Find My Smart Bulb?
- Ensure that the smart bulb is powered on and connected to the same Wi-Fi network as your Google Home device.
- Restart the Google Home device and your router.
- Check for updates to the Google Home app and the smart bulb app.
Can I Control Multiple Smart Bulbs at Once?
Yes! In the Google Home app, you can create groups or assign bulbs to specific rooms. Use commands like “Hey Google, turn off all the lights in the living room” for grouped control.
Is It Possible to Use Regular Light Bulbs with Google Home?
Yes, but you’ll need a smart plug or a smart light socket adapter. These adapters enable Google Home to control regular bulbs by managing the power to the socket.
Do Smart Bulbs Require a Special Router?
No, but most smart bulbs work best with a 2.4GHz Wi-Fi network. If you have a dual-band router, ensure that the bulb and Google Home are connected to the same network frequency.
Conclusion
Integrating smart bulbs with Google Home enhances the convenience of controlling your home’s lighting while saving energy and improving home security. By following the simple steps outlined in this guide, you can effortlessly connect your smart bulbs and start enjoying a smarter, more intuitive home environment.
With a bit of initial setup and regular maintenance, you’ll find that smart lighting with Google Home makes daily routines smoother, enhances the ambiance of your living spaces, and cuts down on energy consumption. So go ahead, and experience the comfort and efficiency of smart lighting today!

