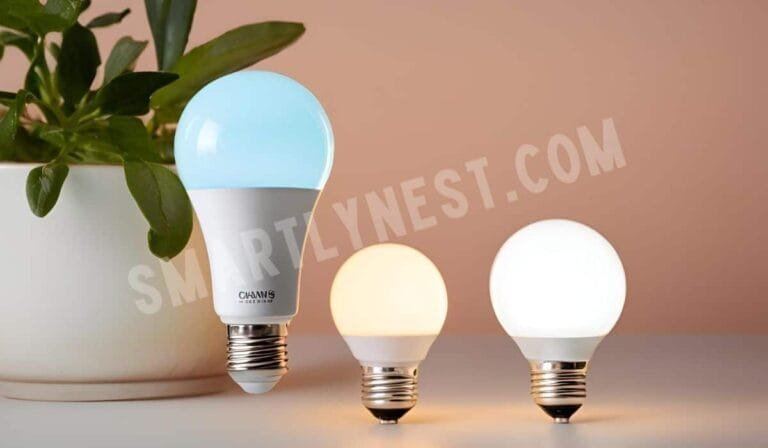
As home lighting technology evolves, integrated LED lights have become a popular choice for their efficiency and longevity. However, like all technology, they eventually need replacing. This guide will walk you through the process of replacing integrated LED lights, ensuring you can handle this task with confidence and safety.
What Are Integrated LED Lights?
Integrated LED lights are advanced lighting fixtures where LEDs are built directly into the fixture, as opposed to traditional fixtures that allow for bulb replacement. This integration typically offers better heat management and longer lifespan but does require complete fixture replacement when the LEDs fail.
When Should You Replace Integrated LED Lights?
Knowing when to replace integrated LED lights is key to maintaining optimal lighting in your home. Here are signs to watch for:
- Dimming or flickering lights
- Significant color shifts or uneven coloring
- Non-functioning lights despite a functional power source
Typically, integrated LEDs last between 30,000 to 50,000 hours, but this can vary based on usage and environmental factors.
Take a deep dive: Guide to Voice Control for LED Lights
Preparing for Replacement
1. Safety First
Before beginning the replacement process, safety must be your top priority:
- Turn Off Power: Always start by turning off the power at the circuit breaker to avoid any risk of electrical shock.
- Use Proper Tools: Ensure you have non-conductive tools to prevent any accidental conduction of electricity.
2. Tools and Materials Needed
Gather the following tools and materials before starting:
- Screwdrivers
- Wire cutters and strippers
- Voltage tester
- New integrated LED fixture
- Safety goggles and gloves
3. Assessing Your Current LED Setup
Note the specifications of your current fixture including wattage, lumens, and color temperature. This information will be crucial when selecting a compatible replacement.
Learn more here: Motion activated closet light
Step-by-Step Replacement Process
1. Removing the Old LED Fixture
- Access the Fixture: Remove any decorative covers or plates.
- Disconnect Wires: Carefully disconnect the wires using a wire cutter or stripper, noting their arrangement for reinstallation.
- Remove the Fixture: Unscrew the mounting screws and gently remove the fixture from the installation area.
2. Selecting the Right Replacement LED
When choosing a new integrated LED light, match the following specifications to ensure compatibility and similar light quality:
- Wattage and lumen output
- Color temperature
- Physical size and shape
3. Installing the New LED Light
- Position the Fixture: Align the new fixture with the mounting area.
- Connect the Wires: Refer to your previous notes or the installation manual to connect the wires correctly.
- Secure the Fixture: Once wired, screw the fixture into place and restore power to test the unit.
4. Testing and Troubleshooting
After installation, test the light by turning on the power. If the LED does not work:
- Check your wiring connections for any loose wires or incorrect connections.
- Ensure that all wire nuts are secure.
- Test the voltage at the fixture to ensure power is being supplied.
May you like: How to fix broken led light strip
Benefits of Replacing Integrated LED Lights
Upgrading or replacing your LED lights offers several benefits:
- Energy Efficiency: LEDs use significantly less power than traditional bulbs.
- Longevity: Integrated LEDs can last up to five times longer than other bulbs.
- Durability: LEDs are more durable against bumps and vibrations.
Maintenance Tips for Integrated LED Lights
To ensure your LEDs last their full lifespan, follow these maintenance tips:
- Regular Cleaning: Dust and debris can lower light output. Regularly clean the fixtures with a soft cloth.
- Inspect Regularly: Look for signs of wear or damage, especially after events that could impact the fixture, like storms or renovations.
Advanced Considerations
1. Dimmability and Smart Features
Many modern LEDs come with smart features such as dimmability. If your setup includes these features, ensure your new LED is compatible with existing systems like dimmers or home automation networks.
2. Legal and Warranty Issues
Understand the warranty of your new LED fixture to ensure you’re covered against early failures or defects. Additionally, some regions have regulations about who can perform electrical installations, so check local laws before beginning your project.
Writer’s Opinion
From my experience, replacing integrated LED lights is straightforward if you are prepared and careful. The key to a successful installation is ensuring compatibility between the old and new fixtures and taking the time to do the job right.
Also read: How to dim outdoor lighting
Frequently Asked Questions (FAQ)
Can Integrated LED Lights Be Replaced Without Professional Help?
Yes, with basic electrical knowledge and the right tools, you can replace integrated LED lights yourself. However, if you are unsure or uncomfortable, hiring a professional is advisable.
How long do integrated LED lights typically last?
They can last anywhere from 30,000 to 50,000 hours, depending on the brand and model.
Are there specific brands or types of LEDs that are easier to replace?
Ease of replacement can vary, but generally, fixtures designed for easy maintenance and quick connect features are simpler to handle.
What are the risks of replacing integrated LED lights yourself?
The main risks include electrical shock and incorrectly installed fixtures that could lead to malfunction or damage.
Conclusion
Replacing integrated LED lights can seem daunting but is manageable with the right knowledge and tools. By following this guide, you can ensure your home continues to be well-lit and energy-efficient. Always prioritize safety and consult professionals if in doubt.


