Imagine transforming a dimly lit hallway into a shimmering pathway of light, or turning an ordinary living room into a celestial retreat. Enter LED strip lights: those flexible bands of brilliance that twist, turn, and illuminate any space with the soft caress of color and warmth.
With their striking versatility, these lights flicker to life in kitchens as under-cabinet illumination, grace the edges of shelves for subtle accents, and dazzle at parties as vibrant mood setters. They are the unsung heroes of modern decor—eager collaborators in your creative journey.
But as tempting as it is to unroll these glowing strips and drape them wherever inspiration strikes, cutting them requires finesse and understanding. Each strip houses intricate circuits akin to veins threading through fabric; slice carelessly, and you risk severing not just connections but potential beauty itself.
Knowing where and how to cut is crucial—the key to unlocking endless design possibilities without sacrificing functionality or aesthetics. Ready to delve deeper? Let’s explore the artful precision behind mastering LED strip lights, ensuring your home sparkles brilliantly while you seamlessly customize every corner!
What Are LED Strip Lights?
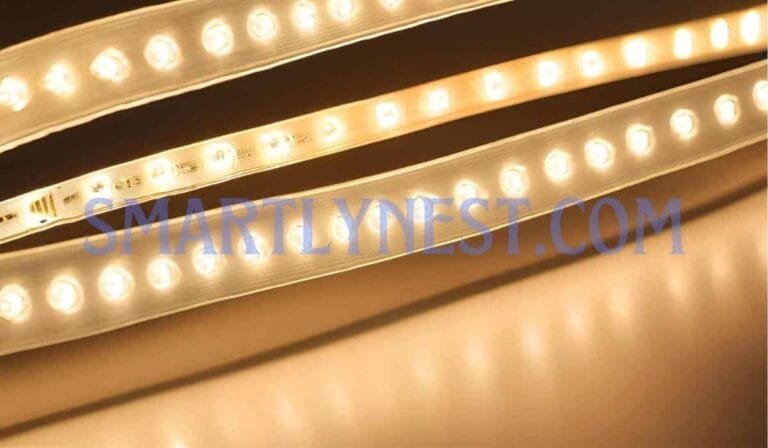
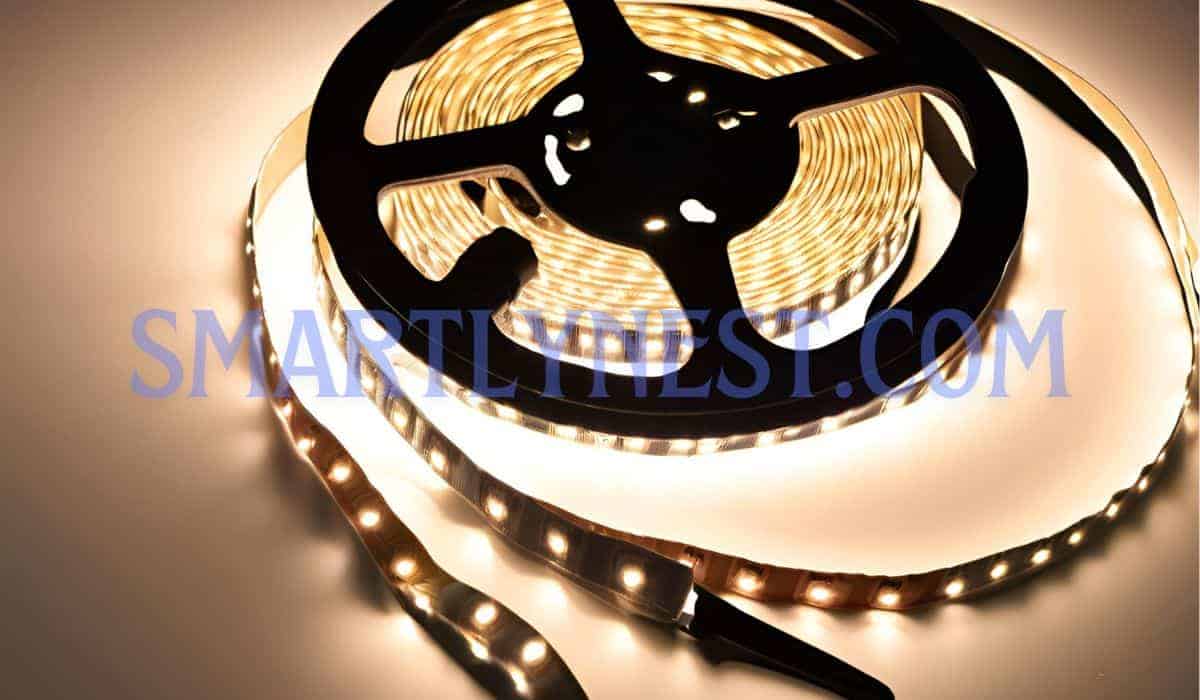
LED strip lights, often referred to as ribbon lights, are a versatile and modern form of lighting that consist of multiple light-emitting diodes (LEDs) mounted on a flexible circuit board. These strips can be easily cut, arranged, or installed in countless formats to fit almost any space. Typically encased in a silicon cover or adhesive backing, they combine functionality with ease of use.
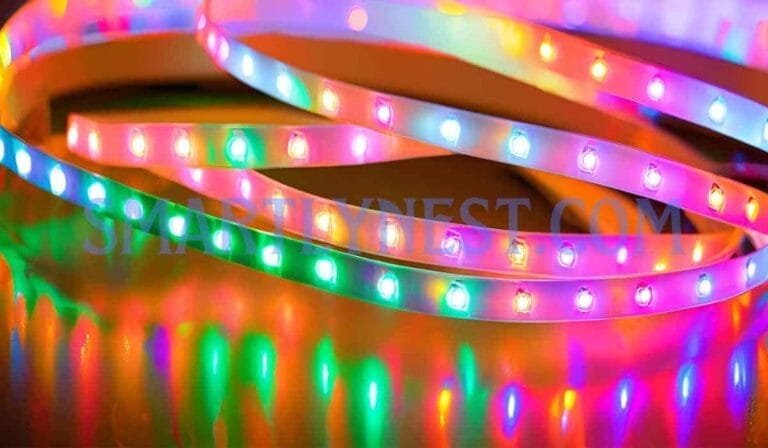
The tiny yet powerful LEDs emit vibrant colors and varying intensities of light, transforming mundane spaces into luminous environments filled with character. In residential settings, LED strip lights have become go-to tools for interior decorators and homeowners alike. Picture the subtle glow emanating from behind your television set; this ambient lighting not only enhances the viewing experience but also brings warmth to an otherwise stark room.
In kitchens, illuminated cabinets shine brightly against dark granite counters, providing both style and safety while cooking. Commercial establishments utilize these lights for visually captivating displays; think mesmerizing light shows in retail stores that draw customers in like moths to a flame or sleek illumination over bars where patrons gather under stylish atmospheres.
The advantages of LED strip lights extend beyond their aesthetic appeal. Energy efficiency reigns supreme among their benefits; utilizing significantly less power than traditional incandescent bulbs, these strips reduce electricity bills while conserving energy—a win-win scenario in today’s environmentally-conscious world. Furthermore, the flexibility inherent in LED strips allows them to conform to various surfaces and designs effortlessly. Whether wrapping around furniture or outlining architectural features, they adapt as if they were custom-made for each unique setting.
Ultimately, LED strip lights symbolize innovation in home decor and commercial aesthetics alike by delivering endless possibilities paired with practical benefits. By blending ease-of-use with innovative technology, they illuminate our spaces creatively while allowing users to tap into their artistic potentials without sacrificing sustainability or functionality.
Why You Might Want to Cut Your LED Strip Lights?
Cutting LED strip lights opens a world of customization, allowing you to tailor lighting solutions that fit your specific spaces and applications like a glove. Picture the glow of soft white light surrounding your kitchen cabinets, or vibrant hues illuminating the contours of your shelves—a seamless blend of atmosphere and artistry.
As you navigate different environments in your home, standard lengths may leave gaps where the drama of illumination is needed, transforming potential into reality with carefully cut strips. Whether it’s under-cabinet lighting in the kitchen or accentuating architectural features in a living room, adjusting the length gives an eye-catching finish that resonates with personal style.
Standard measurements can often feel limiting when pursuing your ideal aesthetic. Imagine trying to fit a one-size-fits-all belt around an hourglass figure—frustrating, right? The same applies to those cookie-cutter lengths of LED strips; they can clash with design aspirations, leaving behind unlit patches or excessively long runs that grow unwieldy and cluttered.
Cutting down LED strips not only resolves this mismatch but also breathes life into spaces by providing concise bursts of color and warmth exactly where they’re needed most—transforming your environment from mundane to mesmerizing. Tailored designs crafted from cut sections open doors to unique projects limited only by imagination. Transform leftover pieces into enchanting nightlights for children’s rooms or striking borders along shelving units that make everyday objects pop against their backgrounds.
The versatility extends further; utilizing these smaller segments as accent lights beneath furniture creates intrigue while still offering utility. This inventive spirit invites you not just to alter existing installations but also to think outside traditional frameworks—redefining how each room communicates its purpose through luminance.
With custom cuts leading the charge, creativity flourishes within every corner of your home. Embracing the advantages of personalized lighting encourages experimentation that energizes any space with character and charm. Delve into hands-on enhancements tailored distinctly for what you envision. Allow your surroundings to reflect not just functionality but an artistic vision bound together through illuminated expressions, handcrafted precisely for every nook and cranny awaiting transformation. Embrace cutting as more than a mere modification—consider it a catalyst for invoking magic through light!
How to Identify Cut Points on LED Strips?
Recognizing the precise cut points on LED strip lights is like deciphering a secret code, where the clues reveal potential for customization and creativity. These markers often appear as small lines or dots printed along the strip, signaling areas where you can safely slice away without jeopardizing the integrity of your lighting masterpiece.
Each cut point typically encompasses copper pads, transforming these innocuous seams into gateways for new design possibilities. When scanning your LED strips, look for these indicators—often located every few inches—as golden opportunities to tailor your strips just right for any nook or cranny in your home.
Following manufacturer guidelines is paramount when navigating this delicate process. Each brand and model may differ slightly in terms of structure and specifications; hence, heeding their recommendations and illustrations directly influences the success of your undertaking. Manufacturers diligently provide charts or diagrams that outline suitable cut points tailored to their products.
Ignoring these cues might result in erratic lighting patterns or worse—complete dysfunction of the strip! Adhering closely to these instructions is not merely advisable; it’s essential for maintaining performance when redrawing boundaries with your cutting shears. To execute those cuts with precision akin to an artist wielding a brush, gather your tools effectively.
Sharp scissors will work beautifully for most light strips, allowing clean edges without fraying or damaging internal wiring. Alternatively, if you’re dealing with wider strips or prefer a more heavy-duty approach, a utility knife provides prowess in sculpting through materials like plastic with confidence.
Ensure you are working on a stable surface—perhaps equipped with a cutting mat—to prevent accidents or injury while creating visually stunning configurations from segmented pieces. With patience and careful attention to detail, identifying cut points transforms what may seem like a daunting task into an exhilarating journey of discovery within home design. Appropriate tools paired with informed decisions lead to successful modifications that breathe life into previously mundane spaces, wrapping them instead in dazzling strands of illumination reflecting your personal style and ingenuity.
Step-by-Step Cutting Instructions
Cutting LED strip lights can feel daunting, but with the right approach and tools, it becomes a straightforward process. Start by gathering the necessary instruments: a sharp pair of scissors or a precision knife, and possibly a ruler to ensure straight cuts. Before making any snips, lay your strip flat on a clean surface well-lit enough to spot those vital cut markers—usually indicated by clear lines or small scissor icons along the copper pads.
This meticulous attention to detail helps maintain the integrity of each light segment. Once you’ve identified your cutting point, ensure that the power is off and unplugged from any electrical sources—after all, safety first! Position your ruler next to the cut line for stability and hold the strip gently but firmly in place.
With steady hands, make your cut; a quick, clean slice avoids frayed edges that could compromise connections later. The resulting edge should be smooth and without jagged pieces, ensuring an easier reconnection if you decide to join two parts later on. If after cutting you notice uneven edges or small residues left behind, don’t fret!
Utilize fine-grit sandpaper or a crafting knife to trim away any imperfections that may hinder functioning when reconnecting strips or adding connectors. When handling these sections post-cutting, treat them with care: slight bends can lead to stressing tracks, impacting their function.
If issues arise during this process—like an unexpected flicker when reconnected—double-check your workspace for solder residue or damaged pads before considering more extensive repairs. Remember that practice makes perfect; if this is your first time cutting LED strips, take cautious measures rather than rushing through.
Test your cuts on smaller sections first if possible to ensure comfort with the tools at hand and gather confidence as you adjust these vibrant lighting solutions in your space.
Reconnecting Cut Sections: Is It Possible?
Once you’ve cut your LED strip lights to fit perfectly in your desired space, you may wonder if and how you can reconnect those severed sections if needed. The good news is that it’s entirely possible! Two primary methods stand out for rejoining the pieces: using connectors or soldering the strips back together.
These techniques allow you to maintain functionality and achieve a seamless lighting experience after cutting. In terms of connectors, adhesive backing options make installation simple and hassle-free. Look for specialized LED strip connectors that clip onto the end of each section; these connectors often feature built-in pins which grasp firmly to ensure a robust connection.
If you’re feeling more technically inclined, soldering presents an alternative avenue. By skillfully melting solder between designated pads on both ends—much like crafting a metal bond—you create a strong electrical connection that stands up under pressure. This technique requires precision and a steady hand but results in durable joinings that resist failure.
While reconnecting cut sections is achievable, it’s important to face potential challenges head-on. Ensuring correct alignment during reconnection is crucial; mismatched polarities or misaligned connections can lead to flickering lights or complete failures. Additionally, some LED strips have varying thicknesses or styles within different batch runs, so always verify compatibility before proceeding with reunions.
If difficulties arise during the process—such as disconnection under tension or weak adhesive—taking time to troubleshoot and perhaps reinforcing connections with additional tape or supports can help restore stability. In essence, successfully reconnecting cut LED strip segments transforms playful experimentation into practical functionality once again!
Remember to embrace creativity along this journey; whether you’re customizing lighting patterns around furniture or showcasing artwork with light accents, your deft efforts at mastering upkeep truly breath life into your innovative projects!
Creative Ways to Use Leftover LED Strip Pieces
Once you’ve successfully cut your LED strip lights, you may find yourself with leftover pieces that beckon for new life. Don’t toss these valuable scraps aside! With a splash of creativity and a dash of ingenuity, you can transform those remnants into eye-catching decorative elements that breathe new energy into your home.
Picture this: trimming segments of vibrant LED strips to create an inviting glow around mirror edges, instantly elevating your vanity or workspace with captivating luminosity. You might even become the proud owner of a chic lighted frame that showcases your favorite photos in a whole new light.
Explore the charm of accent lighting through clever applications of these leftovers. Consider illuminating shelves or bookcases; simply adhere smaller segments along the back edge to inject drama as soft shadows dance across displayed items. Alternatively, imagine crafting under-cabinet lighting in your kitchen by strategically placing shorter lengths along the base of cabinets—stunning golden hues can turn mundane tasks like slicing vegetables or brewing coffee into an enchanting experience.
Each illuminated nook becomes a canvas for expressive design, highlighting architectural features and personal taste. Don’t shy away from experimenting with unconventional ideas! For instance, repurpose several scattered pieces into whimsical nightlights for kids’ rooms; cut them down to size and stick them safely inside jars or other creative containers.
The warm glow from within transforms these simple storage solutions into magical lanterns that drift children peacefully to sleep while sparking their imaginations. Or take those unused fragments and craft a mesmerizing wall installation—think abstract shapes lined with LEDs—they’ll create undeniable visual impact that captivates onlookers and serves as a conversation starter.
Ultimately, let your imagination guide you. Whether contributing warmth in tranquil meditative corners, providing dazzling display options for seasonal decorations, or even fashioning unique gifts for friends who relish personalized touches—the possibilities are as endless as the spectrum of colors available within those small fragments. Embrace these bits as opportunities to innovate and spread brilliance throughout every corner of your living space!
Troubleshooting Common Issues After Cutting
After infusing your space with that trendy look, encountering issues with your LED strip lights can be frustrating. If you find that the captivating glow of your perfectly cut strips suddenly diminishes or fails altogether, don’t fret; diagnose the problem swiftly to restore their brilliance. Begin by checking for visible signs of damage along the cut edges.
A loose connection at a solder point or a gap in the strip could cause electrical interruption. To mend this, carefully inspect each segment and ensure all connections fit snugly into place. The next step involves verifying electrical continuity using a multimeter—your indispensable ally for any DIY project involving electronics.
Set your device to measure resistance, then test across both ends of your LED segment. A reading of zero indicates continuity; if there’s an infinite reading, you’ve likely encountered a break somewhere along the track. If cuts were made incorrectly or anywhere other than designated markings, consider re-evaluating your lines.
Proper cutting usually occurs between copper pads that effectively manage electricity flow; straying from these points can lead to circuit failure, drowning out those radiant hues with darkness. In instances where improper cuts have already been made, swift remedies are essential to salvage your project’s aesthetics and functionality.
If parts near the cut seem unresponsive while others remain lit, you might need to re-solder connections or utilize specially designed connectors tailored for misalignments caused by amateur cuts. Don’t just abandon those vibrant pieces; instead think of them as potential puzzle pieces—small adjustments may yield stunning results without starting over entirely.
If perseverance doesn’t bring forth solutions and persistent flickering becomes an irritating companion, it may be time to call in backup. Seek advice through online forums filled with fellow lighting enthusiasts who may have battled similar woes! By sharing specific symptoms and following tailored suggestions from experienced hands, you can regain that luminous charm one lighted detail at a time. Embrace every setback as a stepping stone toward mastering the art of LED modifications in style!
Safety Precautions When Working with LED Strip Lights
Before diving into a project that involves cutting and installing LED strip lights, it’s essential to prioritize your safety. Start by unplugging the power source to the strips before any work begins. Picture this: as you delicately sever those flexible circuits, a sudden spark ignites when you mistakenly clip an active line.
Not only could this ruin your projects, but it also poses risks of electric shock. Therefore, always ensure that power is completely disconnected and verify with a non-contact voltage tester to put your mind at ease. Equipping yourself with the right tools makes all the difference in safeguarding against mishaps.
A sharp pair of scissors or a specialized cutting tool can allow for cleaner cuts—like slicing through butter—with minimal fraying on the edges. Additionally, consider using gloves to add an extra layer of protection; they will shield your hands from sharp edges and accidental nicks while working on difficult angles in tight spaces.
Preparing a clean, well-lit workspace free from clutter will reduce accidents caused by tripping over stray cords or misplaced tools. Moreover, take heed of potential hazards presented by improperly fitted strips under tension. As you bend these luminous ribbons around corners or along ceilings, securing them correctly can prevent unexpected snaps or breaks.
Use adhesive clips specifically designed for LED strip lights—they hold firmly without risking damage to either the strips or the surface beneath them. Furthermore, when mounting strips vertically—such as behind furniture—watch out for tightly wrapped cables; excessive strain may lead to wear over time.
Lastly, keep an eye out for signs of overheating during operation after installation has taken place. If any odd smells emerge, or if sections of your newly installed lighting emit heat more than others—for instance resembling a toasted marshmallow—immediate disconnection is crucial. Understanding these safety precautions ensures not only successful installations but creates peace of mind during creative adventures with light!
FAQ
Can you cut LED strip lights to a shorter length?
Yes, most LED strip lights are designed to be cut at specific points, usually marked with a scissor icon or dotted lines. These are the safe points where the strip can be cut without damaging the rest of the lights.
Where do I cut LED strip lights?
You should only cut LED strip lights at designated points, typically indicated by a scissor icon or line. Cutting outside these marks may damage the circuit and cause the lights to stop working properly.
Do I need special tools to cut LED strip lights?
No special tools are required. A regular pair of household scissors can be used to cut the strip at the designated cut points.
Can you reattach cut LED strip lights?
Yes, you can reattach cut LED strip lights using connectors, soldering, or special LED strip adhesive connectors. However, this depends on the type of strip light you have and whether it supports reattachment.
Will cutting LED strip lights affect their functionality?
Cutting LED strip lights at the correct points will not affect their functionality. Each segment operates independently, so as long as the cut is made at the designated point, the rest of the strip will continue to work.
Embrace Your DIY Journey with Confidence
With safety precautions echoing in your mind, you can venture into this electrifying project knowing you wield both precision and creativity. As you dive into crafting customized lighting designs, let your imagination run wild! From accentuating architectural features to turning simple scraps into stunning accents, every piece has a story waiting to illuminate your home.
By embracing this adventure, you’re transforming ordinary space into a kaleidoscope of light and ambience—an invitation for warmth that beckons everyone who steps through the door. So grab those scissors, trust in the tips you’ve learned, and watch as vibrant possibilities unfold before your eyes!
Remember, each cut you make is a step towards mastering the art of personalized lighting. The journey of customizing LED strip lights is not just about achieving the perfect fit; it’s about discovering your unique style and bringing your vision to life. As you gain confidence in your cutting and installation skills, you’ll find yourself experimenting with more complex designs and creative applications.
Don’t be afraid to push boundaries and try new ideas. Perhaps you’ll create a mesmerizing light installation that changes colors with your mood, or design an energy-efficient solution that brightens neglected corners of your home. The beauty of working with LED strip lights lies in their versatility and your imagination’s limitless potential.
Remember that even seasoned DIY enthusiasts started as beginners. If you encounter challenges along the way, view them as opportunities to learn and grow. Engage with online communities, share your experiences, and seek advice when needed. You might be surprised by the supportive network of fellow lighting enthusiasts eager to offer tips and celebrate your successes.
As you complete each project, take a moment to step back and admire your handiwork. The satisfaction of seeing your space transformed by your own efforts is truly rewarding. Your home will not only look more beautiful but will also reflect your personality and creativity in every gleaming strip of light.
So, embrace this DIY journey with open arms and a curious mind. Let the warm glow of your customized LED strip lights inspire you to continue exploring, creating, and illuminating your world in ways you never thought possible. Your adventure in personalized lighting has just begun—enjoy every bright moment of it!

