Understanding LED Strip Lights
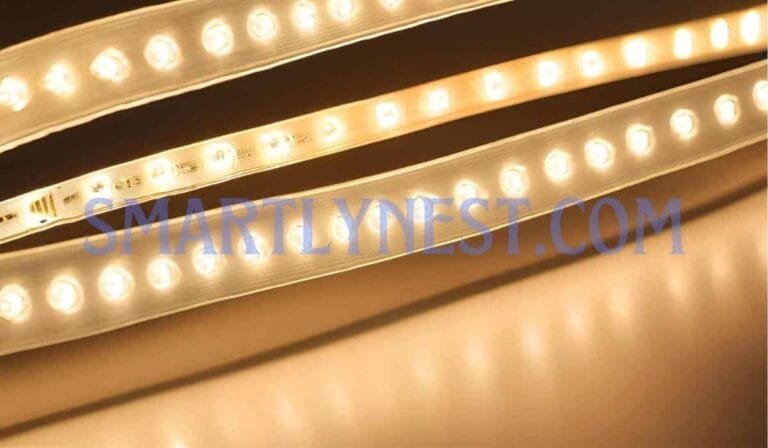
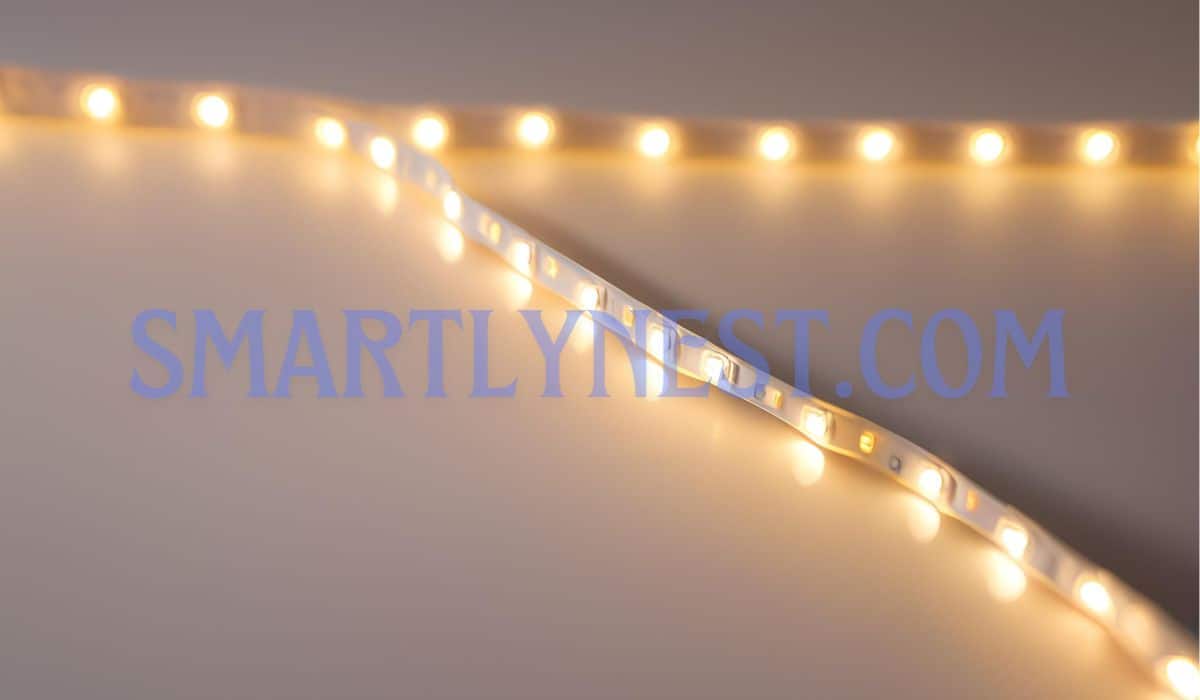
LED strip lights are more than just a series of glowing diodes; they are intricate pathways of brilliance that weave vitality into any space. Composed of tiny light-emitting diodes (LEDs) mounted on flexible circuit boards, these strips offer an illuminating flexibility that other lighting options often lack. The anatomy includes not only the dazzling diodes themselves but also supportive connectors and adhesive backing, enabling seamless installation.
Imagine pathways of vibrant hues cascading along walls or beneath cabinets, creating atmospheres ranging from cozy to electrifying—the sheer versatility is breathtaking.
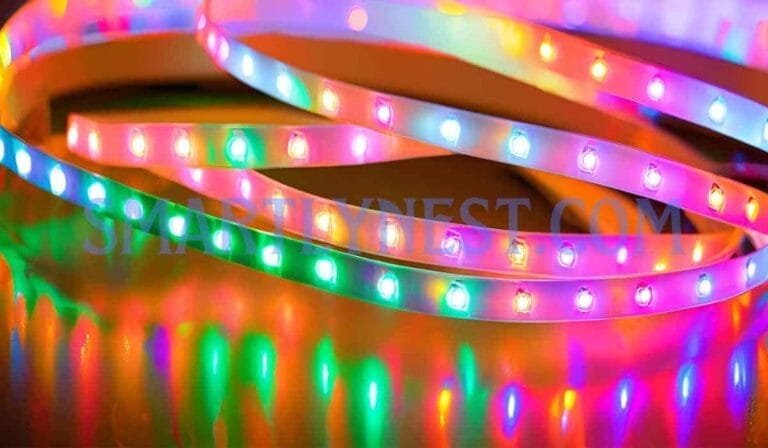
The variety within LED strip lights is astounding, catering to diverse needs and aesthetics. From warm white tones evoking the glow of candlelight to RGB models capable of producing a full spectrum of colors, there’s an LED strip for every design whim. You might choose waterproof variants for outdoor patio settings where decor meets durability or opt for bright white strips in workspaces to enhance focus and productivity.
Each type serves a distinct purpose, much like the various brushes in an artist’s toolkit—each lends a unique touch to your masterpiece.
Voltage plays a crucial role in determining both functionality and energy consumption when selecting LED strips. Typically found in 12V or 24V variants, understanding voltage ensures compatibility with power sources while maximizing brightness without overwhelming circuits. Brightness levels can adjust dramatically too; measuring lumens per foot gives clarity on how intense your illumination will be, akin to choosing the right spotlight for stage production.
Additionally, color temperature ranges—from cool blues reminiscent of daylight to golden ambers invoking warmth—allow you to tailor lighting schemes that complement furniture styles and wall colors beautifully.
Knowledge of these key elements transforms the daunting task of installing LED strip lights into an enriching creative venture. When you grasp the nuances between types, voltages, and brightness options, you’re empowered not just to illuminate a room but to shape its very atmosphere.
Armed with this understanding, your home becomes a canvas where light paints experiences—creating moods that can cheer or calm its inhabitants at the flicker of a switch.
Gather Your Tools
Embarking on the journey to splice LED strip lights requires a well-rounded toolkit, akin to an artist assembling brushes and colors for a masterpiece. Begin with the essentials: sharp scissors designed for precision cutting; connectors that will seamlessly fuse segments of your LED strips; and a soldering iron for those who desire a more permanent bond between pieces.
Each tool plays a vital role in transforming your lighting design vision into a radiant reality. Consider including additional items like wire strippers, heat shrink tubing, and a multimeter to troubleshoot connections—these help ensure your project’s longevity and functionality.
Quality materials elevate your DIY endeavor from mere assembly to an enduring installation worthy of admiration. Opt for high-grade connectors that promise reliable conductivity and sturdy adhesion. Selecting premium LED strip lights not only enhances luminosity but also prolongs their lifespan, ensuring you won’t be left in the dark after just weeks of use.
As you gather your supplies, envision how these tools will impact your final product—every small detail contributes to a stunning light display that transforms mundane spaces into emotive environments.
Before diving into the splicing task ahead, familiarize yourself with essential safety precautions to create a secure working environment. Use heat-resistant gloves when handling the soldering iron, avoiding any potential burns as you bring your design to life.
Ensure good ventilation during soldering sessions; breathing in fumes or excess smoke can detract from an otherwise joyous creation process. By prioritizing safety alongside creativity, you’re not merely crafting beautiful illuminations—you’re creating peace of mind that allows inspiration to flourish without fear.
Measuring and Planning Your Layout
Before embarking on your LED strip light journey, taking the time to measure and plan is paramount. Visualize the space where you wish to weave this ribbon of illumination; whether it’s framing a cozy nook with soft ambient light or creating a cascade of bright energy along the kitchen island. Grab your tape measure and meticulously document precise lengths, considering every curve and corner as if working from a blueprint.
A mistake here could lead to cumbersome adjustments later, disrupting the flow you aim to achieve.
Once you have your dimensions, unleash your inner artist by sketching a visual layout. This doesn’t need to be an elaborate artistic masterpiece—a simple diagram will suffice! Mark where each section of lights will grace the walls or cabinetry, ensuring you highlight areas that may require additional lighting or focus. Such planning can anticipate obstacles like electrical outlets and natural hazards (think: doorframes or cabinetry).
Envision how your choices affect both functionality and aesthetics—too long in one area may cast unsettling shadows, while too short might leave dark patches begging for attention.
Consider also the placement of power sources as they form the backbone of your setup. Ensure that outlets are easily accessible and appropriately positioned for seamless integration into your design vision. For example, if you’re wrapping LED strips around a beautifully framed mirror, make sure there’s an outlet nearby hidden behind it so it doesn’t detract from its charm when illuminated.
Planning ahead guarantees not only an eye-catching result but also safety by avoiding unwieldy cables trailing through open spaces like unattended vines.
As you finalize your plan, think about extending versatility through dimmers or color controllers tucked discreetly within reach but out of sight—enabling quick mood shifts from energizing brightness for cooking to softer hues for winding down after the day fades away. Each step in this planning phase solidifies not just what lights will shine where, but enriches how those lights work harmoniously with both practical demands and the creative spirit of your home decor.
Cutting Your LED Strip Lights
Mastering the art of cutting LED strip lights is a vital skill in your journey toward creating customized ambiance in your space. Think of these strips as vibrant ribbons waiting to be fashioned into the perfect decorative expression for your home. To execute precise cuts, it’s crucial to locate the marked cut lines that typically appear every few inches along the length of the strip.
These lines act as guides, much like dotted seams on fabric, ensuring you sever only what’s necessary while protecting essential components such as diodes and resistors from harm.
When it comes to actually making the cut, consider employing sharp scissors designed for electronics or a utility knife with a clean blade; this will best preserve the internal circuitry and enhance your cutting precision. Imagine slicing through butter—your movements should be steady, deliberate, and fluid. As you work, maintain focus on neatness; frayed edges can lead not only to an unsightly appearance but also potential operational failures down the line.
A clean edge resembles a polished gemstone set amidst rougher stones—an illuminating distinction that elevates your project’s aesthetic appeal.
Before snipping away at those beautiful strips, practice makes perfect. Have some spare or old strips available for experimentation so you can gain confidence in your technique without risk. Once you’re familiar with cutting, you’ll notice how smoothly everything goes when working on your primary project.
This vested time in mastering each motion translates profoundly into outcomes you can take pride in—no jagged edges or damaged circuits here! You’ll find yourself creating pieces that look professional and intentional rather than haphazardly assembled.
Incorporating LED strip lights into your décor should ignite feelings of creativity and excitement rather than stress about accuracy. With clarity on where to cut and how to execute those cuts faithfully, you are paving the way for unhindered adventures in design and illumination—all while setting up stunning effects that reflect your personal style throughout your space.
Remember always to double-check alignments before making any final cuts—it pays off tenfold when transforming ideas into radiant realities!
Splicing Techniques Explained
As you embark on your splicing journey, two primary methods will come into play: soldering and using connectors. Soldering offers a strong and permanent bond, perfect for the DIY enthusiast looking for longevity in their project. Conversely, connectors present a user-friendly option, allowing for easy assembly and disassembly—great for those who might like to reposition their lighting from time to time.
Whichever method you choose, mastery over these techniques guarantees that your LED strips will behave as intended.
To begin with soldering, gather your materials: a quality soldering iron, lead-free solder, and a damp sponge for cleaning the tip. Position the LED strip so that it’s easily accessible; think of it as preparing a canvas ready for your masterpiece. Heat up the soldering iron and gently melt some solder onto the exposed copper pads at the cut point of your LED strip.
Next, place one end of the wire on top of the melted solder and apply heat until they fuse together harmoniously—a tiny dance of metal binding to create an unbreakable link. Remember to ensure there’s no excess solder dripping off into unwanted territories, as this could lead to future malfunctions.
In contrast, if you’re opting for connectors, start by selecting high-quality options tailored for your specific type of LED strips. The process is straightforward; slide the connector over both ends where you’ve neatly cut your strip as if tucking them into a warm blanket. Snap them into place securely without applying excessive force—this isn’t about brute strength but rather finesse!
While this method may seem simpler initially, remember that improper alignment can leave your lights flickering like fireflies on a summer night instead of shining brightly.
As you navigate through these techniques, common pitfalls may arise: perhaps you’ve encountered overheating while soldering or found wires popping out unexpectedly from connectors. If that’s the case with soldering, simply use less heat or work quicker; practice creates precision! With connectors, ensure that all connections are snug and correctly aligned before securing them—think of aligning pieces in a puzzle so that when completed, each fits seamlessly in its rightful place.
Embracing these methods opens doors to endless opportunities—not just illumination but enhancements ideal for setting mood atmospheres throughout any space.
Insulating Connections
After delicately splicing the LED strip lights, where copper wires glimmer like fresh coins, it’s crucial to safeguard those connections with insulation. Think of this step as wrapping a precious gift—the beauty inside deserves protection from the elements that may disrupt its shine. Exposed wires present both functionality risks and safety hazards; without proper insulation, your lights become vulnerable to shorts caused by accidental touches or moisture intrusion.
This not only compromises brightness but can lead to hazardous situations that threaten your home’s safety.
When choosing insulation materials, two popular options emerge: heat shrink tubing and electrical tape. Heat shrink tubing resembles a snug fitting jacket for your exposed wires. Once placed over the connection and heated, it contracts tightly around the wire, providing a sleek protective cover that also resists wear and tear like an impenetrable suit of armor.
Alternatively, electrical tape offers flexibility and ease of use—just wrap it around the connection for a secure hold. Imagine this method as enveloping your wires in warmth during winter; it’s a dependable layer providing comfort against potential disruptions.
Properly insulating connections achieves more than just immediate aesthetics—it extends the lifespan of your light setup considerably. With correct insulation applied either methodically strapping down with tape or expertly shrinking tubes into place, you minimize risks such as short-circuits that can jeopardize power delivery and lead to premature failures reminiscent of deflated balloons losing their vibrancy.
Additionally, these techniques fend off external factors like dust or moisture which become unwelcome guests when left unchecked.
Ultimately, investing time in insulating every splice heightens not only durability but also peace of mind for any DIY enthusiast embarking on this journey towards customizable lighting solutions. As you finalize each crafted component with meticulous care, envision how these illuminated creations will brighten intimate evenings spent at home or provide festive cheer during celebrations—electric affirmations echoing back through time invested wisely in insulation practices.
Testing Your Setup
Before you finalize the installation of your customized LED strip lights, take a moment to engage in the pivotal step of testing. This is where your preparation truly pays off, offering a chance to ensure every light glows with that vibrant intensity you envisioned. By powering up your strips and watching how they illuminate, you can gauge their brightness and consistency across the entire length.
Turn off ambient lighting around your workspace, allowing those strips to shine like stars in the night sky—any flicker or dim patch will be immediately noticeable against the dark canvas.
As each section of LED brightly reveals its potential, keep an eye on the connections at both ends—where solder meets metal or connectors clasp together like hands joined in unity. If any area disappoints or fails to emit light, it may require adjustment until it harmonizes with the rest of the setup. Familiarize yourself with some basic troubleshooting techniques; for example, rechecking if connectors are well-seated can work wonders.
Here, patience is as essential as skill—the tiniest oversight could create ripple effects through your lighting design.
Safety assurance should also remain at the forefront during this critical testing phase. Trust but verify: once you’ve measured output quality, inspect power connections thoroughly to prevent unexpected surprises. Ensure that no frayed wires peek out menacingly from beneath insulation; these hidden vulnerabilities could become dangerous hotspots leading to shorts or unplanned electrical incidents.
A clear understanding remains vital here—your efforts will only pay off if security accompanies creativity.
Finally, after confirming that all elements function seamlessly together, consider documenting your layout and functional checks for future reference—a wise move if ever you wish to revisit or replicate this illuminating endeavor down the line. Each successful test becomes a small victory in transforming your unique space into a realm radiating warmth and artistry through sturdy yet enchanting electric light!
Final Installation Tips
As you transition from the technical aspects of splicing to the artistic stage of installation, securing your finished LED strip lights with care is essential. Begin by preparing the surfaces thoroughly; wipe down areas with a damp cloth to eliminate dust and grease that could undermine adherence. Consider utilizing double-sided adhesive tape specifically designed for LED strips, as it promises a firm grip without damaging your walls or cabinetry upon removal.
This type of tape lays flat against surfaces like sleek hardwood or textured walls, providing both durability and an aesthetically pleasing finish that won’t detract from your design.
When selecting adhesives or mounting solutions, opt for environmentally friendly products that support a sustainable lifestyle while still achieving optimal results. Silicone-based adhesives excel in flexibility, creating a secure bond while allowing for minor adjustments during application. Additionally, these green alternatives reduce harmful emissions and contribute positively to indoor air quality—an often overlooked benefit in home improvement projects.
Another excellent choice is hook-and-loop fasteners; they allow easy repositioning of strips if you decide to tweak your layout post-installation, all without leaving a trace behind.
Embrace the opportunity to express creativity during this final phase. With LED strip lights illuminating transitions from room to room or highlighting architectural features like crown molding or cabinetry edges, think outside conventional boundaries. You might choose to create mood lighting under kitchen countertops or craft accent pieces on floating shelves, configuring colors and brightness levels for personalized ambiance.
By layering various light intensities, you’ll cultivate an inviting atmosphere that transforms everyday spaces into extraordinary experiences.
Lastly, consider integrating dimmers or smart controllers into your setup for enhanced versatility. This allows precise control over light intensity based on context—from vibrant hues during gatherings to soft glows perfect for intimate evenings at home. The interplay of design and function can breathe new life into any space while empowering you as the creator in customizing environments that reflect personal style and functional needs alike.
Let every illuminated corner tell its unique story through color and energy!
Unleash Your Creativity with LED Strip Lights
Congratulations on transforming your space into a personalized sanctuary illuminated with the warm, vibrant glow of customized LED strip lights! Each meticulously spliced connection reflects not only your skill but also your unique style and creativity. Imagine the soft hues dancing around your living room like whispers of inspiration, setting the perfect backdrop for unforgettable moments with family and friends.
You’ve harnessed the power of light to craft an environment that fuels imagination and comfort alike.
Looking ahead, envision the endless possibilities that spliced LED strip lights can offer in future projects. Perhaps it’s time to create a mesmerizing pathway down your hallway or accentuate those cherished family portraits with subtle illumination that brings them to life. As you embark on more creative endeavors, let each innovative design be a canvas for experimenting further with colors and patterns—unleashing your inner artist to paint spaces with light and infuse every corner of your home with character.
The world of DIY lighting awaits; let it inspire you to dream bigger.
FAQ
What tools are needed to splice LED strip lights?
To splice LED strip lights, you will need wire cutters, a soldering iron (if you’re soldering), heat shrink tubing or electrical tape, and connectors if using a connector method. Additionally, you may want a wire stripper to remove insulation if using non-pre-stripped wires.
Can I splice LED strip lights without soldering?
Yes, you can splice LED strip lights without soldering by using quick-connect or clip-on connectors designed for LED strips. These connectors clamp onto the strip, creating a connection without the need for soldering. Make sure to choose connectors compatible with your LED strip type.
How do I solder LED strip lights together?
To solder LED strip lights together, cut the strips at the designated cutting lines, strip away a small section of the silicone covering (if any), and solder the wires directly to the copper pads. Use a low-heat soldering iron and apply solder to each pad. Ensure proper polarity by matching the positive (+) and negative (-) terminals.
How do I ensure the connections remain waterproof after splicing?
After splicing LED strip lights, use heat shrink tubing over the spliced section to ensure a secure and waterproof connection. If you don’t have heat shrink tubing, waterproof electrical tape can also be used. Be sure to seal the connection thoroughly to prevent moisture ingress.
What is the maximum length I can splice LED strip lights together?
The maximum length of LED strip lights that can be spliced together depends on the power supply and the strip’s power consumption. Typically, most LED strips can run up to 5 meters in length before voltage drop becomes an issue. For longer runs, you may need to power both ends or use additional power supplies to maintain consistent brightness.

