Welcome to a world where light dances along walls, breathes life into corners, and transforms the mundane into the extraordinary. LED strip lights wield an enchanting power that can redefine your living space, igniting creativity and illuminating possibilities.
With a spectrum of colors at your fingertips, these versatile strips offer more than just brightness—they provide an invitation to personalize your environment in mesmerizing ways. Whether you seek a soothing ambiance for relaxation or a vibrant burst of energy for entertainment, the adaptability of LED strip lights makes them an irresistible addition to any home.
Imagine unrolling these luminous ribbons and skillfully weaving them through spaces that crave attention. Like artists with paintbrushes, DIY enthusiasts will revel in the ease of installation, turning ordinary rooms into captivating showcases with minimal effort.
In this guide, you’ll embark on a journey to master the art of connecting LED strip lights. Each step unveils practical tips designed for anyone eager to embrace this energetic glow—from homeowners wishing to enhance their living experience to interior designers keen on adding flair. Dive deeper to explore essential tools and techniques that will empower you to manipulate light like never before—transforming shadows into brilliant highlights while breathing new life into every corner of your abode!
Understanding LED Strip Lights
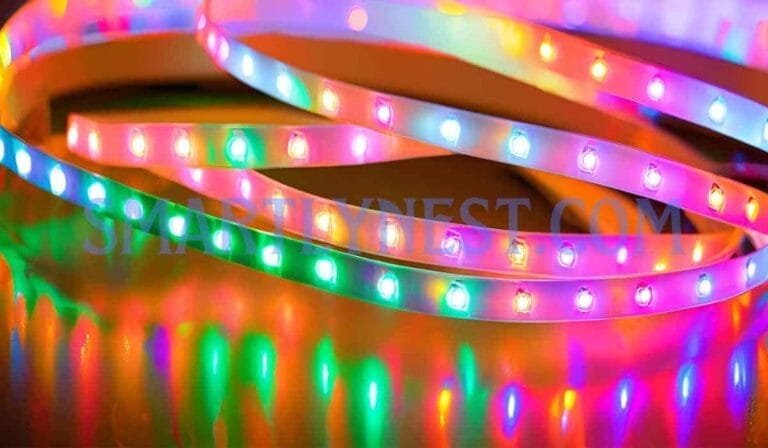
LED strip lights are a fabulous tool for transforming any space into a dazzling array of color and light. These versatile fixtures come in several types, each designed to fulfill different aesthetic goals. RGB (Red, Green, Blue) strips offer the delightful ability to display an entire spectrum of colors, allowing you to create a lively atmosphere for parties or movie nights.
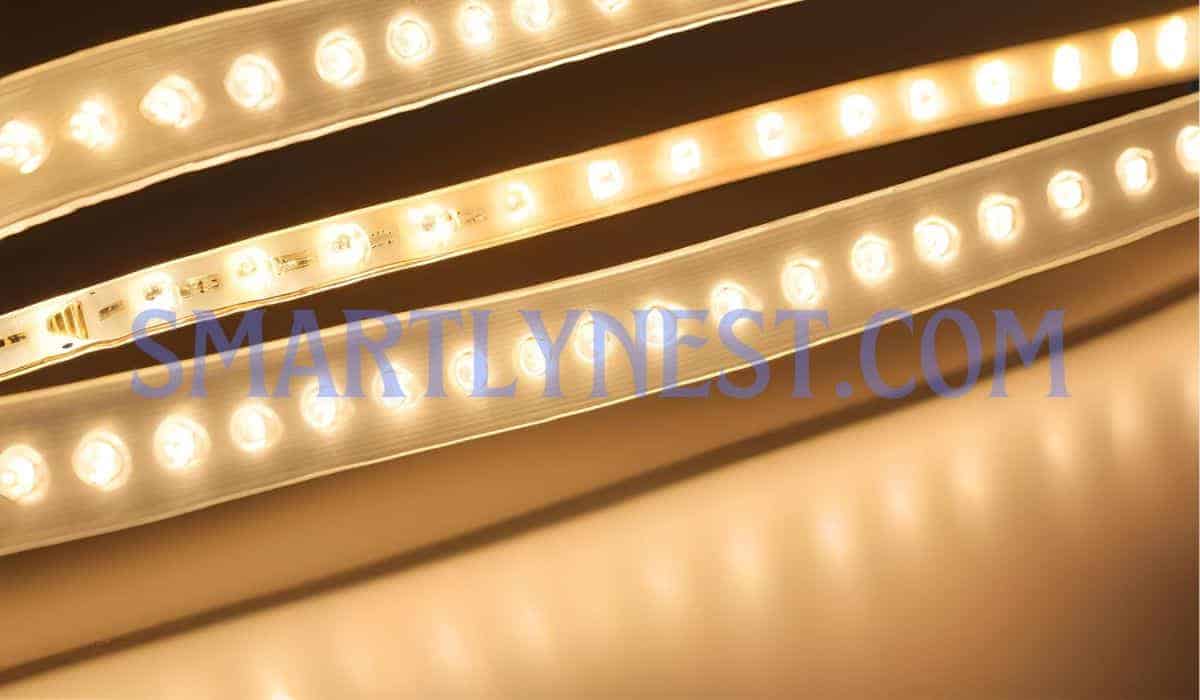
On the other hand, classic white LED strips provide warm or cool lighting options that can enhance a cozy reading nook or brightly illuminate a workspace. Color-changing versions take it up a notch, letting you adjust hues with just a tap on your smartphone—a feast for the eyes that dynamically shifts to match your mood!
When choosing the perfect LED strip lights for your project, consider key specifications like brightness (measured in lumens) and tape width. Not all strips deliver the same luminosity; some may gently wash your walls with soft light while others can turn your ceiling into a radiant canvas. For example, if you’re installing these lights under kitchen cabinets where clarity is vital while cooking, you’ll want brighter strips with high lumen ratings.
Furthermore, tape width impacts not only visibility but also installation ease; thicker strips often house more LEDs per meter, providing superior illumination but sometimes requiring careful planning for incorporation into tight spaces.
To achieve seamless integration of your LED strip lights into your chosen environment, essential accessories play an indispensable role in ensuring successful installations. Connectors allow you to effortlessly link multiple sections of strip lights or divert them around corners without compromising their integrity—think of these as bridges connecting islands of vibrant illumination!
Controllers empower you to enjoy customized experiences by adjusting brightness levels and colors at will — imagine dimming the lights for an intimate dinner setting or ramping them up during festive gatherings. With proper knowledge about available products and their features, you’re well on your way to turning ordinary rooms into extraordinary realms filled with enchanting glow!
Tools Required for Installation
To transform a simple space into a vibrant kaleidoscope of light, you’ll need a few essential tools tucked neatly into your DIY toolkit. First on the list are scissors and a utility knife—your trusty companions in crafting the perfect fit for your LED strip lights. Just as a chef carefully slices fresh herbs to bring out their fragrance, you’ll wield these tools to cut your strips at designated intervals, ensuring every length beautifully contours along walls or shelves.
Measuring tape is equally vital; use it like an artist employs a ruler, allowing you to map out your design precisely and avoid potential pitfalls of uneven or misaligned placements.
Next, don’t overlook the importance of securing your LED strips in place with adhesive backing or mounting clips. Think of these as the glue that binds your illuminating artwork to the canvas of drywall or furniture; without them, even the most exquisite lighting scheme can fall flat. A strong adhesive backing offers an easy solution for smooth, flat surfaces while mounting clips provide extra support in corners or on textured walls—ideal for those unique nooks and crannies in your home where creativity dares to flourish!
If you’re delving into more complex configurations—perhaps intertwining multiple colors or tackling extensive runs of lights—it’s wise to consider adding electrical tools like wire strippers to your arsenal. These handy devices will simplify connections by exposing wires cleanly and efficiently, ensuring strong links between multiple segments.
Just as an architect needs precise instruments to draw plans for structures, you’ll find electrical tools invaluable when executing intricate designs that call for emphasis on both aesthetics and safety.
As you gather these fundamental tools, remember that preparation not only fuels creativity but also empowers flawless execution. With everything ready at hand—from cutting implements to securing accessories—you have laid the groundwork for an installation process that is both enjoyable and rewarding.
Embrace this journey into brightening up your living environment; each tool is not just a means to an end but part of an exciting adventure waiting to unfold right within your own space!
Preparing Your Space
Before you dive into the world of vibrant illumination with LED strip lights, it’s crucial to assess your space thoughtfully. Imagine not just how the lights will look but also how they will interact with your existing decor and daily activities. Each corner of a room presents unique opportunities; consider wrapping lights under shelves for a subtle glow, or framing doorways to create an inviting entrance.
Establishing a layout that accentuates key features and enhances functionality can turn an ordinary area into a stunning focal point.
Creating the right canvas for your lighting project begins with cleanliness. Dust bunnies may seem harmless, but they act like unwanted guests at your light installation party! Wipe down surfaces where you plan to mount the strips—kitchen cabinets, living room walls, or even around mirrors—in order to create a pristine surface that empowers strong adhesion.
Grease from cooking or residue from previous décor could sabotage your efforts, transforming a luminous dream into a dimmed reality. A quick clean-up paves the way for radiant results.
Once surfaces are prepared, embark on an exciting exploration of potential placements. Picture this: you position LED strips along the edge of your ceiling in one test run and later lower them to highlight baseboards in another. By experimenting with various configurations before committing permanently, you can adjust angles and distances as needed to find that perfect warmth or brightness that resonates with your style.
Whether calming hues wash over your evening gatherings or bright accents energize your daytime productivity, play around until each placement feels just right.
Don’t hesitate to invite others into this creative brainstorm! Encourage feedback from family members or friends about their dreamy visions—after all, collaboration often brings forth marvelous ideas that might elude solitary minds. This phase is not merely preparation; it is the foundational step towards crafting an ambiance that reflects individual personality while making any space feel uniquely yours!
Cutting and Connecting LED Strips
Transforming your living space with LED strip lights begins with precise cutting and connecting techniques that unlock their full potential. Armed with the manufacturer’s guidelines, carefully assess where to snip those luminous strips. Most LED strips feature marked intervals indicating safe cutting points; think of them as the dotted lines on a map leading you to the treasure of illumination.
Use sharp scissors or a utility knife to achieve clean cuts, ensuring you don’t inadvertently sever circuits or damage any LEDs—like skilled artisans shaping fine glass without shattering its beauty.
Once you’ve expertly divided your strips, it’s time to connect segments for uninterrupted radiance. Depending on the complexity of your project, you can use simple connectors or opt for soldering if you’re feeling particularly crafty. Connectors snap easily into place, making them ideal for beginners who wish to achieve professional results without diving into intricate techniques.
However, if you desire a more permanent solution, soldering wires together creates an indefatigable bond—much like two lifelong friends uniting in a collaborative adventure. Ensure each connection is secured tightly; even the most vibrant light will dim if its journey is interrupted.
As you make these connections, visualize how each segment will flow harmoniously across your chosen areas like graceful strands in an artist’s painting. The aim is seamlessness; secure each joint properly to promote continuity of light and prevent flickering shadows from disrupting your carefully curated vibe.
Whether you’re spiraling soft white around kitchen cabinets or crafting captivating color runs underneath shelves, this careful attention transforms ordinary spaces into extraordinary experiences filled with warmth and passion.
Taking pride in well-connected strips not only enhances aesthetics but also ensures longevity in your lighting setup. Once everything ignites brilliantly under the glow of freshly installed LED lights, step back and revel in satisfaction knowing that each cut and connection contributed to creating that stunning ambience you’ve envisioned—a tapestry woven from strands of light illuminating every corner of your space beautifully!
Power Supply Basics
Selecting the right power supply is akin to finding the perfect partner for your LED strip lights; both need to harmonize to create that breathtaking ambiance. Start by identifying the voltage requirements of your chosen strips, typically 12V or 24V, and ensuring that your power supply matches this specification flawlessly. Furthermore, consider the total length of your LED strips, as longer runs may require a more potent power source to keep brightness consistent.
Imagine illuminating a sprawling living room versus just adding accents in a cozy bedroom—the nuances in power demand are crucial in crafting your desired lighting mood.
Once you’ve secured the appropriate power supply, turn your attention to safe connections. Picture the process like assembling pieces of a puzzle: carefully line up wires from the power supply with those leading to the LED strips. Your user manual is your roadmap here—detailed circuit diagrams simplify this seemingly complex choreography into clear actions.
Connectors should fit snugly without being forced together, much like securely locking arms while dancing under a starlit sky. This ensures efficient energy flow and lights up every dark corner with vibrant illumination.
Before sealing the deal on your installation, take a moment to test those connections—this crucial step is akin to conducting a sound check before performing on stage. Power everything up briefly and observe how your LEDs respond; vibrant light radiating in unison indicates success! However, if any flicker or dimness occurs, revisiting connections will help identify areas needing adjustment.
A little diligence at this stage can save hours down the road—after all, there’s nothing worse than discovering half-lit sections after you’ve already invested time in securing those beautiful strips up high or along intricate edges.
By paying careful attention to selecting and connecting your power supply correctly, you’re setting yourself up for an engaging lighting experience that’s both enchanting and reliable. So embrace these basics with enthusiasm! Every meticulous effort made translates into an immersive glow that envelops your space—transforming not just rooms but also moods within them!
Installing Your LED Strip Lights
The moment has arrived—your LED strip lights are ready to illuminate your space, and it’s time to install them with precision and care. Begin by peeling off the protective backing on the adhesive tape attached to the light strips. As you do this, place one hand gently on the strip itself, feeling its cool surface while slowly exposing the sticky side beneath.
Firmly press each section onto prepared surfaces such as walls or cabinetry to ensure a secure bond. This careful approach will not only promote optimal adherence but also minimize any unsightly air bubbles that might undermine the sleek aesthetic you’re aiming for.
As you navigate corners and uneven surfaces, mounting clips can become your best ally in achieving a professional finish. Picture these clips as sturdy anchors, holding your glowing strips steadfast against the wear of time and movement. Affix these clips at regular intervals along your installation path, especially in challenging areas where gravity may pull the lights down.
Their subtle hold maintains design integrity while showcasing the lighting without interruption, ensuring an even glow that dances through your room like splashes of sunshine.
Once every segment is adhered perfectly and supported with mounting clips, take a moment to inspect all connections; think of this as polishing up an art piece before unveiling it to friends! Ensure each connection between the power supply and light strips clicks into place securely; loose wires can lead to flickering frustrations later on.
Tuck away any excess wire behind furniture or fixtures for a clean look—after all, less is more when creating an inviting atmosphere that captivates and warms any gathering.
Finally, it’s time for the grand reveal! Power up those lights and watch as they burst to life, flooding your room with vibrant hues or soft luminance based on your choice of colors. Bask in that unforgettable glow illuminating not just walls but also moods—transforming corners into cozy nooks or corridors into enchanting walkways!
Embrace this triumphant moment of DIY accomplishment; relish how every step taken has led you closer to elevating both functionality and beauty within your personal sanctuary.
Customizing Your Lighting Experience
Immerse yourself in the enchanting world of lighting customization with app-controlled LED strip lights, allowing you to transform your atmosphere at the touch of a button. Imagine hosting a cozy movie night; you can switch to deep blues and purples that envelop your space like a warm hug while dimming the brightness for that perfect cinematic experience.
With user-friendly smartphone apps, personalizing colors, adjusting brightness levels, and scheduling lights to mirror your daily rhythm becomes effortless. Whether it’s a bright white to invigorate your morning routine or soft pastels for an evening cocktail gathering, the power to curate your ambiance is literally in your hands.
Consider integrating sophisticated dimmers or remote controls into your setup for ultimate convenience. Picture yourself entertaining guests: as laughter fills the air, adjust the hue from vibrant oranges to earthy greens with just one sleek device. A flick of a switch can shift the mood entirely—turning an ordinary dinner into an extraordinary feast illuminated by warm, inviting light.
Dimmers not only allow instant adjustments but also enhance energy efficiency by reducing power usage when full brightness isn’t necessary.
Experimentation knows no bounds when it comes to layering different light sources! Combining LED strips with other fixtures creates depth and elevates aesthetics uniquely suited to any occasion. For instance, mount LED strips under shelves or behind furniture for gentle uplighting that brings architectural features alive while still providing focused task lighting on work surfaces below.
Blend these expressive strips with existing pendant lamps or wall sconces; mixing ambient glow with directional light can create a multi-dimensional landscape that invites exploration and enhances functionality within every corner of your home.
In essence, customizing your lighting experience transforms spaces from mere rooms into immersive environments tailored to reflect style and personality. Each adjustment not only contributes functional clarity but also crafts an emotional narrative unique to you—one where every celebration glows brighter and each intimate moment feels just right.
Unleash creativity through innovative technologies and exceptional design possibilities while not overlooking those serene moments enjoyed in peaceful solitude at home!
Troubleshooting Common Issues
Even the most thrilling lighting installation can sometimes encounter hurdles, but don’t let minor setbacks dim your excitement! Dimming issues or flickering lights often stem from an incompatible power supply. When LED strip lights appear to be lacking the vibrancy you envisioned, it’s crucial to double-check that the voltage requirements of your strips align perfectly with the output from your power supply.
Think of it as creating a harmonious melody; if one note is off, the entire song will sound disjointed. Amp up your troubleshooting skills by ensuring these components sing in sync!
Next on our troubleshooting journey is tackling potential weak connections, which may result in uneven lighting across your setup. Take a moment to inspect solder joints or slider tabs—those tiny yet vital links connecting segments of LED strips. A poor connection can feel like a missed handshake at a critical meeting; both parties just won’t get where they’re supposed to be!
Ensure all connectors are secure and firmly seated. If you’re doing any soldering, aim for clean and even joints that resemble polished gems rather than rough stones.
Lastly, don’t forget about environmental factors that might alter how effectively your LED strip lights illuminate a space. Imagine placing these vibrant ribbons of light behind heavy drapes or against dark walls: they may feel as if their brilliance is stifled in shadowy corners! Evaluate alternative placement options where light can bounce joyfully off reflective surfaces or fill open spaces for an energizing glow.
Perhaps moving them nearer to a window could allow natural light during the day and enhance overall brightness come evening.
Maintaining vigilance through this troubleshooting phase not only ensures optimal performance but also helps you learn and grow as a DIY lighting enthusiast. Every challenge presents an opportunity—a chance to tailor your designs into captivating reflections of who you are while keeping the magic alive in every corner!
FAQs
What do I need to connect LED strip lights?
You will need the LED strip, a power supply, connectors (for linking strips), a controller (if dimming or color-changing), and optional extension cables or splitters.
How do you connect LED strip lights to a power supply?
Match the positive (+) and negative (-) terminals on the strip to the power supply, or use a DC jack if available. Ensure the voltage and wattage match the strip’s requirements.
Can I connect multiple LED strip lights together?
Yes, use connectors or soldering to link multiple strips. Be mindful of the maximum run length to avoid voltage drop, and use additional power supplies for longer connections.
How do you connect LED strip lights at corners or around bends?
Use corner connectors or flexible connectors to maintain a continuous connection. Alternatively, carefully bend the strip if it is designed to be flexible without damaging it.
How do you connect LED strip lights to a controller for color changing or dimming?
Connect the input wires from the LED strip to the controller’s terminals, then link the controller to the power s
Transform Your Space with LED Marvels
In conclusion, connecting LED strip lights isn’t just a practical endeavor; it’s an opportunity to breathe new life into your living environment. These radiant strips serve as both functional highlights and stunning visual statements, seamlessly enhancing the aesthetic appeal of any room while illuminating every nook and cranny with vibrant colors.
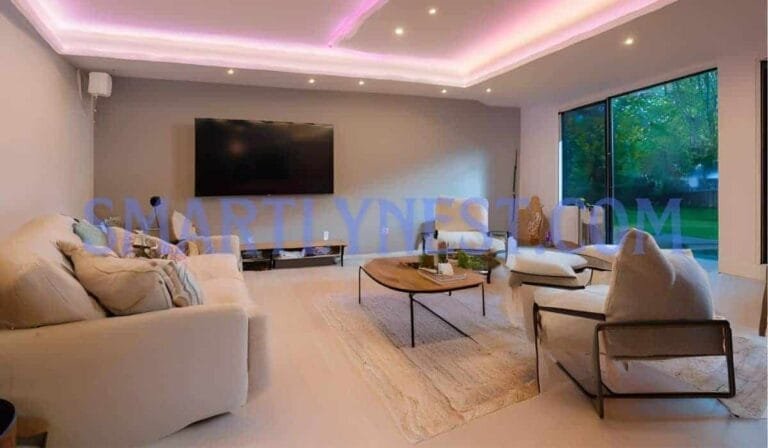
Imagine soft blue glows cascading along your walls or warm white light beckoning you for cozy gatherings—each glowing strand can transform a mundane space into a vibrant canvas that reflects your personal style.
Embrace this chance to unleash your creativity! Play with different hues and placements; let the spectrum dance in harmony with your home’s unique architecture and vibe. Whether you’re accentuating artwork or creating whimsical atmosphere, each choice becomes a brushstroke in the masterpiece of your surroundings. With a palette as rich and varied as your imagination, allow LED strip lights to illuminate not only your space but also the boundless possibilities of design that await you!

