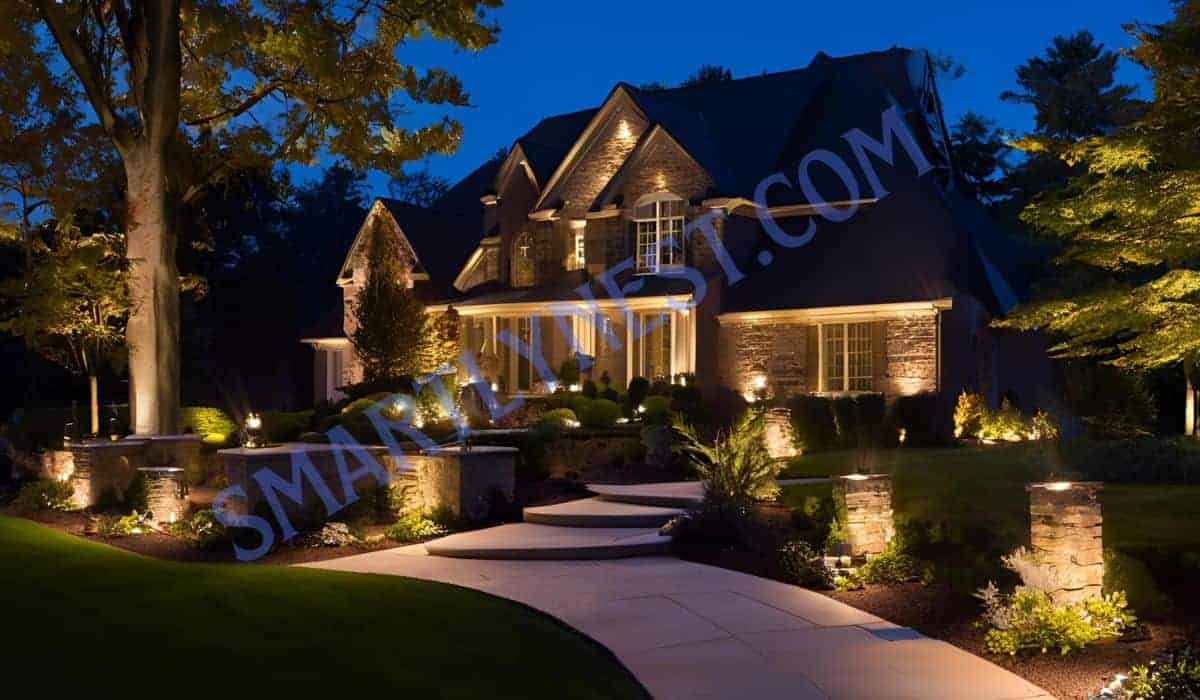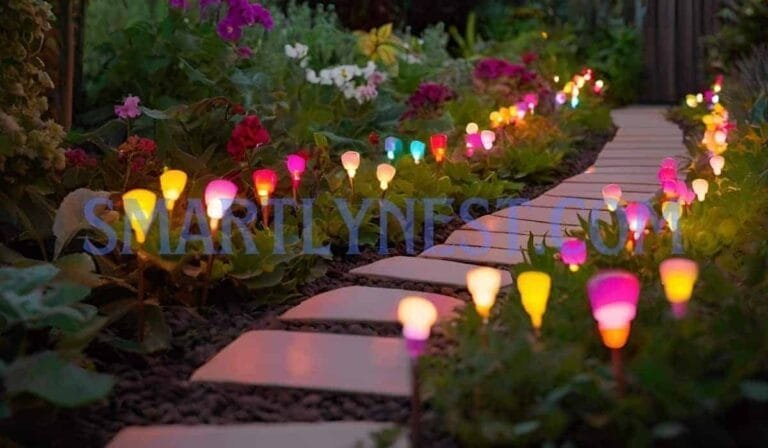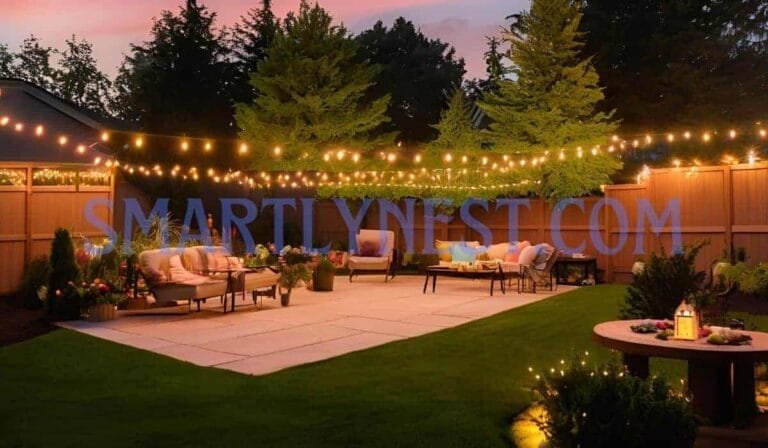
Imagine coming home to a warmly illuminated garden, your walkways glowing with subtle lighting, and your favorite outdoor features spotlighted perfectly. Outdoor landscape lighting is more than just decoration; it enhances the beauty, safety, and functionality of your yard. Whether you’re looking to brighten up your pathways, highlight landscaping features, or add a magical glow to your garden, installing outdoor landscape lighting is a DIY project that anyone can tackle. With the right tools and guidance, you’ll transform your outdoor space into a cozy, well-lit oasis. Ready to learn how? In this step-by-step guide, we’ll cover how to install outdoor landscape lighting, the best types of lights to use, energy-efficient options, and the top tips to achieve a professional look.
Why You Should Install Outdoor Landscape Lighting?
Before diving into the installation process, it’s important to understand why outdoor lighting is such a game-changer. Installing outdoor landscape lighting not only makes your home more inviting but also improves safety and security. A well-lit yard can deter intruders, highlight potential tripping hazards, and provide a warm, welcoming ambiance for guests. Plus, outdoor lighting adds value to your home, offering a stunning visual appeal that impresses neighbors and prospective buyers alike.
What You’ll Need to Install Outdoor Landscape Lighting?
First, gather your materials. Here’s a quick list of tools and items you’ll need to install outdoor landscape lighting:
- Outdoor lights: Choose your preferred type (solar, low-voltage, LED)
- Transformer: If you’re using low-voltage lighting, you’ll need this to convert 120V power to 12V
- Cable: For low-voltage systems, purchase outdoor-rated cable
- Lighting timer: Automates your system
- Spade or trenching tool: To dig small trenches for the wires
- Wire strippers
- Silicone sealant or electrical tape: For waterproofing
- Screwdriver: To secure connections
- Measuring tape: For consistent light spacing
With your tools ready, it’s time to move to the next step!
Step-by-Step Guide on How to Install Outdoor Landscape Lighting
1. Plan Your Lighting Design
Begin by mapping out where you want to place your lights. Walk around your yard at night, take note of dark areas that need illumination, and consider the features you want to highlight. Keep in mind paths, driveways, patios, and landscape focal points like trees, sculptures, or water features. Sketch out your lighting plan, considering both aesthetics and functionality.
Pro Tip: Use outdoor landscape lighting to create layers. Combine ambient lighting (soft, diffused light), task lighting (to light up pathways or seating areas), and accent lighting (for focal points).
2. Choose the Right Type of Outdoor Lights
There are three main types of outdoor lights you can use:
- Solar Lights: These are the easiest to install since they don’t require wiring. Simply place them where they can absorb sunlight during the day, and they’ll light up at night.
- Low-Voltage Lights: These are the most popular for landscape lighting. Low-voltage lights offer energy efficiency and bright, consistent lighting. They require a transformer and cabling but are relatively easy to install.
- LED Lights: LED outdoor landscape lights are long-lasting and energy-efficient. They can be integrated into either solar or low-voltage systems.
3. Install the Transformer (For Low-Voltage Lighting)
If you’re using low-voltage lights, you’ll need to install a transformer. This device reduces the power from your home (120 volts) to the 12 volts required by most landscape lighting.
- Mount the transformer near an outdoor electrical outlet.
- Attach the cable to the transformer and lead it to where the lights will be installed.
Pro Tip: Choose a transformer with a built-in timer so you can automate your lights, setting them to turn on at dusk and off at dawn.
4. Lay the Cable
Run the low-voltage cable along the path where you want your lights. Leave about a foot of slack at each fixture location to allow room for adjustments. You can either lay the cable directly on the ground or bury it in shallow trenches if you want a cleaner look.
5. Connect the Lights
Position each light fixture where you want it. Connect the fixtures to the main cable by using connectors designed for your lighting system. Make sure to follow the manufacturer’s instructions closely to ensure a secure connection.
6. Test the System
Before burying any cables or securing your lights, test the entire system. Plug in the transformer, set the timer, and make sure all lights are functioning properly.
7. Finalize the Installation
Once everything is working, secure the light fixtures into the ground (most come with stakes), and bury any exposed cables. Use silicone sealant or electrical tape to waterproof any connections.
Popular Types of Outdoor Landscape Lighting Designs
When installing outdoor lighting, consider different lighting techniques to maximize the beauty and functionality of your space. Here are a few design ideas to inspire you:
1. Path Lighting
Pathway lights are typically placed along walkways, garden paths, and driveways. They not only enhance safety but also add a charming touch to your yard. Opt for low-profile lights that don’t overpower the design of your landscape.
2. Uplighting
Uplighting involves placing lights at ground level and angling them upward to highlight trees, plants, or architectural features. This technique creates dramatic shadows and emphasizes the height and texture of the landscape.
3. Downlighting
Downlighting creates a soft, moonlit effect by placing lights higher up, such as in trees or under eaves, and angling them downward. This technique adds a subtle glow and is great for illuminating larger spaces like patios or seating areas.
4. Spotlighting
Use spotlights to focus attention on a specific feature, like a statue, fountain, or tall plant. This effect creates a focal point that stands out in your landscape.
Expert Tips for a Professional-Looking Outdoor Lighting Installation
- Avoid Overlighting: Too much light can create harsh contrasts and ruin the ambiance. Opt for a mix of soft, subtle lighting.
- Consider Energy-Efficient Options: LED and solar lights are the best choices for energy efficiency. They last longer and use less power than traditional incandescent bulbs.
- Use Warm Light: Choose bulbs that emit a warm, yellow-toned light rather than cool, blue-toned light for a more inviting, cozy atmosphere.
- Layer Your Lighting: Combine different types of lighting (ambient, task, and accent) for a dynamic, well-balanced design.
- Focus on Safety: Ensure that all wiring is properly sealed and buried. If you’re unsure, consider hiring an electrician for the electrical parts of the installation.
FAQs About Installing Outdoor Landscape Lighting
What is the best type of outdoor landscape lighting for energy efficiency?
LED lights and solar-powered lights are the most energy-efficient options. LED bulbs use significantly less electricity than traditional incandescent bulbs and can last for many years. Solar lights, on the other hand, harness the power of the sun, making them completely energy-free after the initial purchase.
Do I need a professional to install outdoor landscape lighting?
Not necessarily! Low-voltage and solar lighting systems are designed to be DIY-friendly. With the right tools and instructions, most homeowners can install these systems themselves. However, if you’re working with high-voltage lighting or feel unsure about handling electrical components, it’s best to hire a professional electrician.
How far apart should I space my landscape lights?
The spacing of your lights depends on the type of light and the area you’re illuminating. Path lights should typically be spaced 5 to 10 feet apart, while uplights or spotlights can be spaced farther depending on the size of the feature you’re highlighting.
How do I maintain my outdoor lights?
To maintain your lights, clean the fixtures regularly to remove dirt, debris, and bugs. Check for any signs of wear and tear, like frayed cables or burnt-out bulbs, and replace them as needed. You may also need to adjust the fixtures over time as plants grow or as the landscape changes.
Can I use indoor lights outdoors?
No, indoor lights are not designed to withstand the outdoor elements. Always use lights specifically rated for outdoor use to ensure they are weatherproof and safe for outdoor conditions.
How long do solar landscape lights last?
Most solar lights will last anywhere from 2 to 10 years, depending on the quality of the lights and how much sunlight they receive. The batteries in solar lights may need to be replaced every 1 to 2 years.
What’s the difference between line voltage and low voltage landscape lighting?
Line voltage systems operate on standard 120V household power, while low-voltage systems reduce this power to a safer 12V. Low-voltage systems are more energy-efficient, easier to install, and safe for DIY projects.
Conclusion: Light Up Your Outdoors in Style
Installing outdoor landscape lighting is an excellent way to elevate your home’s curb appeal, improve safety, and extend the usability of your outdoor spaces long after the sun goes down. Whether you’re enhancing a garden, illuminating pathways, or creating a welcoming entrance, the right lighting can completely transform your yard. With this comprehensive guide, you’re now equipped with the know-how to install outdoor landscape lighting on your own.
Get started today, and watch your outdoor space come to life with a beautiful glow!


