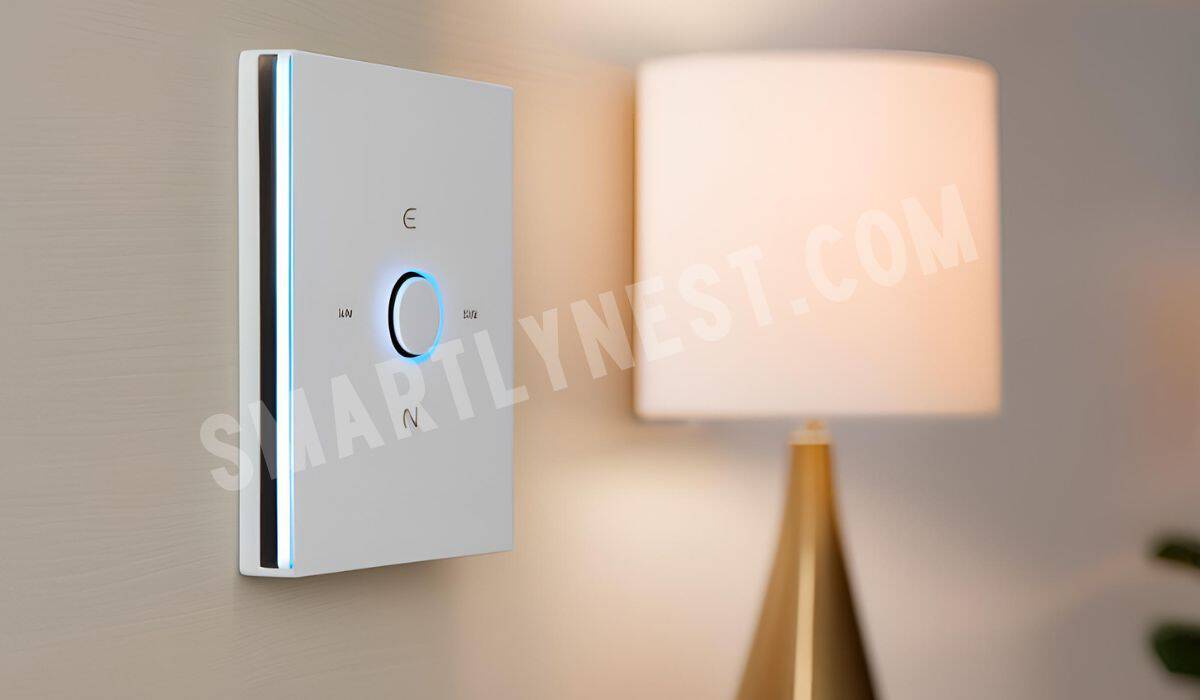
Installing a smart dimmer switch is one of the most effective ways to modernize your home lighting and bring convenience at your fingertips. With a smart dimmer, you can easily control the brightness of your lights from your smartphone, voice assistant, or through automated schedules. Not only does this technology offer ease of use, but it also promotes energy savings by allowing you to adjust lighting levels based on your needs. If you’ve ever wondered how to install a smart dimmer switch, you’re in the right place. This guide will walk you through every step, ensuring that even a beginner can take on this project. You’ll learn everything from selecting the right switch to wiring it up correctly.
In this article, we’ll also touch on important related topics like choosing the right smart switch, troubleshooting installation issues, and understanding smart home compatibility. Follow along for a complete understanding that will make your DIY project a breeze!
Why Switch to a Smart Dimmer?
Before diving into the nitty-gritty of the installation process, it’s essential to understand why investing in a smart dimmer switch makes sense. These devices aren’t just techy gadgets; they serve practical purposes that enhance your daily life.
- Energy Efficiency: Smart dimmers allow you to fine-tune lighting levels, ensuring you’re only using the amount of electricity you need. Lowering brightness can save energy, which helps reduce your utility bills.
- Convenience: Whether it’s adjusting the lights from your bed or setting up lighting schedules that mimic natural sunlight patterns, a smart dimmer offers unparalleled flexibility.
- Home Automation Integration: Smart dimmers work seamlessly with systems like Google Home, Amazon Alexa, or Apple HomeKit. With voice commands or smartphone control, adjusting lighting is effortless.
- Customization: Want a cozy atmosphere for movie night? Or bright lighting for working? Smart dimmers give you full control over the mood and ambiance.
Step-by-Step Guide to Installing a Smart Dimmer Switch
1. Gather Your Tools and Materials
Before you get started, make sure you have the right tools and materials on hand. This will save you time and frustration later.
What You’ll Need:
- Smart dimmer switch (check compatibility with your home’s wiring)
- Flathead and Phillips screwdrivers
- Voltage tester
- Wire nuts
- Electrical tape
- Wire stripper
- Circuit tester
- Needle-nose pliers
Having these tools nearby will ensure a smooth installation process.
2. Turn Off the Power
Safety comes first! Head to your circuit breaker and turn off the power to the switch you’ll be working on. Use your voltage tester to double-check that there’s no current running through the wires before proceeding.
3. Remove the Old Switch
Use your flathead screwdriver to remove the wall plate of the existing switch. After that, unscrew the switch itself from the wall. Carefully pull it out, exposing the wires behind it. Be cautious here—it’s crucial to remember which wires are connected where for easier installation of your new smart dimmer switch.
4. Identify and Label Wires
Typically, you’ll find three types of wires: hot (usually black), neutral (white), and ground (green or bare copper). Some systems may also have a traveler wire (usually red) for multi-switch setups. Use electrical tape to label these wires before disconnecting them from the old switch. If you’re uncertain, consult the instruction manual that came with your smart dimmer, as wiring setups can vary slightly.
5. Install the Smart Dimmer Switch
Follow the wiring diagram provided with your smart dimmer switch. In most cases:
- Connect the hot wire to the live terminal on your dimmer.
- Connect the neutral wire to the neutral terminal.
- Attach the ground wire to the ground terminal.
- If you have a traveler wire (for 3-way installations), connect that to the corresponding terminal.
Make sure all connections are secure by using wire nuts and electrical tape.
6. Secure the Switch and Reattach the Wall Plate
Once the wires are securely attached, carefully push the switch back into the electrical box. Use the screws provided to fasten it in place, and then reattach the wall plate.
7. Turn the Power Back On and Test
Head back to your circuit breaker and flip the power back on. Once the power is restored, test your new smart dimmer switch. Adjust the brightness and see if it responds to voice commands or the connected app. Most modern smart dimmers come with calibration options for smoother dimming, so don’t forget to tweak those settings if needed.
Troubleshooting Common Issues
Problem 1: Flickering Lights
If your lights are flickering after installation, it could be due to incompatible bulbs. Smart dimmers work best with LED bulbs that are specifically labeled as dimmable. Replace your bulbs with dimmable LEDs to resolve the issue.
Problem 2: Switch Doesn’t Respond to App Commands
Ensure your smart dimmer is connected to the same Wi-Fi network as your smartphone. If it still doesn’t respond, try resetting the switch according to the manufacturer’s instructions.
Problem 3: Buzzing Sound
A buzzing noise is often caused by low-quality bulbs or incompatible dimmers. Upgrading to a higher-quality dimmer switch or bulbs should eliminate the problem.
Choosing the Right Smart Dimmer Switch
With the wide variety of smart dimmer switches available, choosing the right one can feel overwhelming. Here are a few things to consider:
Compatibility with Smart Home Systems
Make sure the smart dimmer you choose is compatible with your preferred smart home system, whether it’s Amazon Alexa, Google Home, or Apple HomeKit. This will allow you to control your lights with voice commands and integrate them with other smart devices.
Ease of Installation
Some smart dimmer switches are easier to install than others. If this is your first time installing one, opt for a switch that doesn’t require a neutral wire. This can simplify the process significantly.
Additional Features
Look for smart dimmers with added features like motion sensing, geo-fencing, or remote control capabilities. These features enhance convenience and offer a more personalized lighting experience.
Smart Home Integration and Automations
Once your smart dimmer switch is installed, you can unlock even more functionality by integrating it with smart home automation. For example, you could create routines where your lights dim gradually in the evening as you prepare for bed or brighten automatically in the morning when it’s time to wake up.
FAQ: Frequently Asked Questions About Smart Dimmer Installation
Can I install a smart dimmer switch myself?
Yes! With the right tools and following the steps outlined in this guide, most homeowners can install a smart dimmer switch themselves. However, if you’re not comfortable working with electrical wiring, it’s always a good idea to consult a licensed electrician.
Do smart dimmer switches work with all types of bulbs?
No. Smart dimmer switches typically work best with dimmable LED bulbs. Some models also support incandescent or halogen bulbs, but always check compatibility before installation.
Do I need a neutral wire for my smart dimmer switch?
It depends on the model. Some smart dimmers require a neutral wire, while others do not. If your home doesn’t have a neutral wire, opt for a switch designed for homes without one.
How do I reset my smart dimmer switch?
Each manufacturer has its own reset instructions, which are typically included in the user manual. Resetting often involves pressing and holding a button on the switch for a certain number of seconds.
What happens if I install a non-dimmable bulb in a smart dimmer switch?
If you use non-dimmable bulbs with a smart dimmer switch, they may flicker or malfunction. Always use dimmable bulbs with dimmer switches to avoid issues.
Can smart dimmers be used in 3-way switch setups?
Yes, many smart dimmers are designed for 3-way switch setups, allowing you to control the lights from multiple locations. Check the product specifications to ensure compatibility.
How can I integrate my smart dimmer with a voice assistant?
Most smart dimmers come with detailed instructions for integration. You’ll usually need to add the switch to your smart home app, such as Google Home or Amazon Alexa, and follow prompts for voice control setup.
Conclusion: Smart Dimmers—A Simple Upgrade with Big Impact
Installing a smart dimmer switch is an easy yet impactful way to elevate your home’s lighting system. Whether you’re looking for energy savings, enhanced convenience, or a modern touch, smart dimmers offer it all. By following this step-by-step guide, you’ll be well on your way to enjoying smarter, more efficient lighting in your home. Don’t wait—start your smart home transformation today!


