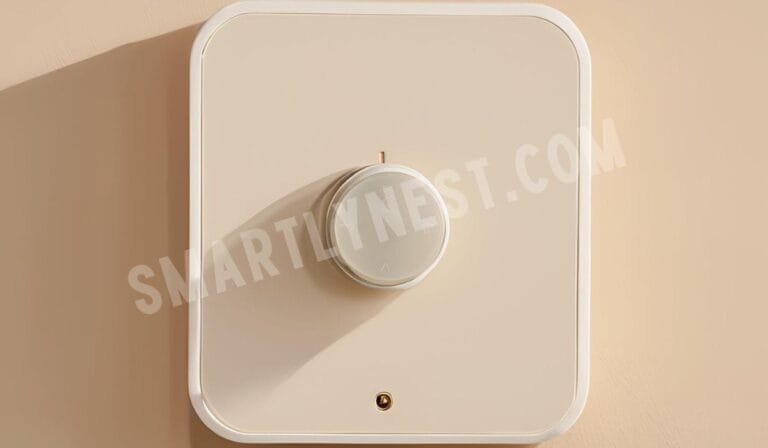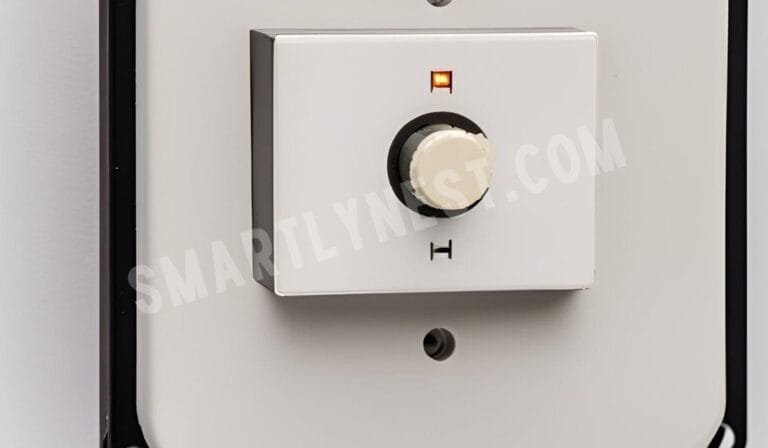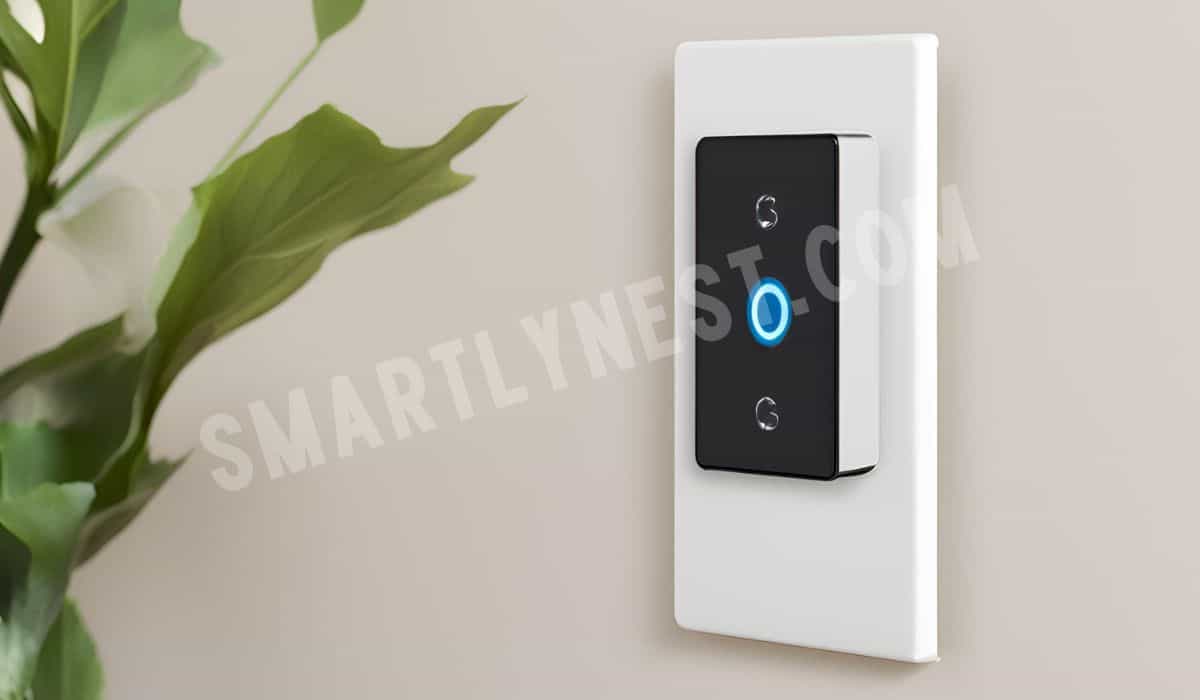
Are you tired of harsh lighting and looking for a simple way to enhance the ambiance of your home? One of the best ways to take control of your lighting is by changing to a dimmer switch. A dimmer switch allows you to adjust the brightness to fit your mood, save energy, and extend the life of your lightbulbs. Whether you want to create a cozy, relaxing environment or need full brightness for tasks, a dimmer switch is the ultimate solution.
In this article, I will guide you through the entire process of how to change to a dimmer switch, from choosing the right switch to safely installing it in your home. Don’t worry if you’re not an expert in electrical work; with this guide, anyone can make the upgrade with confidence. Let’s dive into the details of this easy yet impactful home improvement!
Table of Contents
Why Change to a Dimmer Switch?
Before we get into the installation process, let’s talk about why a dimmer switch is a fantastic addition to your home. Here are a few key reasons why you should consider making the switch:
- Energy Efficiency: Lowering the light output can help reduce energy consumption, which in turn lowers your electricity bills.
- Extended Bulb Life: Dimming your lights puts less strain on the bulbs, which means they last longer.
- Customized Lighting: Whether you’re watching a movie, reading, or having a dinner party, you can adjust the lighting to suit the occasion.
- Enhanced Ambiance: A dimmer switch allows for soft, mood-setting lighting, making your home more inviting and comfortable.
Choosing the Right Dimmer Switch for Your Home
Before you can start the process of installing a dimmer switch, it’s crucial to choose the right one. Here’s a quick rundown of the types of dimmer switches available and what you should look for:
- Single-Pole Dimmer Switch: This type of dimmer works for lights that are controlled by only one switch.
- Three-Way Dimmer Switch: If your lights are controlled by two different switches, you’ll need a three-way dimmer.
- Smart Dimmer Switch: These can be controlled by apps or voice commands, perfect for tech-savvy homeowners.
- LED-Compatible Dimmer: If you’re using LED bulbs, make sure you get a dimmer that is specifically designed for them to avoid flickering.
Special Opinion: I highly recommend investing in a smart dimmer switch, especially if you’re already using other smart devices in your home. It’s a bit more expensive, but the convenience of being able to control your lighting through your phone or voice is well worth it.
Step-by-Step Guide: How to Change to a Dimmer Switch
Now, let’s get into the main event—changing to a dimmer switch! It’s a straightforward process that requires a few tools and about 30 minutes of your time.
Step 1: Turn Off the Power
Safety first! Before you even think about removing the old switch, make sure to turn off the power to the circuit at your breaker panel. This ensures you don’t get shocked during the installation.
Step 2: Remove the Existing Switch
Once the power is off, remove the cover plate of your existing switch with a screwdriver. Then, carefully unscrew the switch from the electrical box and pull it out to expose the wiring.
Step 3: Take Note of the Wiring
You’ll see several wires coming out of the wall. Typically, you’ll have a ground wire (green or bare copper), a hot wire (black), and possibly a neutral wire (white). Take note of which wire is connected to which terminal on the existing switch. You may even want to take a photo for reference.
Step 4: Connect the New Dimmer Switch
Now it’s time to connect your new dimmer switch. The exact process may vary depending on the type of dimmer you have, but here are some general steps:
- Connect the ground wire to the green wire or terminal on the dimmer switch.
- Attach the black wire to the hot terminal.
- If there’s a neutral wire, connect it to the corresponding terminal on the dimmer.
Special Opinion: When in doubt, always refer to the manufacturer’s instructions that come with your dimmer switch. Different models may have slight variations, and following the instructions ensures you get it right the first time.
Step 5: Install the Dimmer Switch
Once everything is connected, carefully tuck the wires back into the electrical box and secure the dimmer switch to the wall with screws. Then, reattach the cover plate.
Step 6: Turn the Power Back On
With the dimmer switch installed, you can now go back to your breaker panel and turn the power back on. Test the switch to make sure everything is working properly. If the lights dim and brighten as they should, congratulations! You’ve successfully changed to a dimmer switch.
Common Mistakes to Avoid When Installing a Dimmer Switch
Even though installing a dimmer switch is a simple project, there are a few common mistakes you should avoid:
- Forgetting to Turn Off the Power: This is the most important step in the process, yet it’s the one people often overlook. Always double-check that the power is off before you start working.
- Using the Wrong Type of Dimmer: Make sure your dimmer is compatible with the type of bulbs you’re using, especially if you have LED bulbs.
- Incorrect Wiring: Pay close attention to how the existing switch is wired, and follow the instructions that come with your dimmer switch.
Special Opinion: The Importance of Quality Materials
When it comes to home improvement, quality matters. I strongly advise you to spend a little more on a high-quality dimmer switch rather than going for the cheapest option. Cheaper switches are more likely to cause flickering, wear out faster, or fail to work properly with modern lightbulbs. Investing in a good product will save you from headaches down the road.
FAQs About Changing to a Dimmer Switch
Do I need an electrician to install a dimmer switch?
In most cases, you don’t need an electrician if you’re comfortable with basic electrical work. However, if you’re unsure or uncomfortable, it’s always a good idea to hire a professional.
Can I use a dimmer switch with any type of lightbulb?
No, not all lightbulbs are dimmable. Make sure the bulbs you’re using are compatible with dimmer switches, especially if they are LEDs.
Why do my lights flicker when I use the dimmer switch?
Flickering usually happens when the dimmer switch isn’t compatible with the bulbs. If you’re using LED bulbs, ensure your dimmer is specifically designed for them.
How much does it cost to install a dimmer switch?
If you do it yourself, a dimmer switch can cost anywhere from $10 to $50, depending on the type and brand. If you hire an electrician, the cost can increase to $100-$200 depending on labor fees.
Is it safe to change to a dimmer switch on my own?
Yes, it’s generally safe as long as you turn off the power before working with the wires and follow the instructions carefully. If you have any doubts, consult an electrician.
Will a dimmer switch save me money on my electric bill?
Yes, dimming your lights reduces energy consumption, which can lower your electricity bill, especially if you use dimmable LED bulbs.
Can I install a dimmer switch on a ceiling fan?
No, standard dimmer switches aren’t designed for ceiling fans. If you want to control a ceiling fan’s speed, you’ll need a switch specifically made for that purpose.
Conclusion: Elevate Your Home Lighting with a Dimmer Switch
Changing to a dimmer switch is one of the easiest ways to upgrade your home. Not only does it give you greater control over your lighting, but it also helps you save energy and extend the life of your bulbs. Whether you’re setting the mood for a cozy night in or brightening up your space for productivity, a dimmer switch offers flexibility that standard switches just can’t match.
If you’ve been thinking about improving your home lighting, there’s no better time than now to make the switch. By following the steps in this guide, you can easily complete the project on your own and enjoy the benefits of adjustable lighting for years to come. So, go ahead, change to a dimmer switch, and see how it transforms your living space!

